Official Luthiers Forum! http://luthiersforum.com/forum/ |
|
Sawdust shellac pore fill http://luthiersforum.com/forum/viewtopic.php?f=10101&t=34377 |
Page 1 of 1 |
Author: | WendyW [ Sun Nov 27, 2011 11:02 am ] |
Post subject: | Sawdust shellac pore fill |
How do you make and collect enough sawdust to pore fill an entire guitar? Type of sander, paper grit, end grain or not? The only sanders I have access to is an oscillating spindle sander and a handheld random orbit. |
Author: | Dave Livermore [ Sun Nov 27, 2011 11:12 am ] |
Post subject: | Re: Sawdust shellac pore fill |
Put a sock on the end of your shopvac hose. Clamp to the spindle sander so that it collects dust. Grind a stick of scrap down until you have enough dust. You'll need to empty the sock as it clogs up, but after a few sessions, you'll have collected your dust. Good luck. I've never made this method work. I seal the back with shellac, then dip 220 or 320 grit in egg white and sand up a slurry of sawdust and egg froth and just work it into the pores. If you have troubles, do a quick search on here for egg whites and you'll find plenty of folks employing this simple method. Dave |
Author: | WendyW [ Sun Nov 27, 2011 2:32 pm ] |
Post subject: | Re: Sawdust shellac pore fill |
Dave, I tried the eggwhite method on a sample last weekend and the eggwhite dried white in the pores. I suspect that I may have not sanded enough, although I am trying this on purpleheart and the slurry I worked up looked purple. When it dried though it was white in the pores. Any idea what I did wrong? I was planning on doing 2 samples this weekend: another try with the eggwhite, and 1 with sawdust and shellac. Great tip about the sock on the shop vac, thanks! |
Author: | Stephen Boone [ Sun Nov 27, 2011 4:55 pm ] |
Post subject: | Re: Sawdust shellac pore fill |
One of my methods of dust porefilling is to just sand the wood with 220 grit and leave that dust as it lies. I then work that down into the pores with very thin shellac like a 1/2 pound cut. I just do this a little at a time. I do not add too much shellac, just enough to work in the saw dust. I let this dry, sand back with 220 and repeat for a few days. This is not fast but has the advantage of a very good if not perfect color match. 95% of the time is spent letting it all dry. The mixture shrinks as it dries and the surface I thought was perfect will show the pores later if I do not allow sufficient time for drying. |
Author: | John Coloccia [ Mon Nov 28, 2011 8:54 am ] |
Post subject: | Re: Sawdust shellac pore fill |
I haven't tried it yet, but I heard that wet sanding with shellac works also. |
Author: | WendyW [ Mon Nov 28, 2011 10:13 am ] |
Post subject: | Re: Sawdust shellac pore fill |
Stephen, the guitar already has 3 spitcoats of shellac on it, so I'm assuming that I would have to sand that back to the wood to do your method. Am I right? Wendy |
Author: | alan stassforth [ Mon Nov 28, 2011 10:39 am ] |
Post subject: | Re: Sawdust shellac pore fill |
Haven't tried it yet, but with your shellac coats on there already, use your muneca with pumice and alcohol, and grind away. Makes a slurry that fills the pores. There is info on the subject online. Google french polishing a guitar. |
Author: | Chris.Conery [ Mon Nov 28, 2011 12:04 pm ] |
Post subject: | Re: Sawdust shellac pore fill |
Stephen Boone wrote: One of my methods of dust porefilling is to just sand the wood with 220 grit and leave that dust as it lies. I then work that down into the pores with very thin shellac like a 1/2 pound cut. I just do this a little at a time. I do not add too much shellac, just enough to work in the saw dust. I let this dry, sand back with 220 and repeat for a few days. This is not fast but has the advantage of a very good if not perfect color match. 95% of the time is spent letting it all dry. The mixture shrinks as it dries and the surface I thought was perfect will show the pores later if I do not allow sufficient time for drying. Steve- That sounds like a great method! Does your rubbing pad not get clogged up with saw dust immediately? Do you use the same rubbing device as a regular muneca used in french polishing? Is overnight enough time for drying between sessions? How many sessions does it typically take? Is 220 the final sanding level, or do you end up using something finer (320?)? BTW, I love your little wooden plane - one of my favorite tools. |
Author: | WendyW [ Mon Nov 28, 2011 1:21 pm ] |
Post subject: | Re: Sawdust shellac pore fill |
Thanks Alan but I am in the middle of pore filling another guitar with pumice and the whole point of this is that I don't want to do it on this one. I am hating it on the other guitar so much that it is making me never want to build another one ![]() |
Author: | Stephen Boone [ Mon Nov 28, 2011 4:43 pm ] |
Post subject: | Re: Sawdust shellac pore fill |
Wendy, With just three spit coat sessions it should not be too much work to level that out. Leaving white color in deep pores is always going to be what you want to avoid. If it were me with the problems you are describing I would work back to the wood gently. If I have put on too much shellac in a pore fill session and sanding is clogging up the paper too much then I use a thin scraper to work things back to a manageable state, then sand. The biggest reason that I use the method that I do is that I do not have to worry about any "barriers". Sealing with egg white works great but if you sand through then you have a spot that does not look the same as everything else. I never have to worry about sanding through anything because nothing but shellac and its solvent(plus sanding dust) go into the process of pore filling. It does take longer that some methods but the ease of repair and touch up without any worries makes it work for me. It is easy to add too much shellac for each pore fill session so easy does it. You want the sanding to go easily and the drier the shellac the easier it is. less shellac at any given time is better. Chris, My pad is made of cheese cloth for the inner pad and muslin for the outer pad. Yes the outer pad does clog with dust rapidly but I just keep using it to work things down into the pores. I tend to change outer pads frequently in any case. I like to do a pore session first thing in the morning and another last thing in the evening. 8-10 hours between sessions with a fan blowing on the work. Remember to keep the shellac very thin and not to use too much or it will not dry even overnight. Several days of this is typical. I am done when I sand and do not see any shiny spots after sanding. Any tiny shiny spots are down in pores and the sand paper did not get down to them. It makes sense to try and sand some more to get rid of the shiny spots but for some reason I cannot explain this does not work. Low spots must be filled to level instead of making the high spots lower. As things progress I will use 320 and 400 grit but this tends to clog the paper quickly no matter what. The 220 grit just leaves deeper scratches that must be filled during the bodying stage. With this method I find that 80% of the work is done during the pore filling stage. With a nicely prepared and level surface the actual French polishing part goes in just a few sessions and the finish is incredibly thin and looks really nice. Never use oil until you are past the porefill/sanding stage. Once you start actual French polish with oil, proper surface prep will insure that you will not need to ever sand again. Another general tip that I just figured out this last weekend is to take a guitar pick and drill 5-6 1/8" holes in it. Take the cheese cloth inner pad and wrap it around the pick so that 1/3 of the cheese cloth is below the pick and 2/3 of the cheese cloth is above the pick. Load the shellac from the top as normal and polish. I believe that the pick "regulates" the flow of shellac through the pad by a process of restriction and is helpful. If you French polish you should try it. I have also been using a guitar pick with NO HOLES and wrapping it up in the inner pad to get up close to the bridge and fret board. The shellac in forced to travel AROUND the pick through the pad and it makes getting meaningful amounts of shellac into the corners of things much easier. I am happy that you like your mini-plane! |
Author: | Jim Watts [ Mon Nov 28, 2011 11:12 pm ] |
Post subject: | Re: Sawdust shellac pore fill |
So, if you want to fill with sawdust, why not just use a hardening oil like boiled linseed oil or some suchthing to sand with, which would make a paste that gets packed into the pores as you sand? |
Author: | Stephen Boone [ Tue Nov 29, 2011 9:23 am ] |
Post subject: | Re: Sawdust shellac pore fill |
I have never tried any sort of oil on bare wood so I cannot comment on how it would work. |
Author: | WaddyThomson [ Tue Nov 29, 2011 10:40 am ] |
Post subject: | Re: Sawdust shellac pore fill |
Jim Watts wrote: So, if you want to fill with sawdust, why not just use a hardening oil like boiled linseed oil or some suchthing to sand with, which would make a paste that gets packed into the pores as you sand? I would think it would just take too long to dry for top-coating. |
Author: | alan stassforth [ Tue Nov 29, 2011 10:56 am ] |
Post subject: | Re: Sawdust shellac pore fill |
Thank you, Stephen!!!!! ![]() ![]() ![]() Nice tips. I will try the guitar pick. What gauge? (Just kidding.) |
Author: | YJ John [ Wed Nov 30, 2011 7:21 am ] |
Post subject: | Re: Sawdust shellac pore fill |
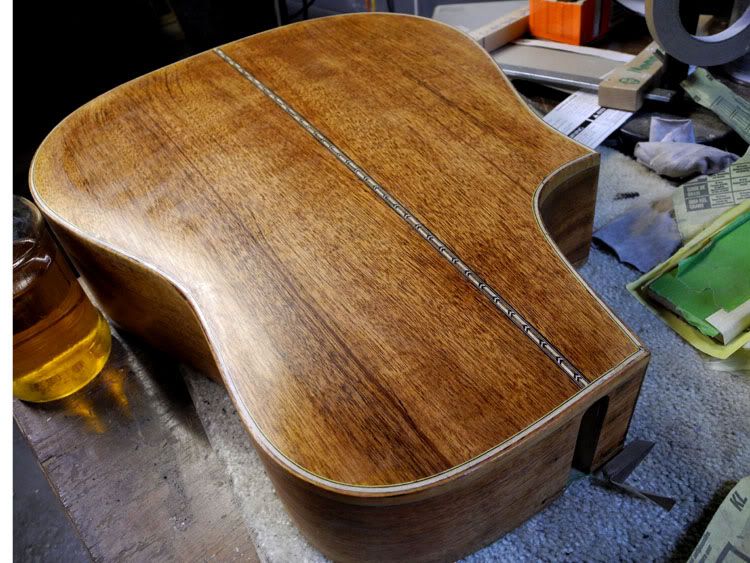
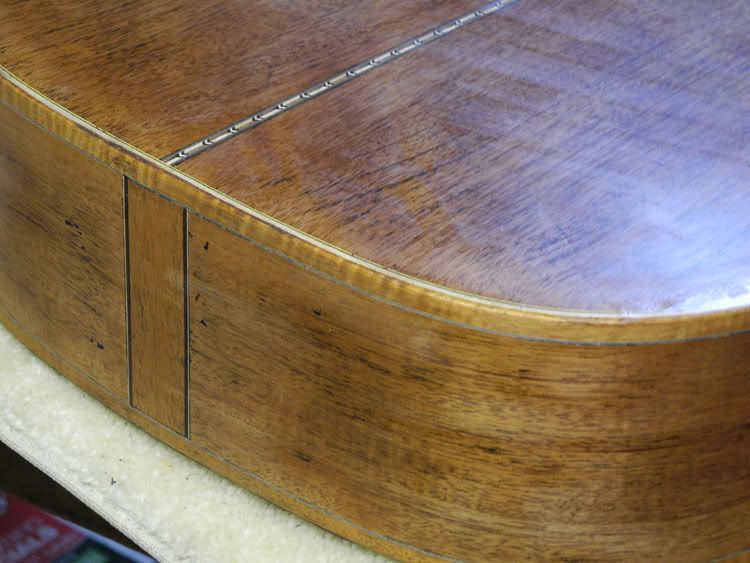
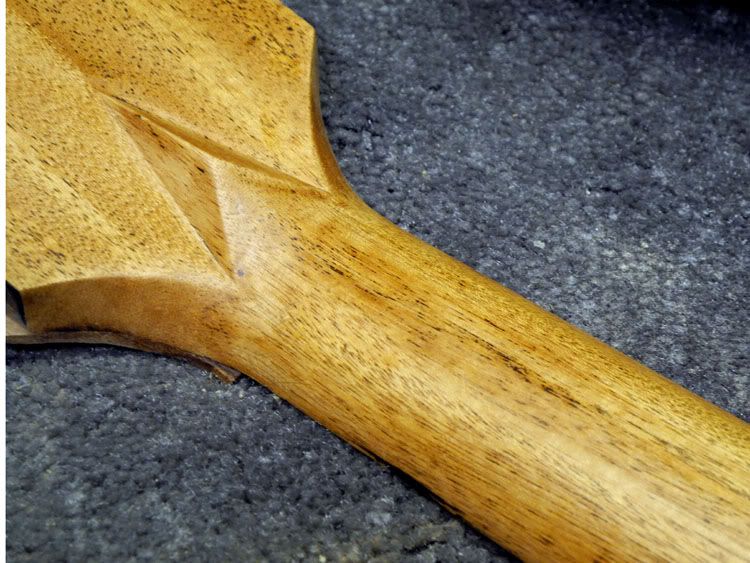
I just ordered some U-Beaut Hard Shellac. Supposed to be a much harder finish than conventional shellac. Here is what I used for fill. Mixed with a dab of black waterbased paint tint ![]() The results needed very little second fill. ![]() ![]() ![]() |
Author: | Corky Long [ Wed Nov 30, 2011 10:10 am ] |
Post subject: | Re: Sawdust shellac pore fill |
Stephen Boone wrote: One of my methods of dust porefilling is to just sand the wood with 220 grit and leave that dust as it lies. I then work that down into the pores with very thin shellac like a 1/2 pound cut. I just do this a little at a time. I do not add too much shellac, just enough to work in the saw dust. I let this dry, sand back with 220 and repeat for a few days. This is not fast but has the advantage of a very good if not perfect color match. 95% of the time is spent letting it all dry. The mixture shrinks as it dries and the surface I thought was perfect will show the pores later if I do not allow sufficient time for drying. Stephen - This is pretty appealing. What's your experience with the appearance of depth and clarity of the pores using this method? One of the (well, actually the only) thing I like about Zpoxy is the eye-popping depth that you get with epoxy as a filler. |
Page 1 of 1 | All times are UTC - 5 hours |
Powered by phpBB® Forum Software © phpBB Group http://www.phpbb.com/ |