Official Luthiers Forum!
http://luthiersforum.com/forum/

Hammer dulcimer build
http://luthiersforum.com/forum/viewtopic.php?f=10101&t=38489
Page 1 of 1

Author:  Phillip Patton [ Sun Dec 09, 2012 4:25 pm ]
Post subject:  Hammer dulcimer build

Hey all,
Don't see too much about dulcimers on here, so I hope I'm not stepping on any toes posting this, but there seemed to be a little interest, so here goes.

This was a replacement for one I had built a few years ago, and given away. I didn't know it at the time, but the glue I was using then was not good for instruments (Titebond II). So since hammer dulcimers can have around 2 tons of tension, the glue joints started creeping, and it wouldn't hold a tune. Now I'm using Titebond Original. I was tempted to use hide glue, but I don't have much experience with it yet...

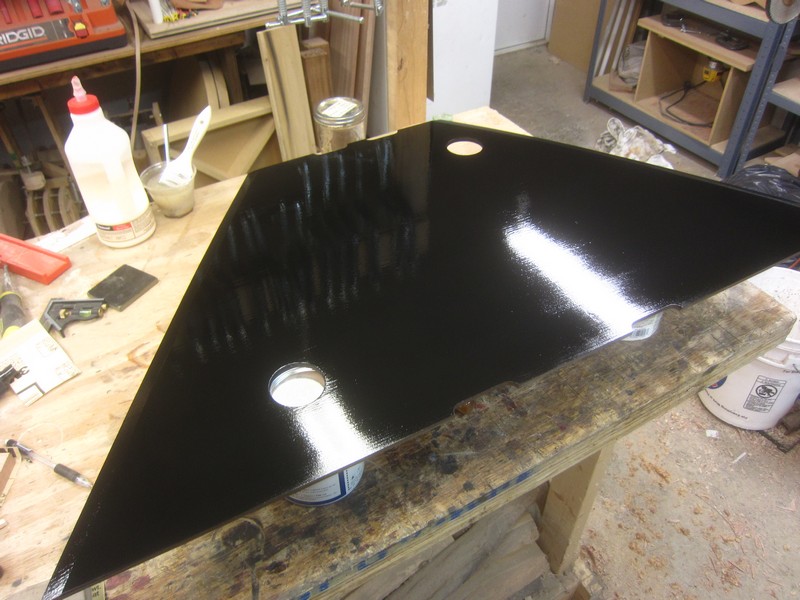
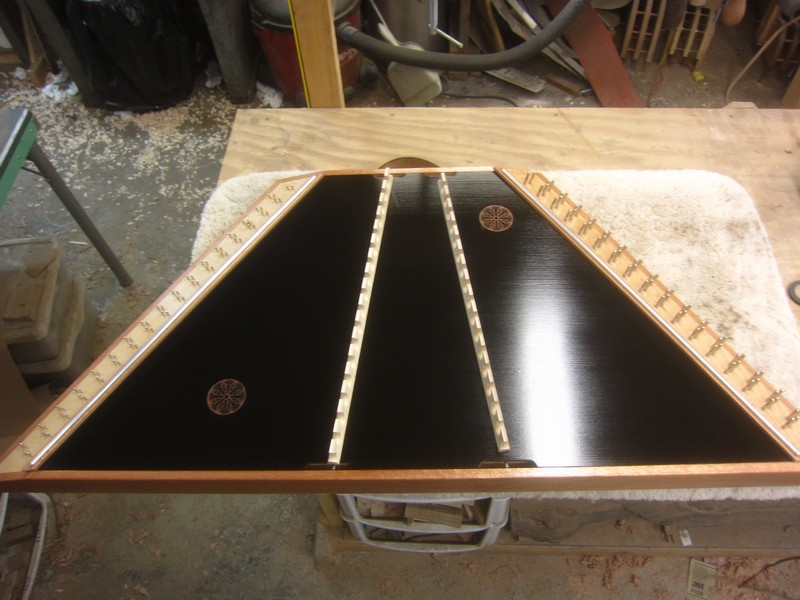
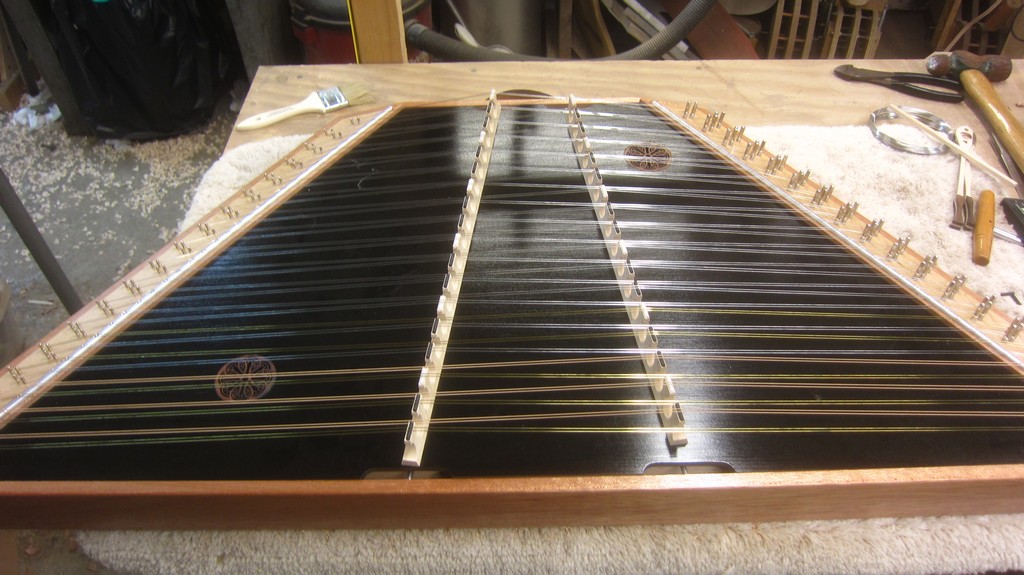
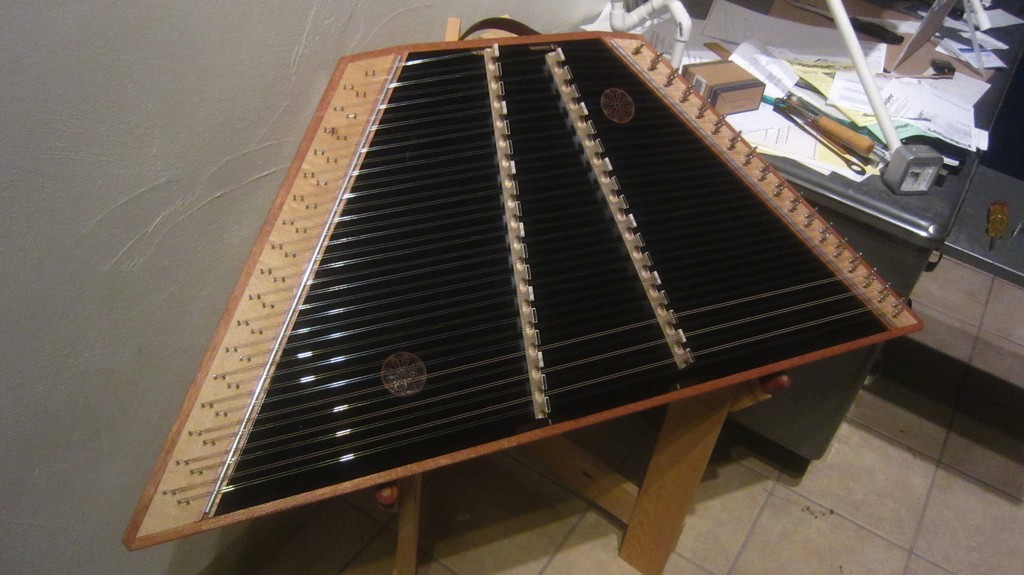
Here's the original instrument:

Image

Actually, it’s ashes now, but this is what it looked like just before going into the woodstove.

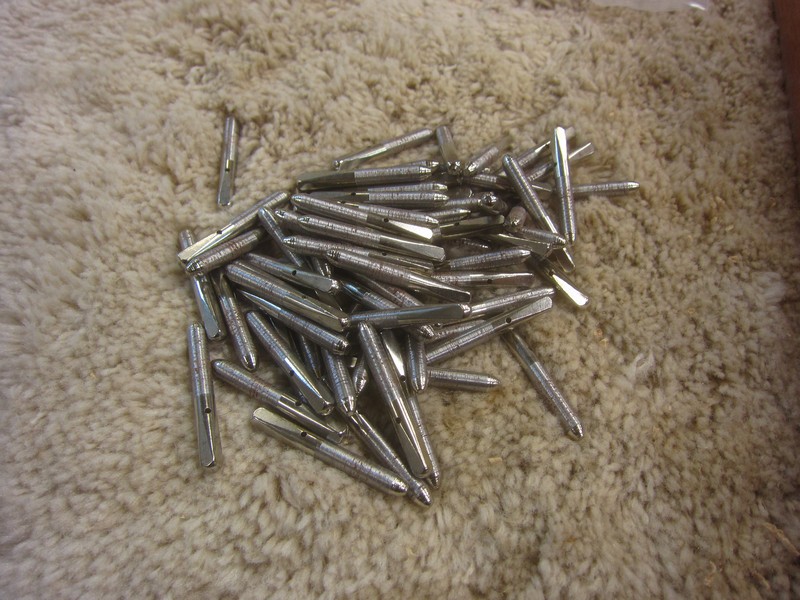
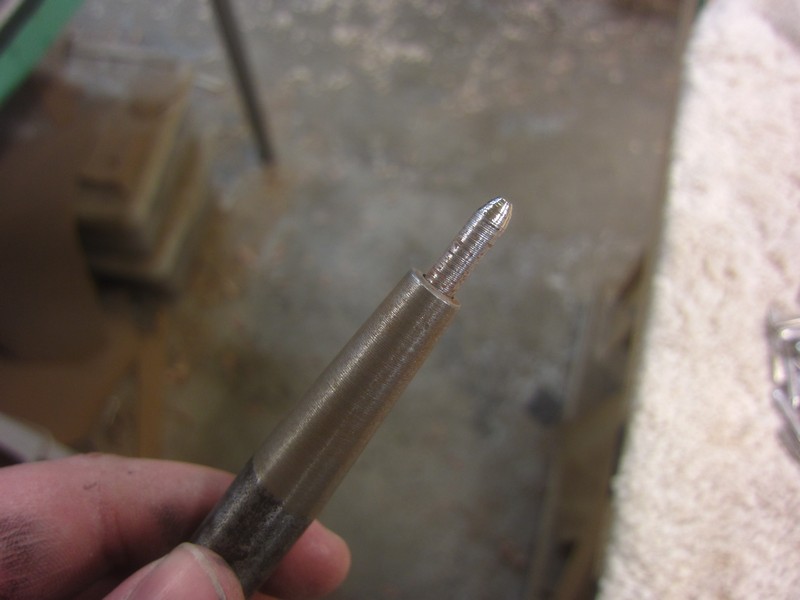
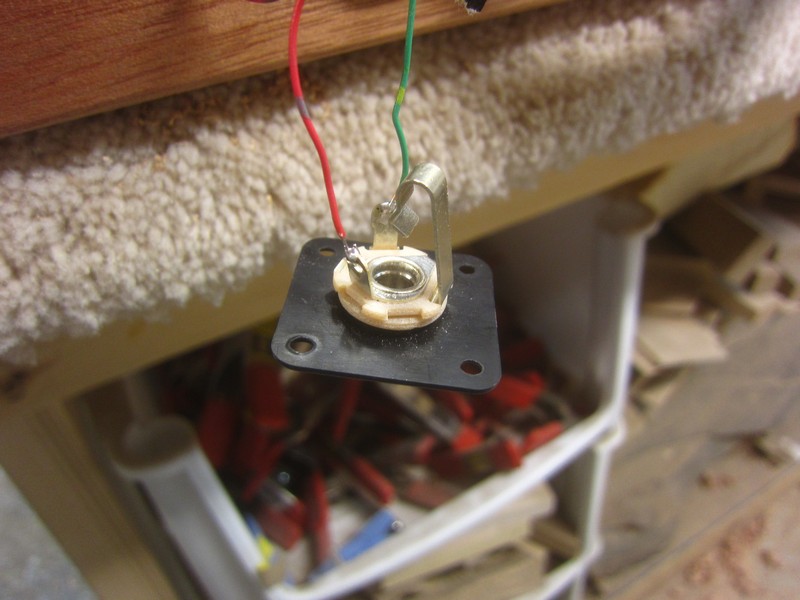
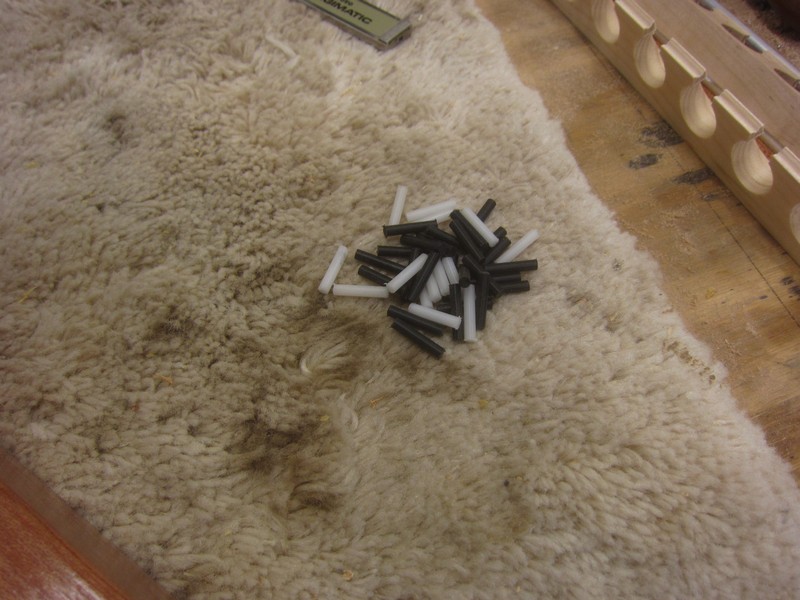
I salvaged the hitch and tuning pins, and I’ll be using them on the replacement.

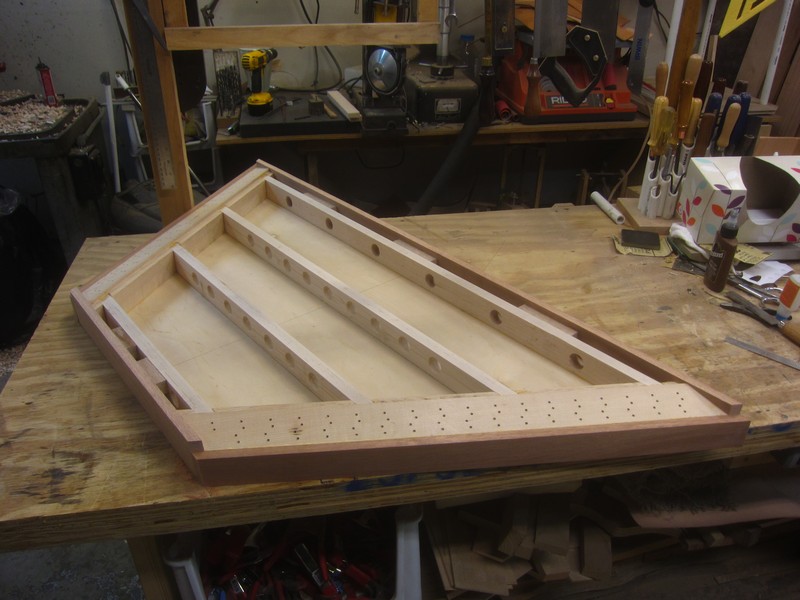
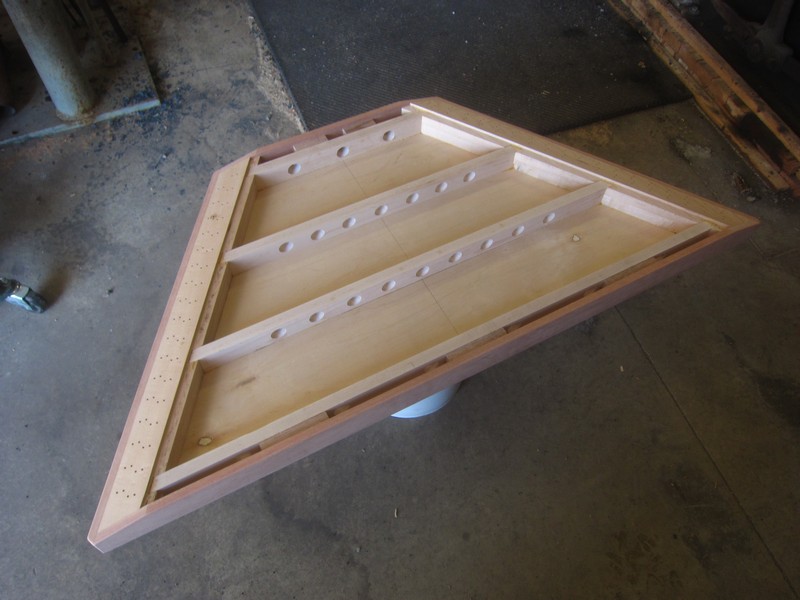
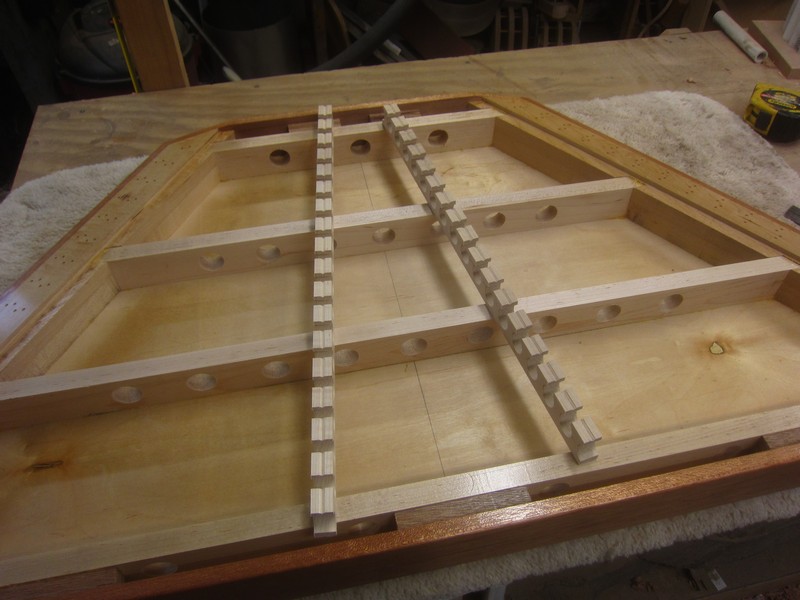
So, on to the project. The old one had a plywood top and back, and also baltic birch plywood braces. The new one will have a plywood back, but a cedar top, so the tone will be much better. It will have maple braces and pin blocks, and mahogany trim.

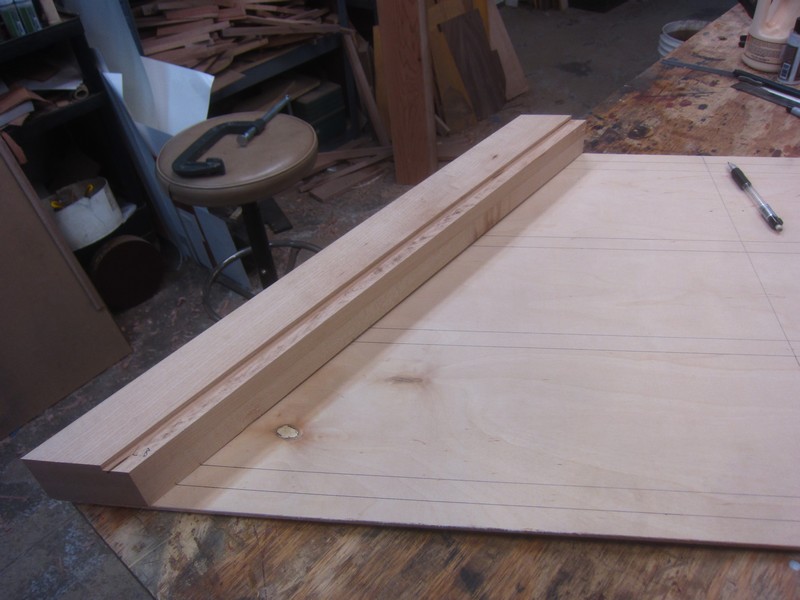
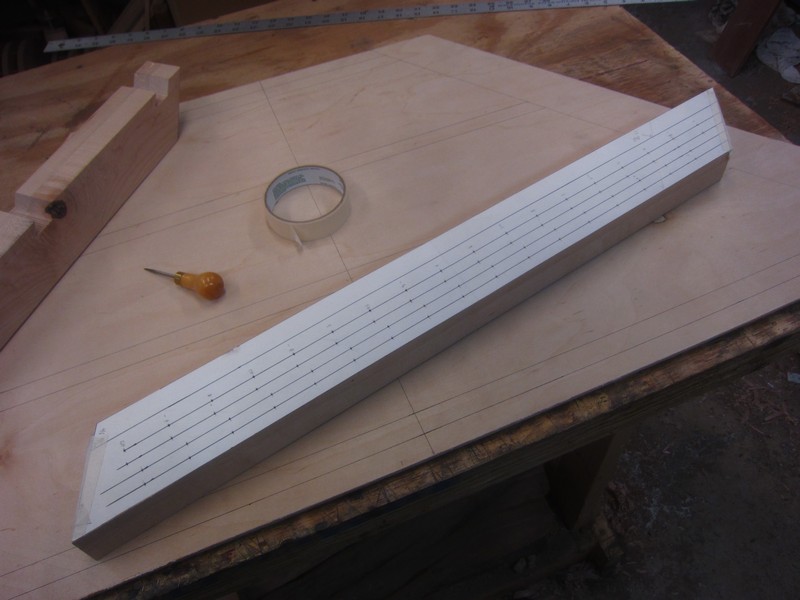
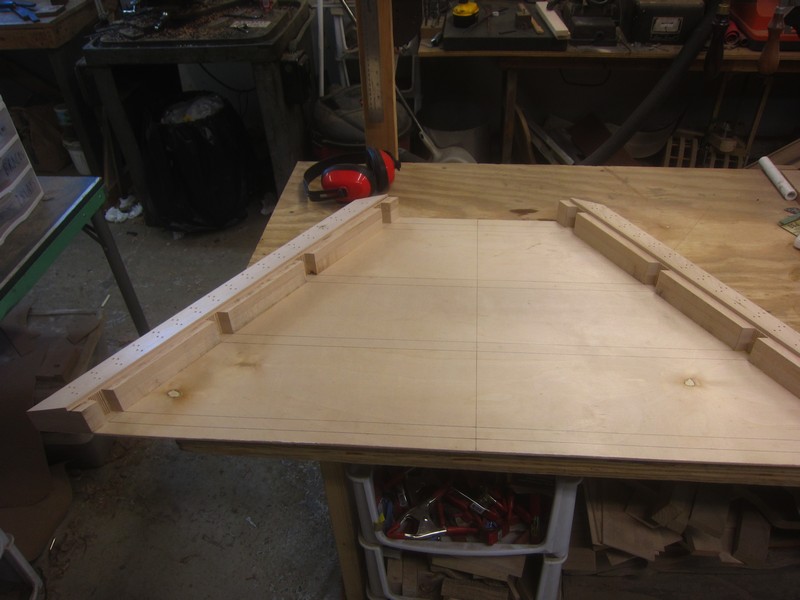
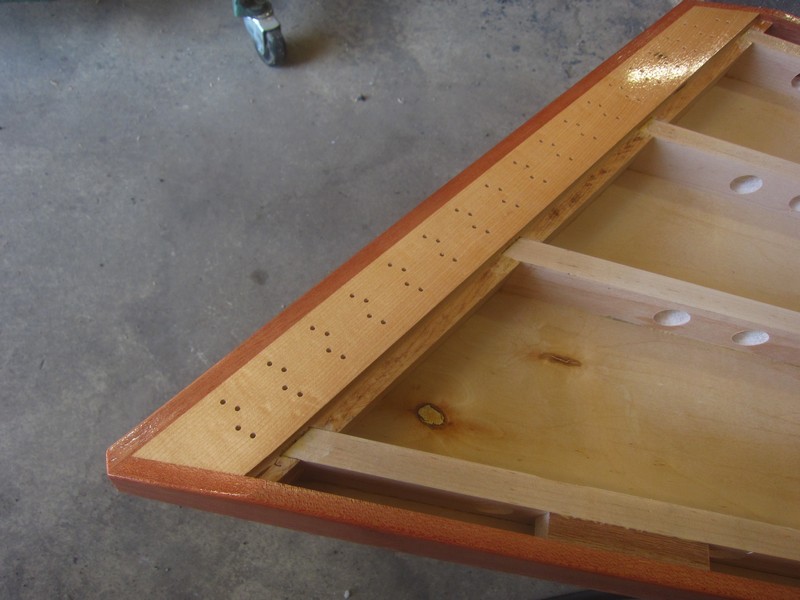
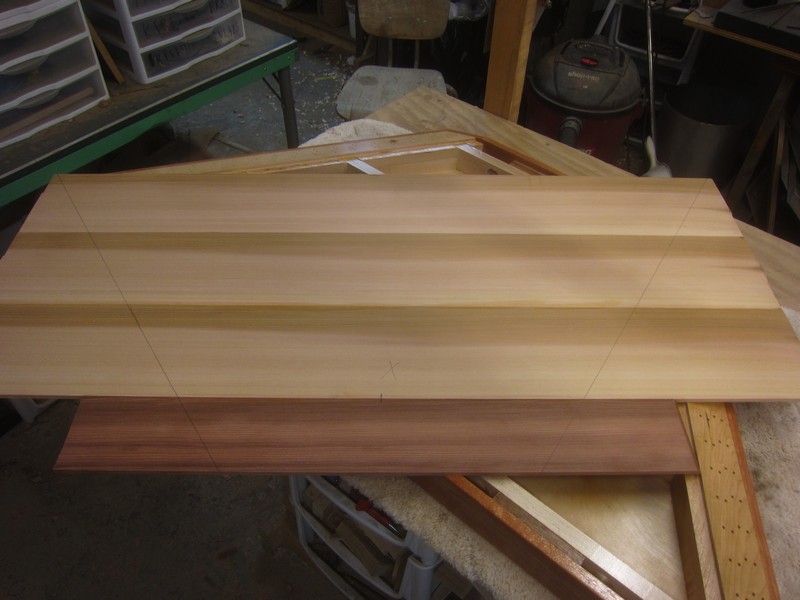
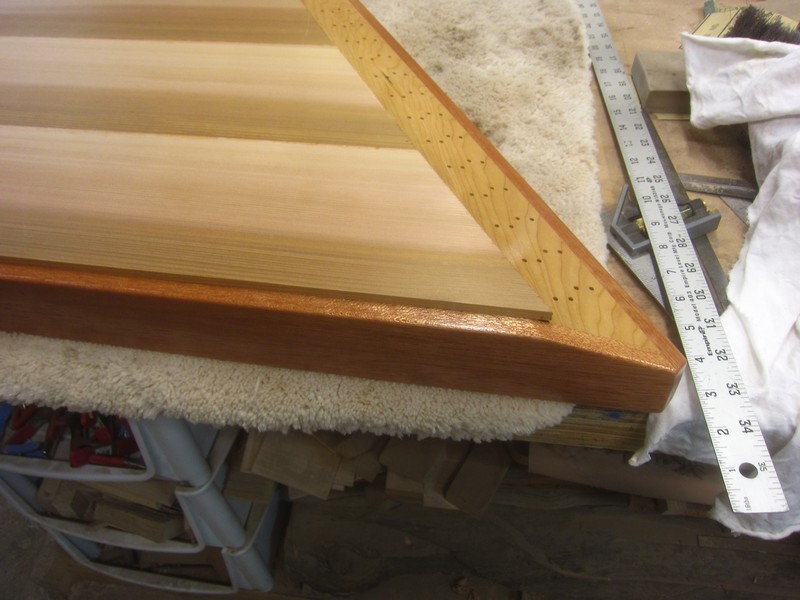
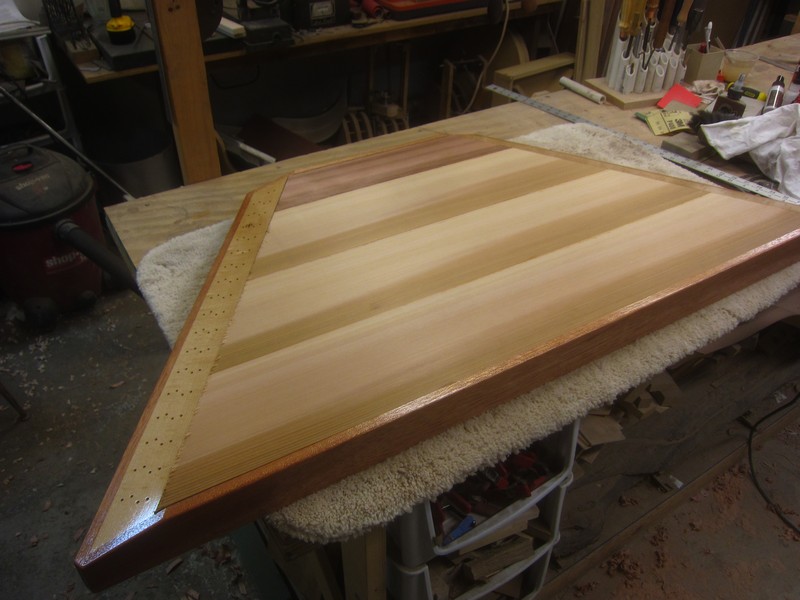
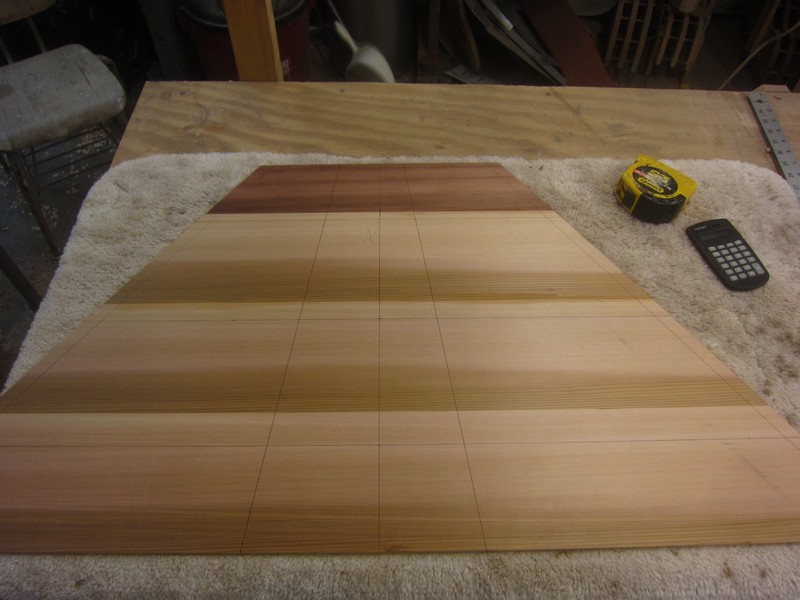
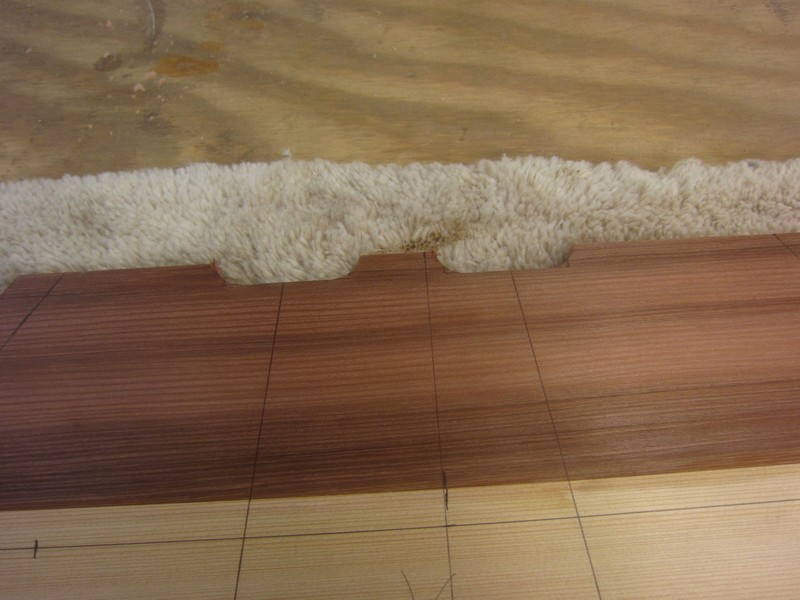
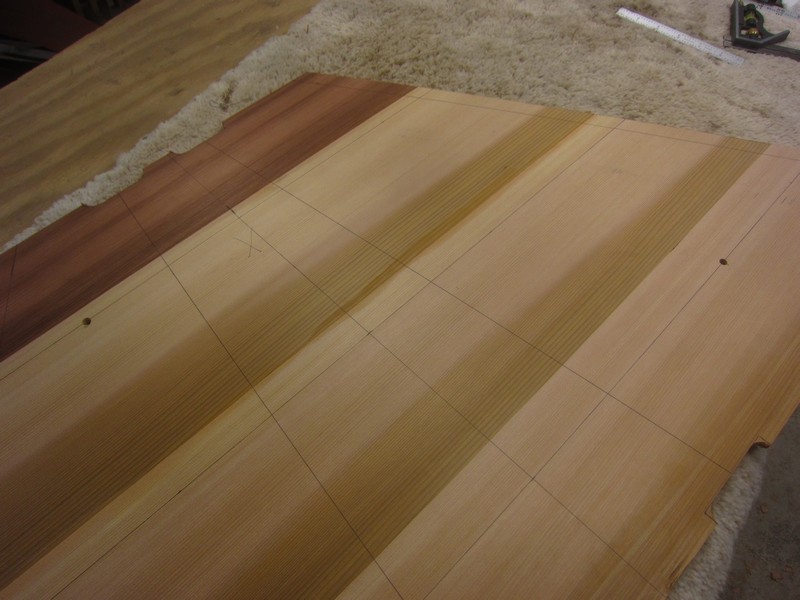
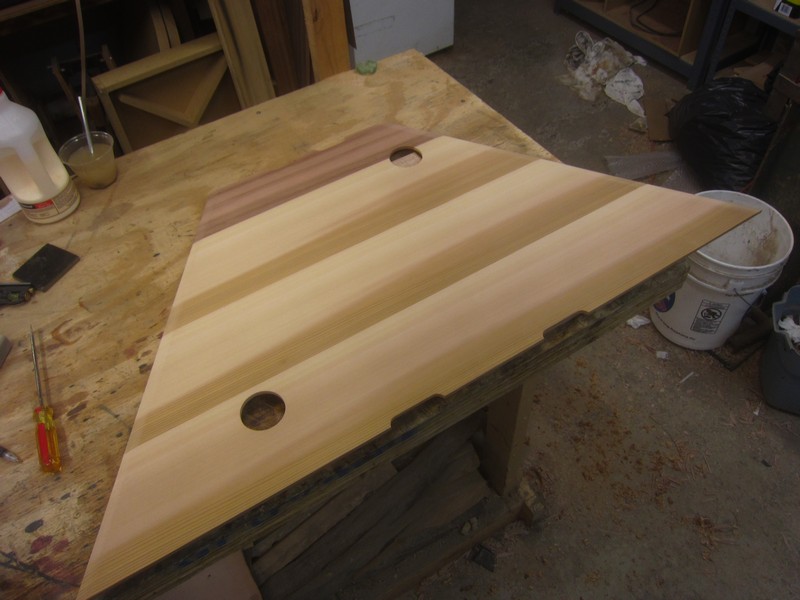
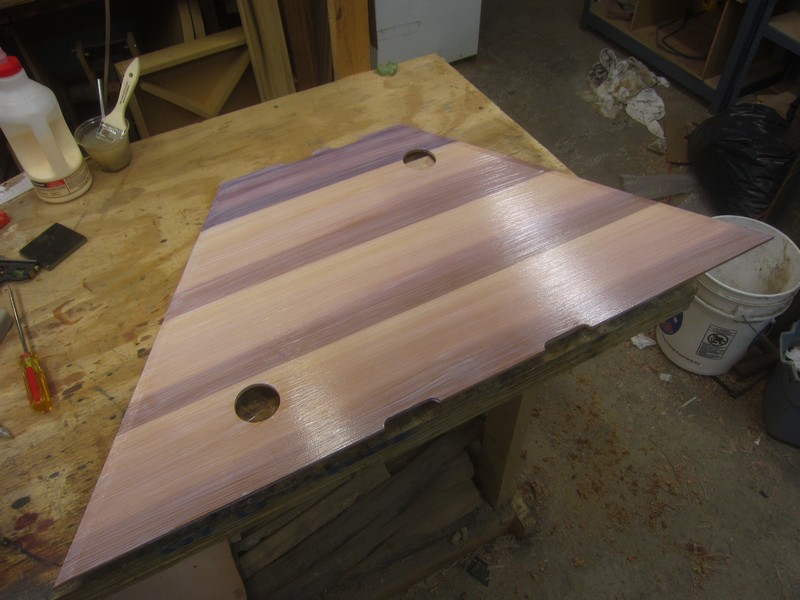
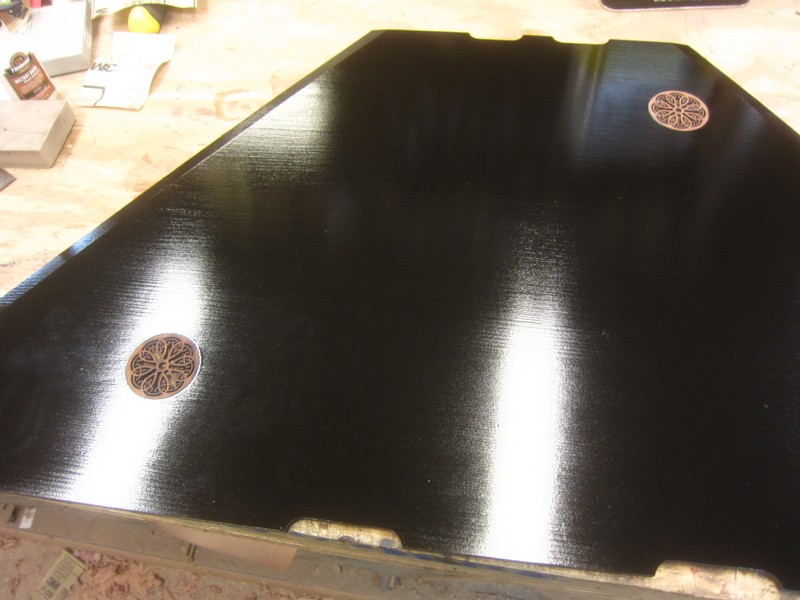
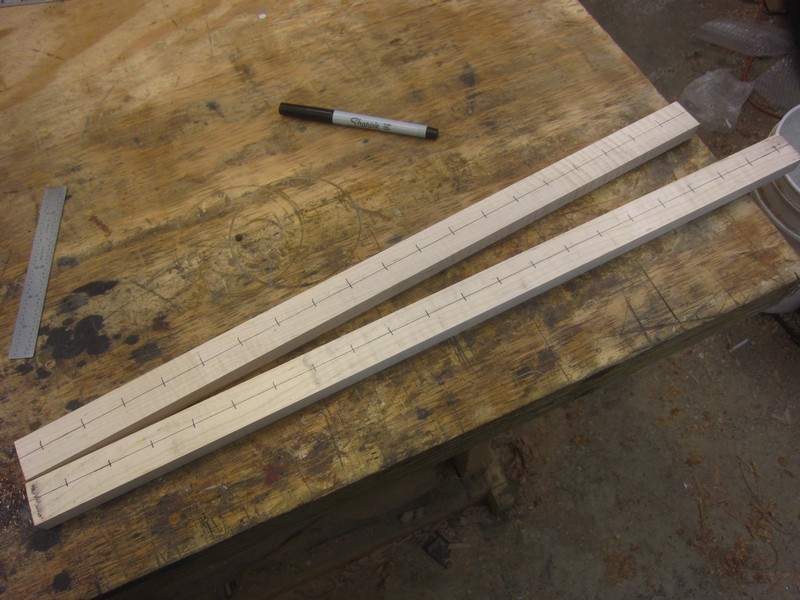
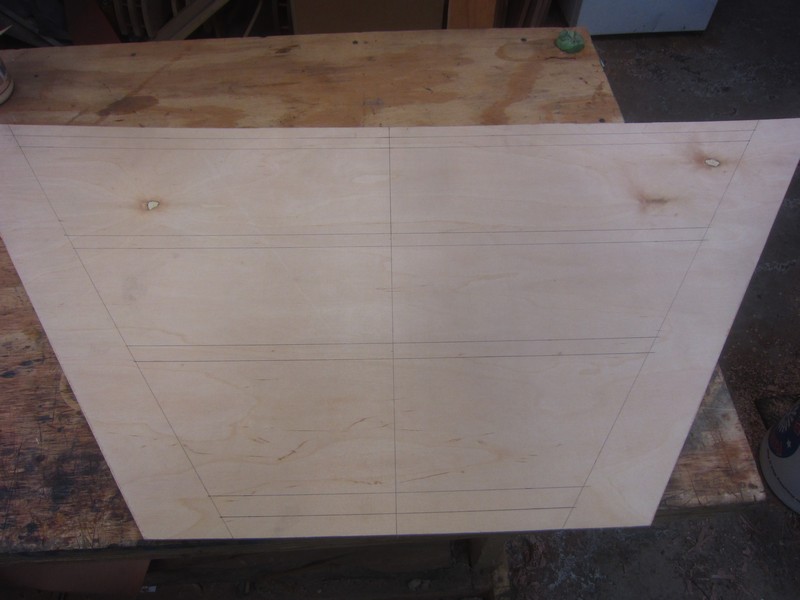
The first step is to cut the back out, and then draw the locations of the pin blocks and braces on it (it’s upside down here):

Image

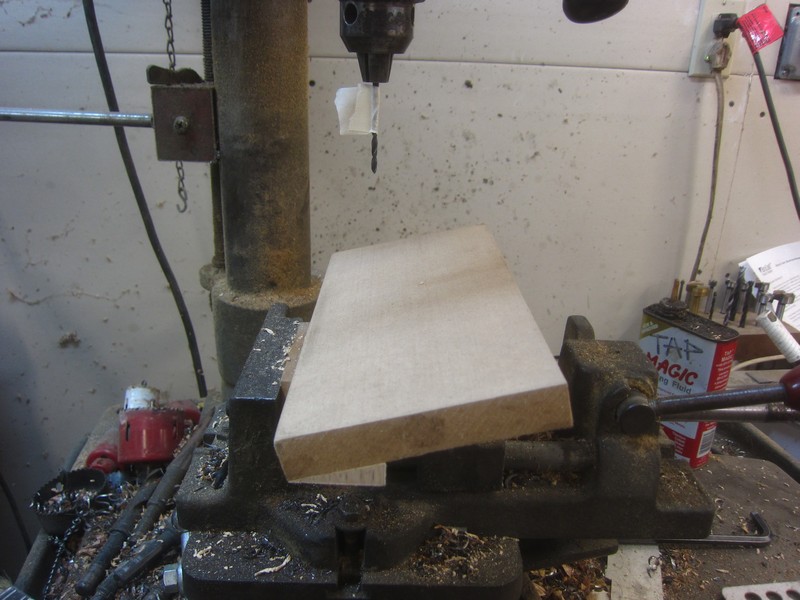
Then make the pin blocks. It’s important to use hard maple for this. Anything softer will not grip the pins, and your instrument won’t hold a tune. I used baltic birch plywood once, and it didn’t work...

Osage orange would probably work too, but maple is so cheap and plentiful, and much easier to work with. Mine grew a few miles away from my home.

Image

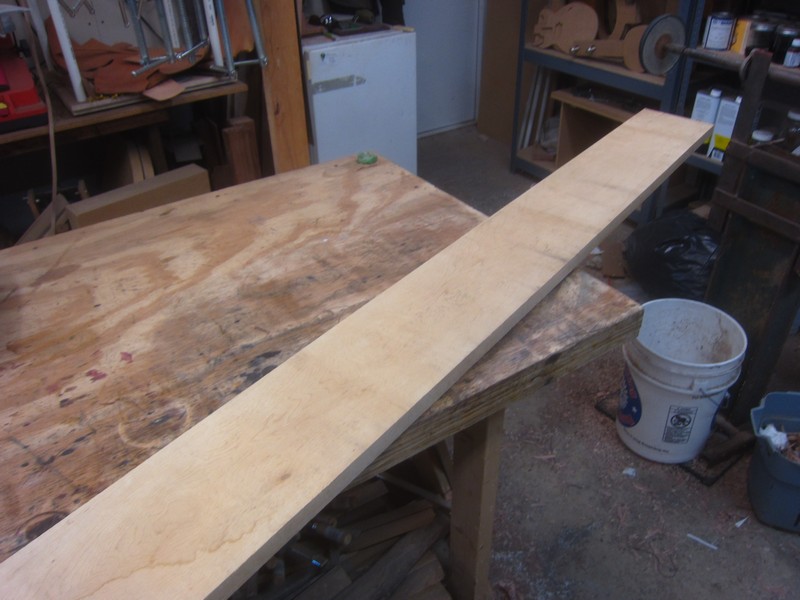
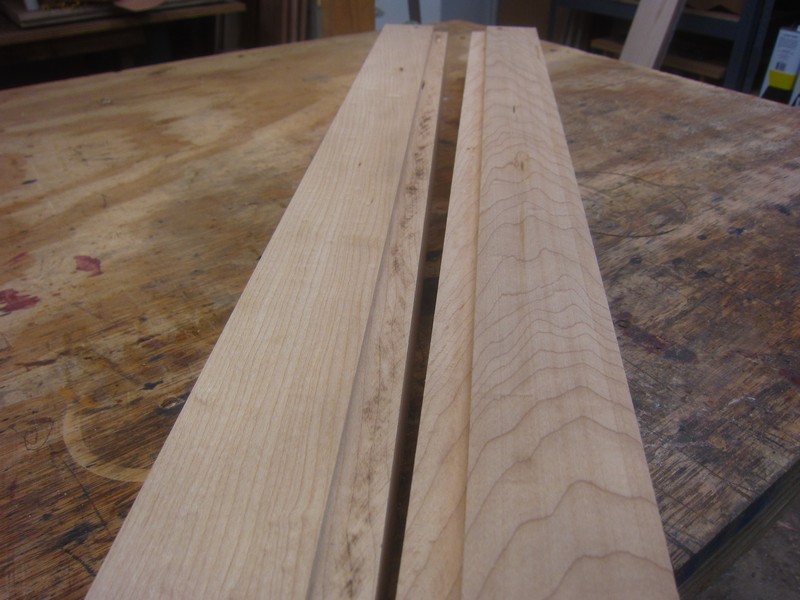
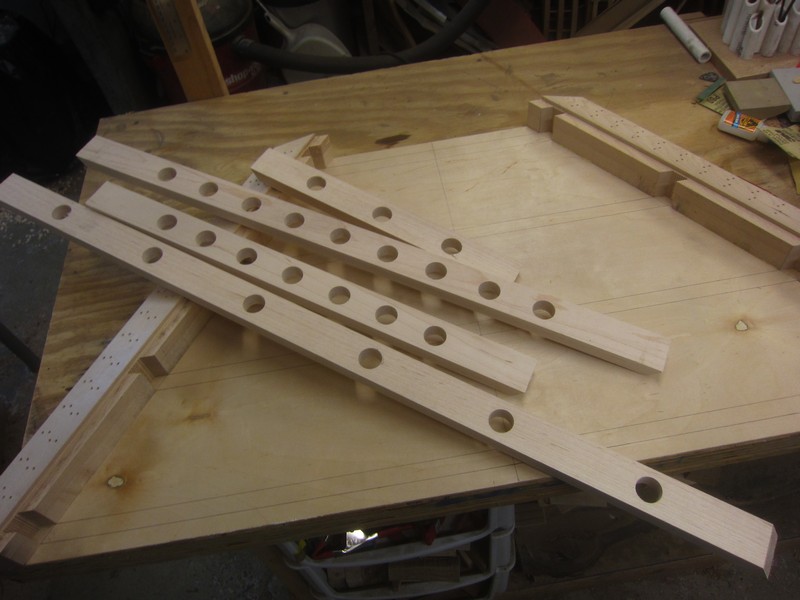
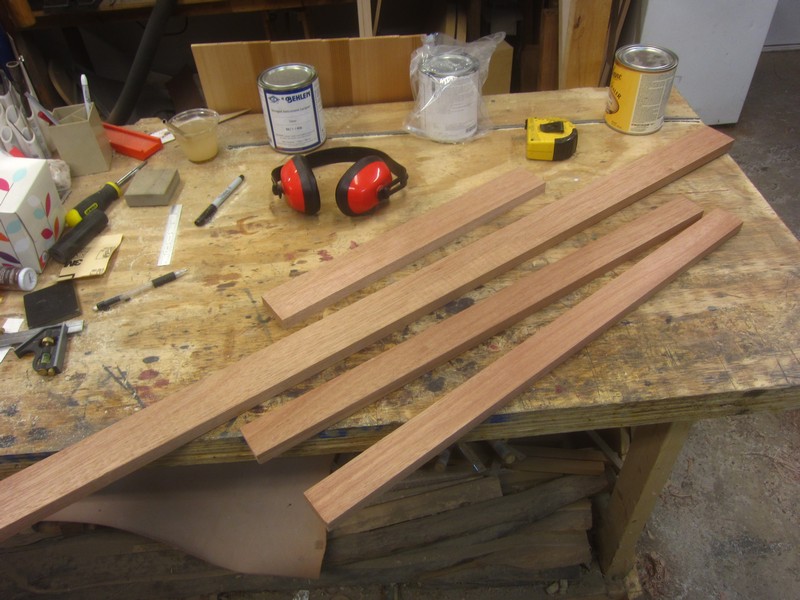
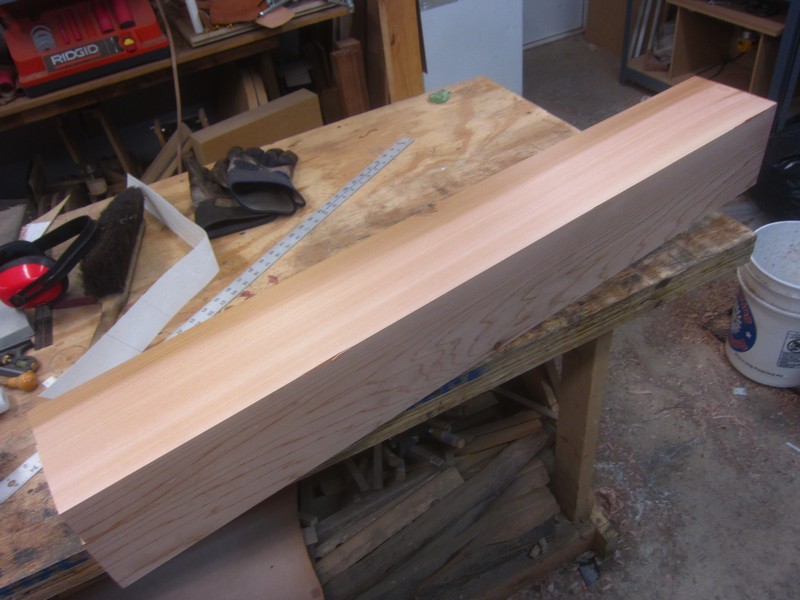
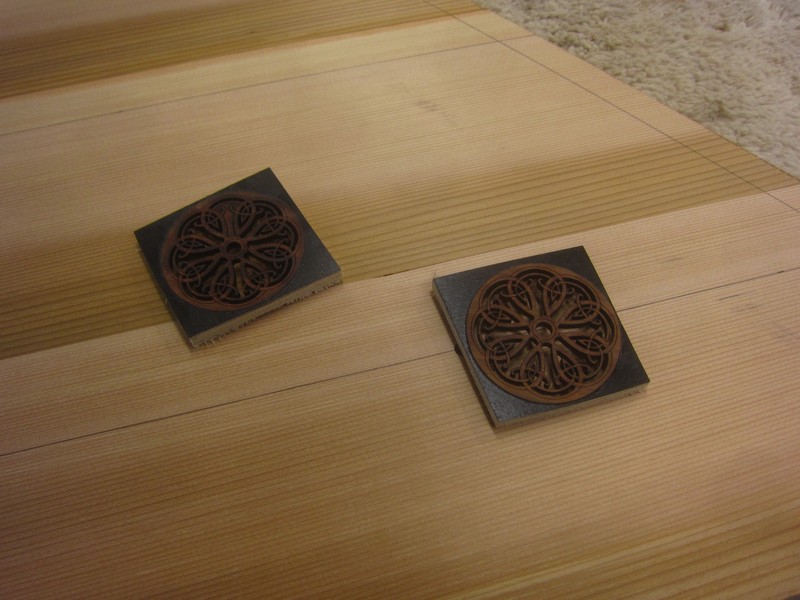
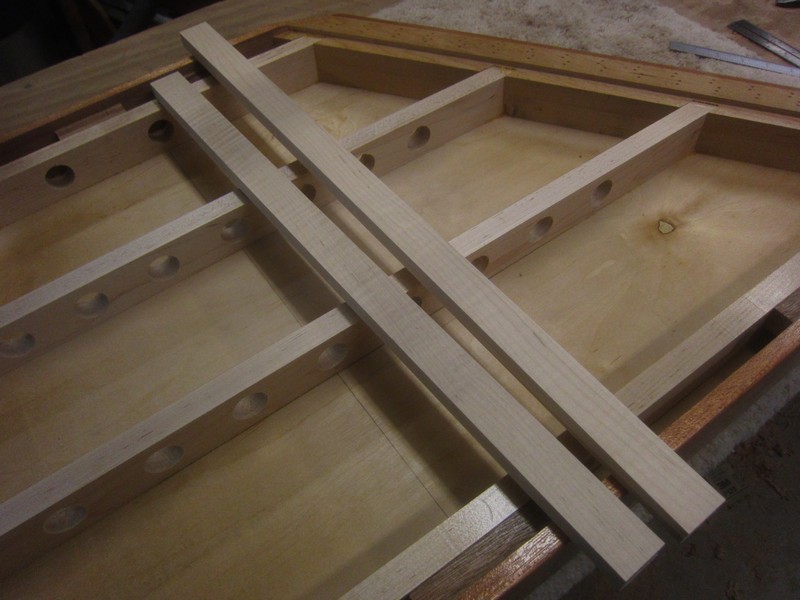
I cut out four pieces:

Image

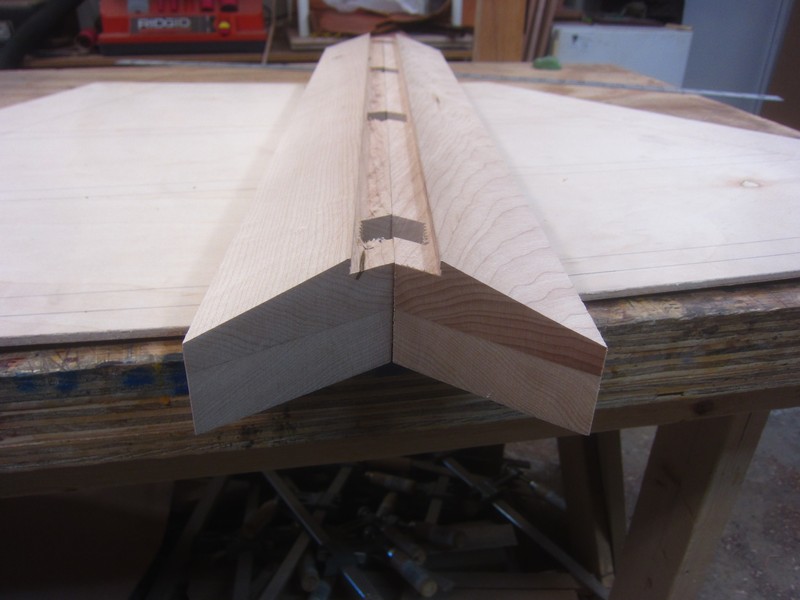
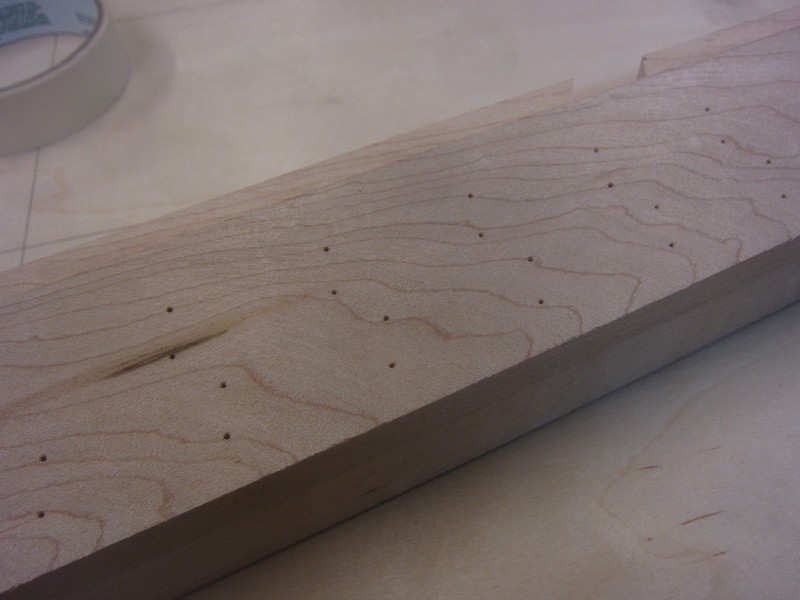
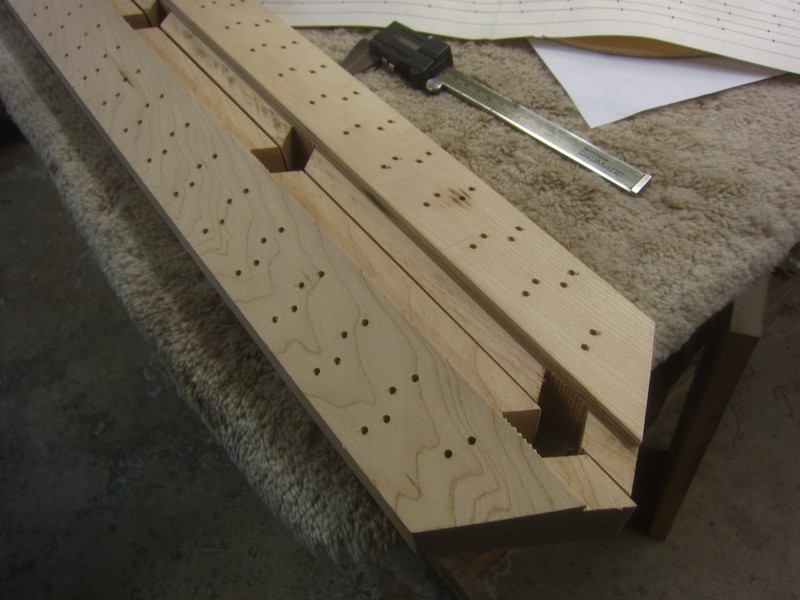
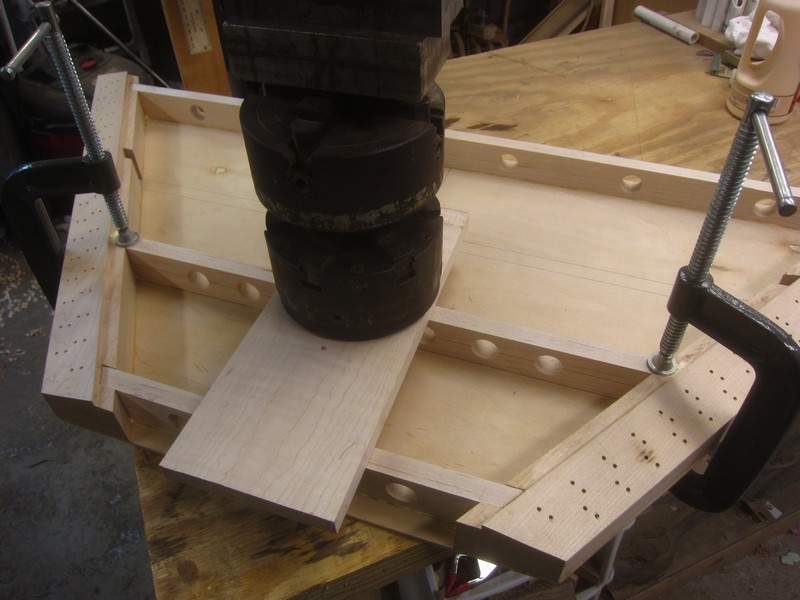
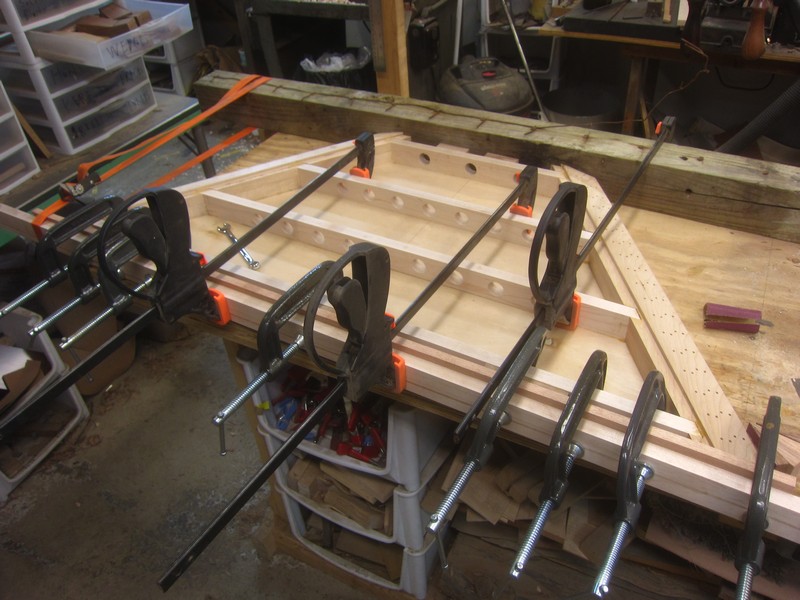
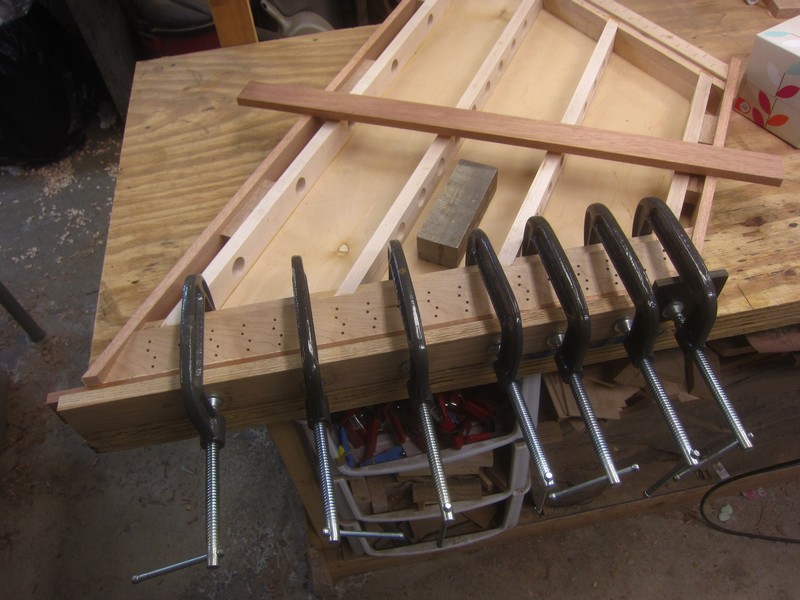
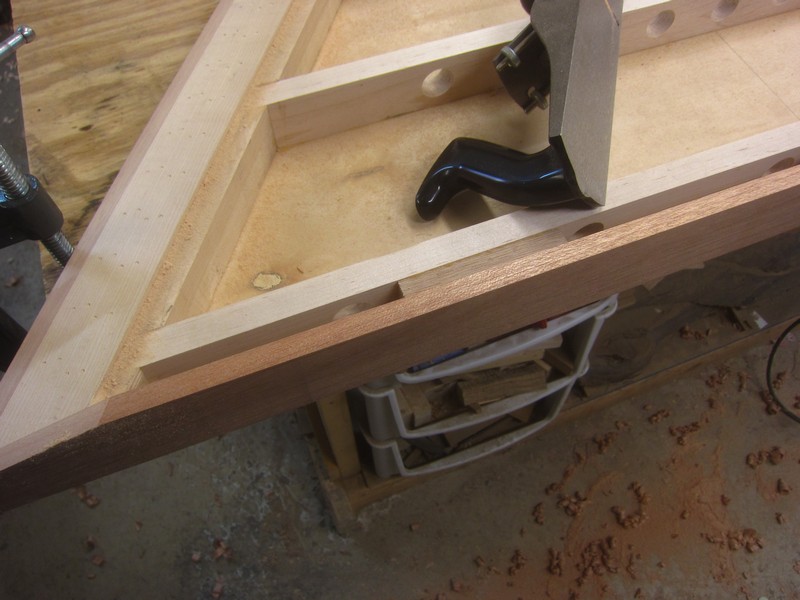
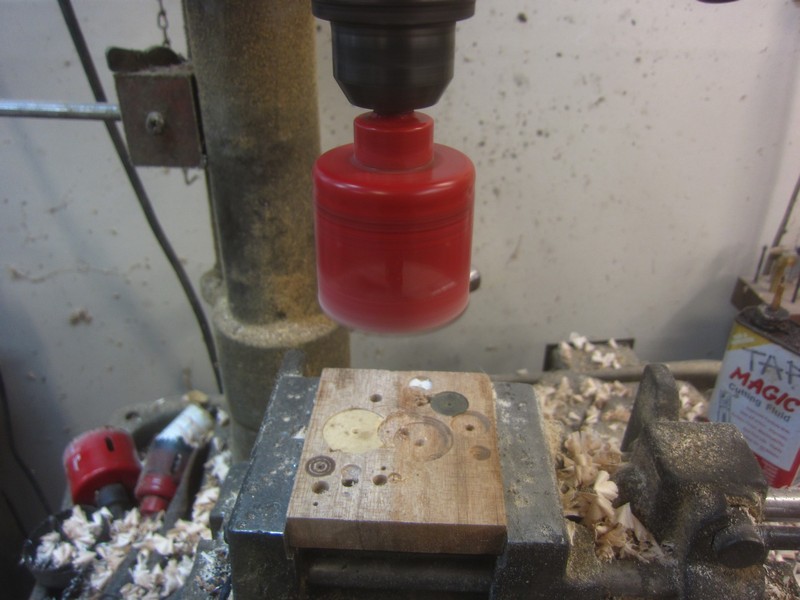
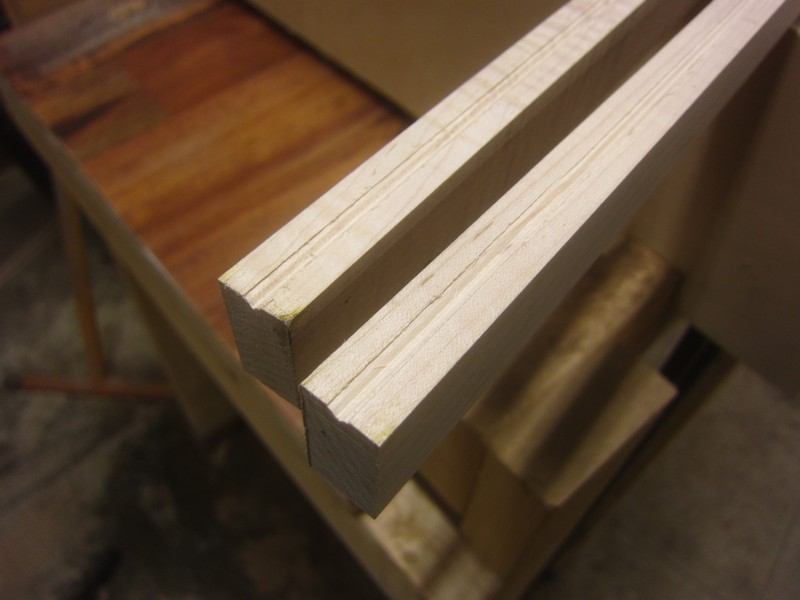
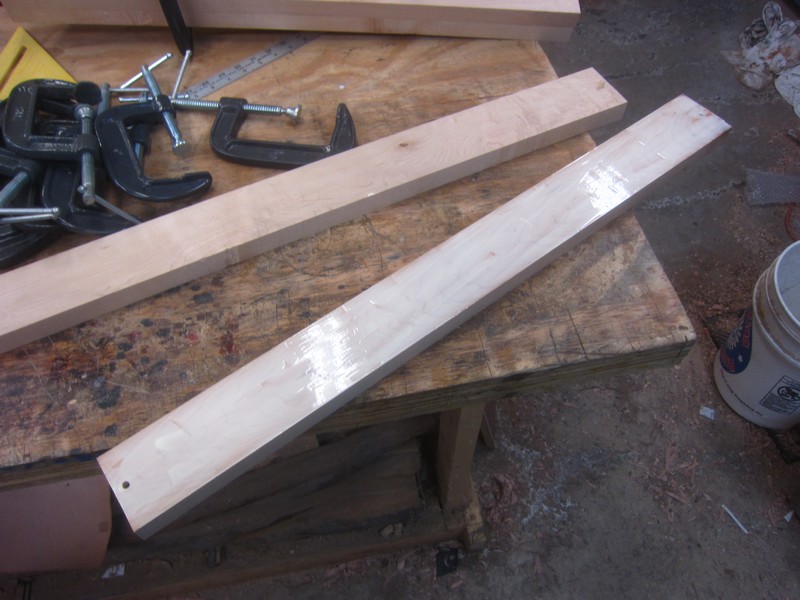
Then planed them clean and flat. Here they’ve had two holes drilled for dowels to keep them lined up when gluing, and the glue has been applied:

Image

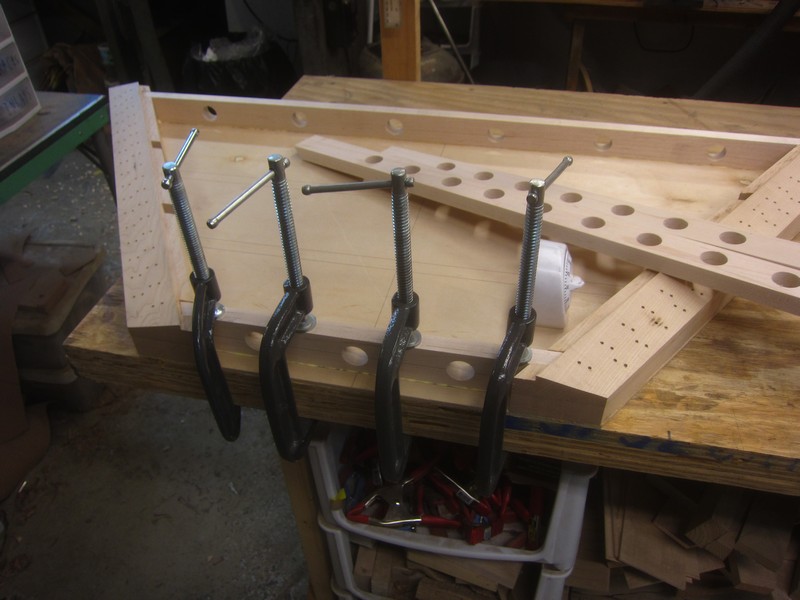
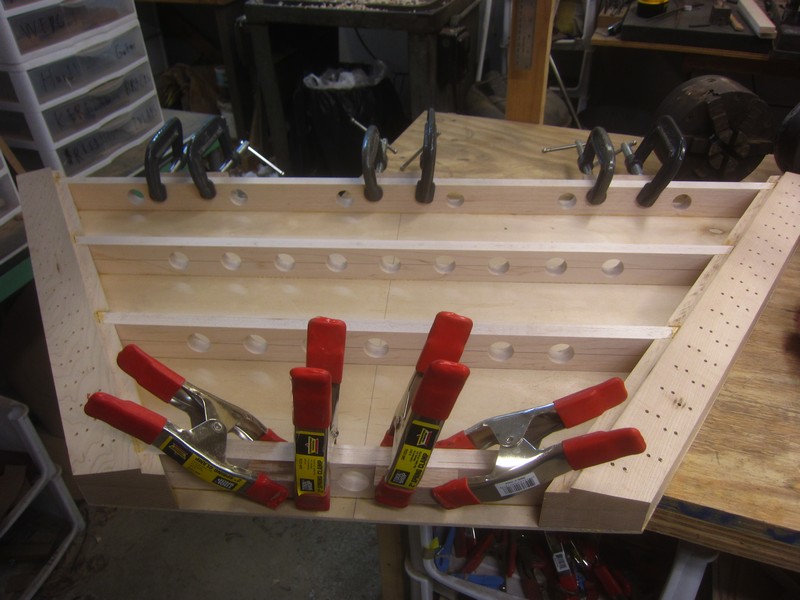
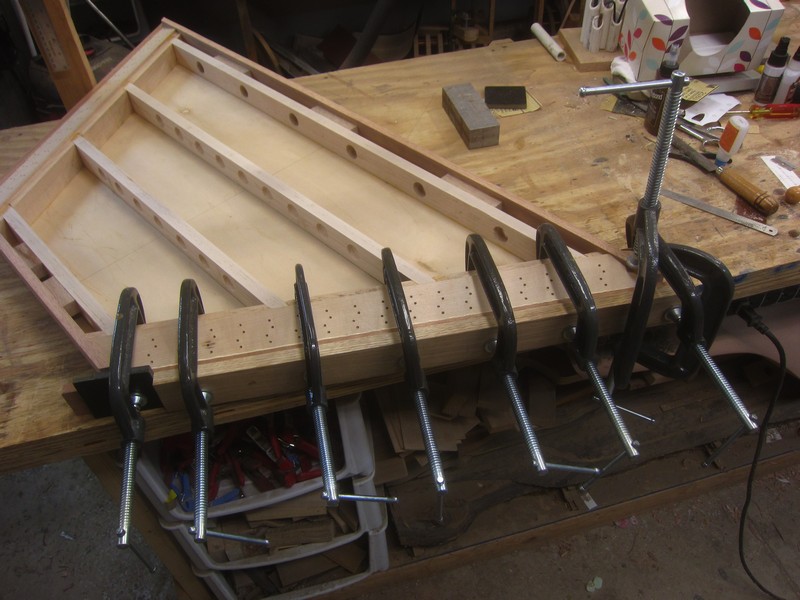
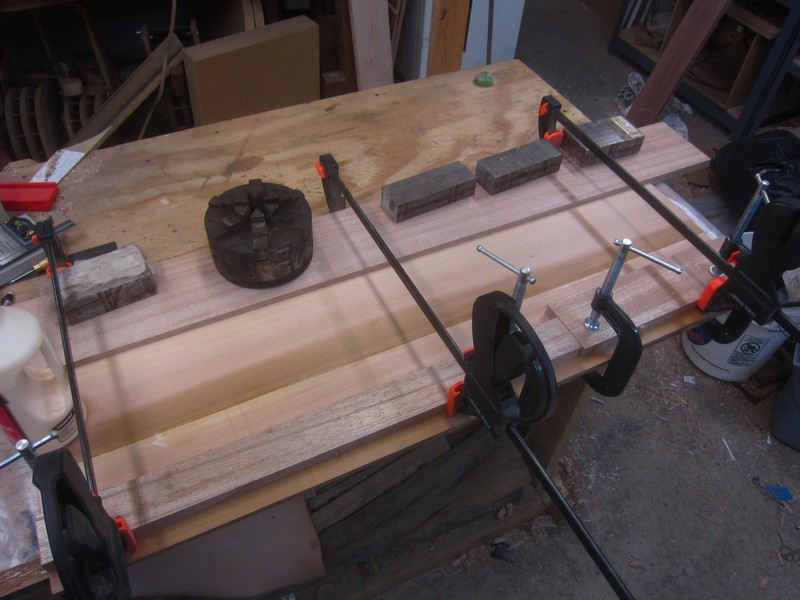
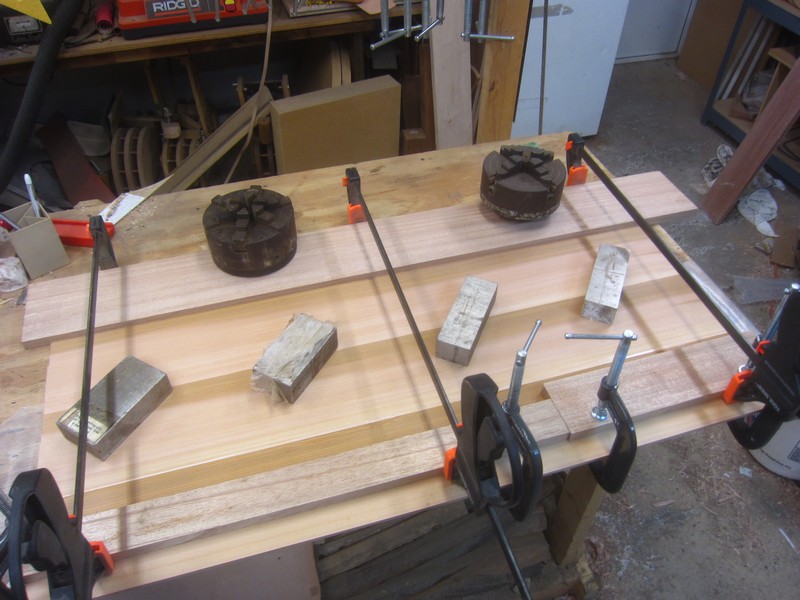
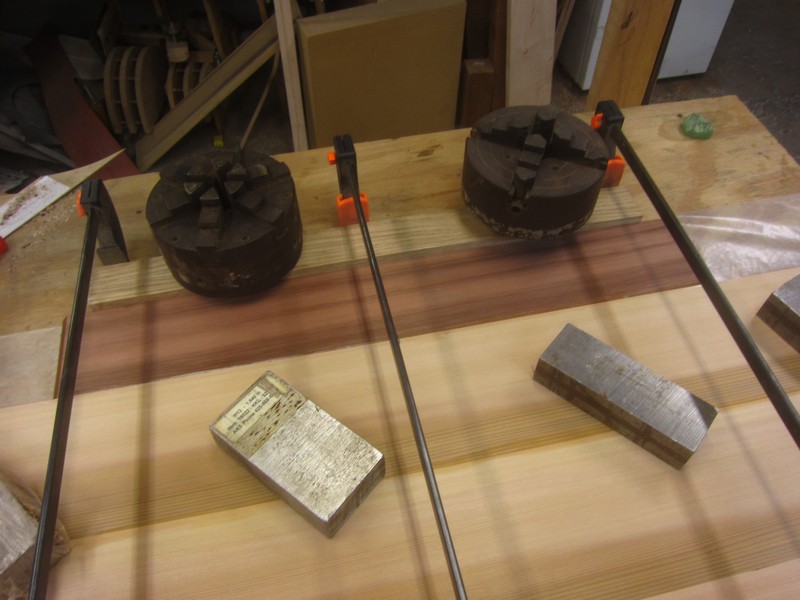
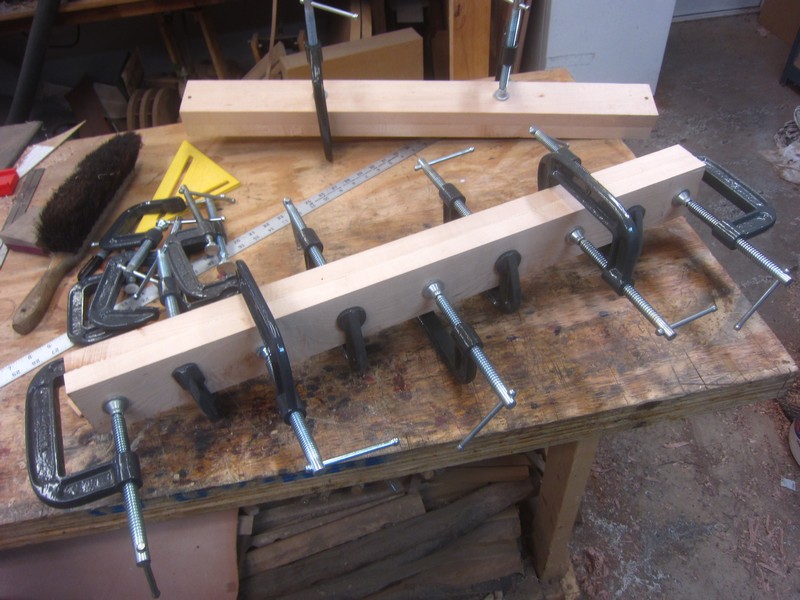
Then apply clamps and leave overnight:

Image

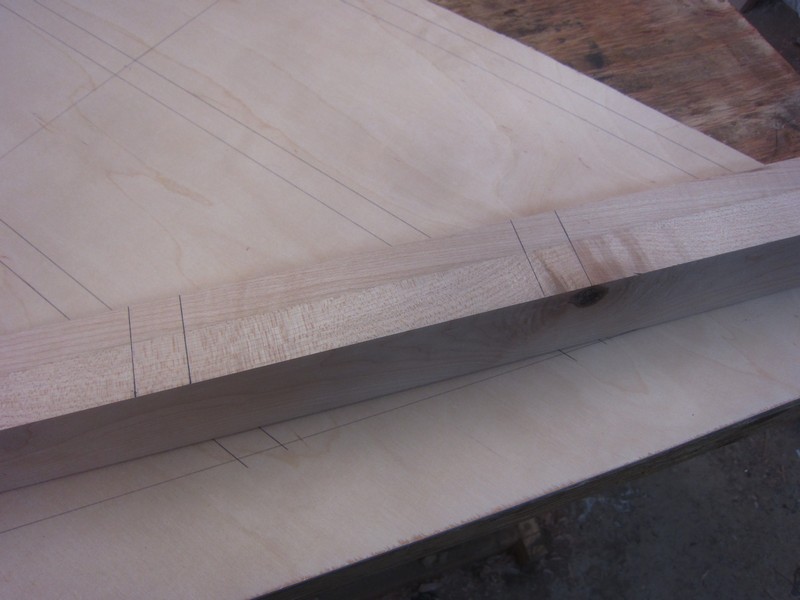
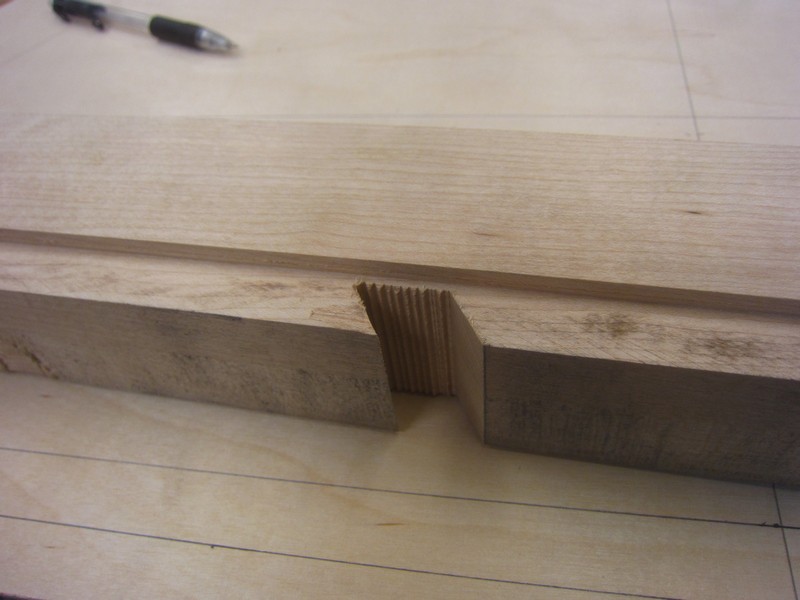
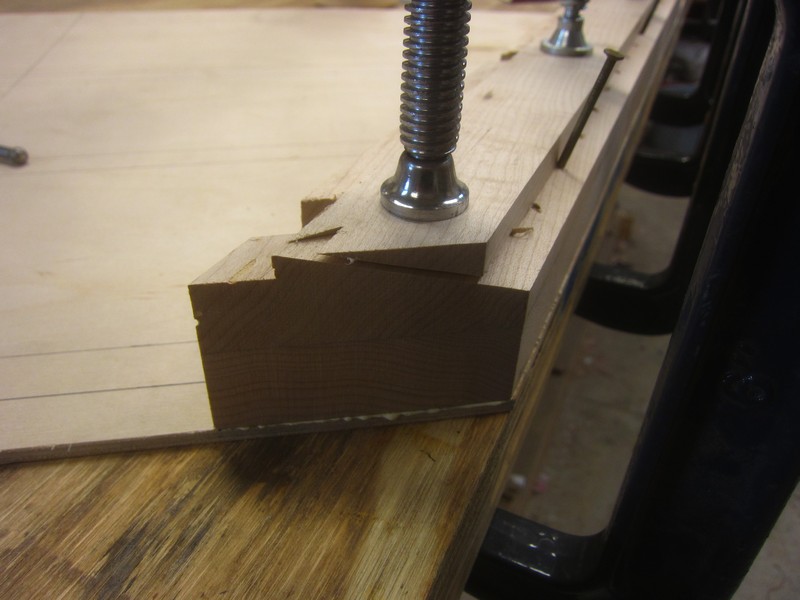
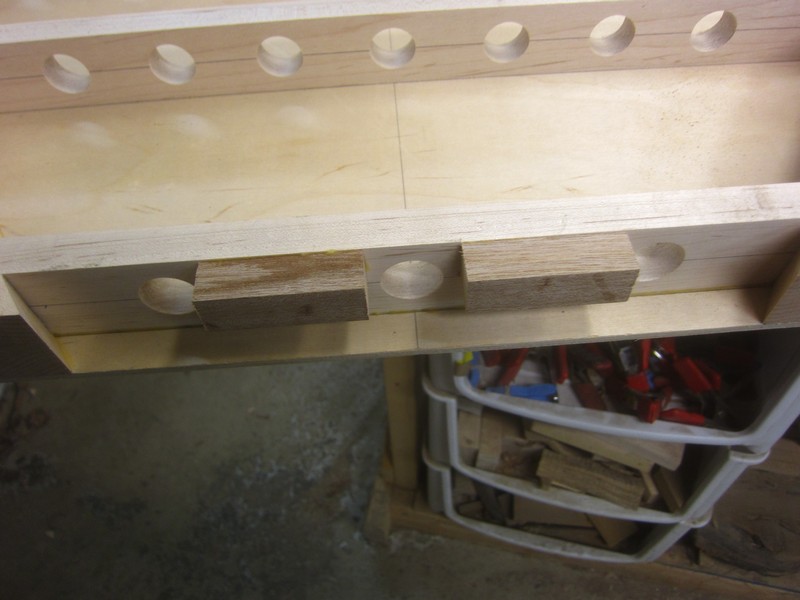
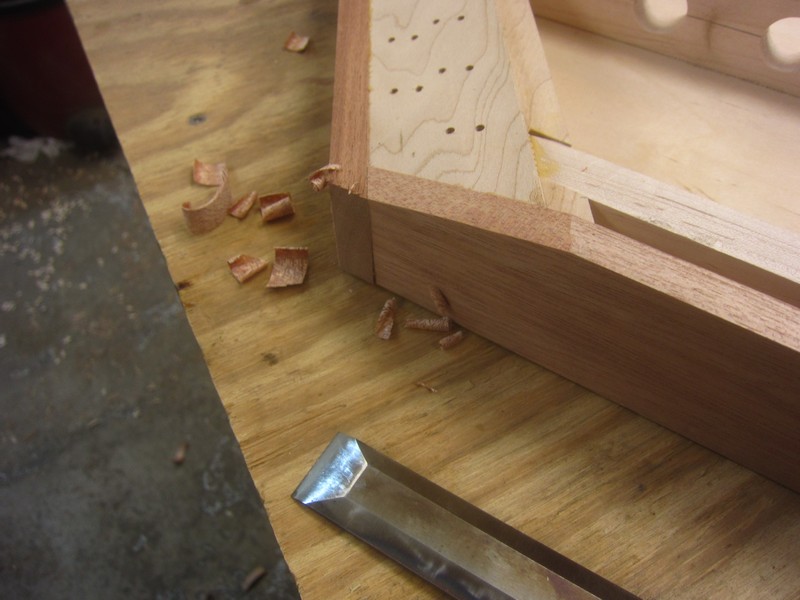
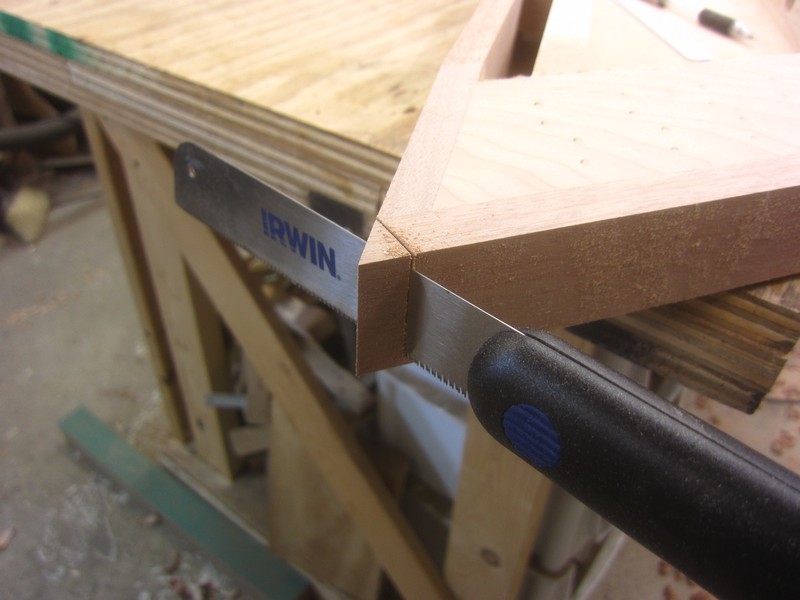
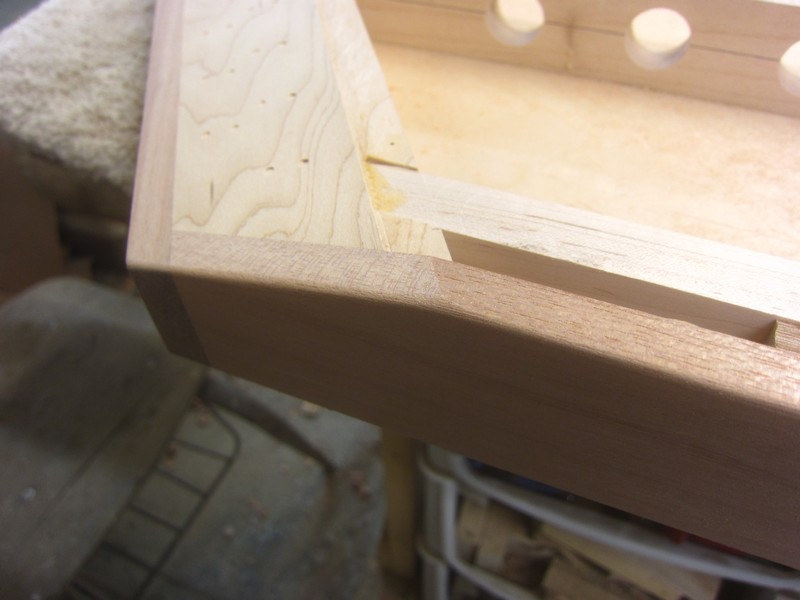
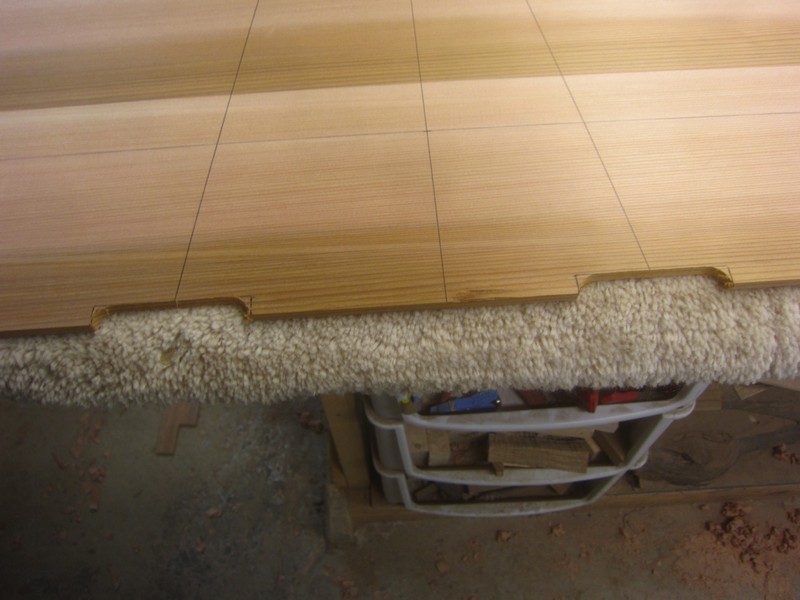
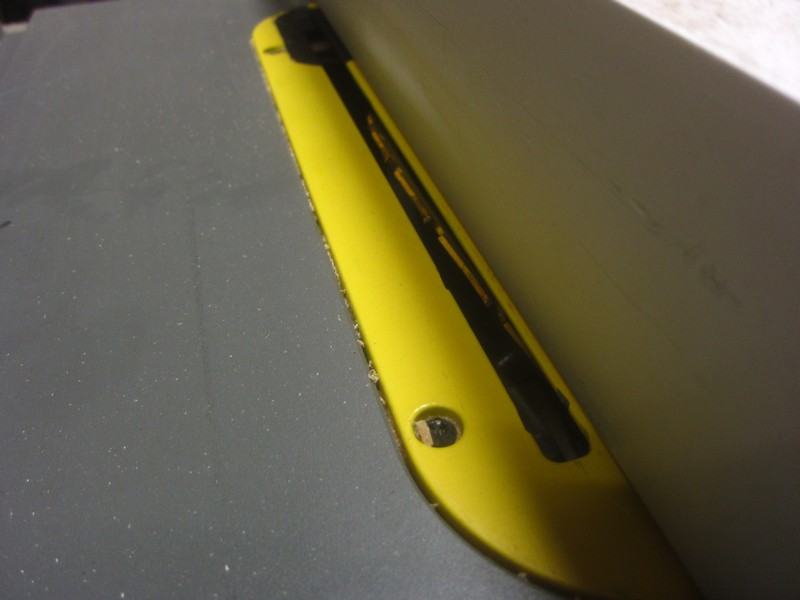
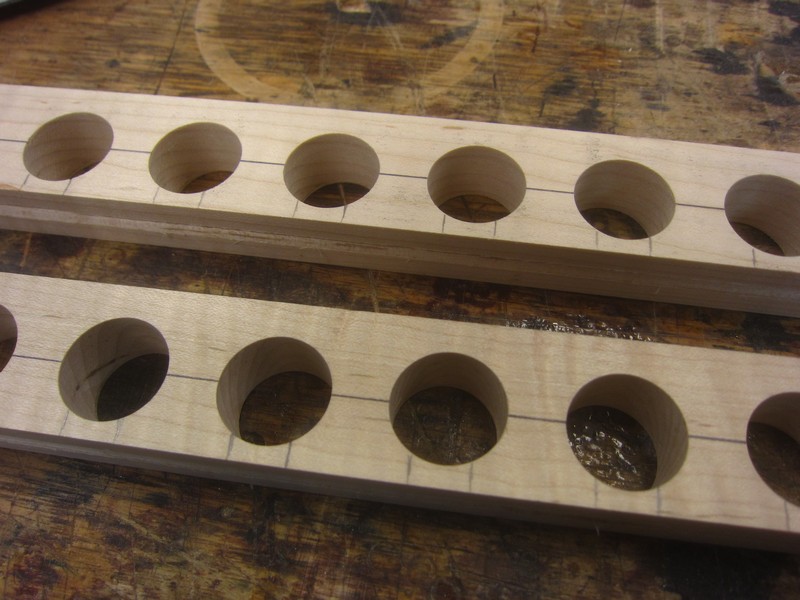
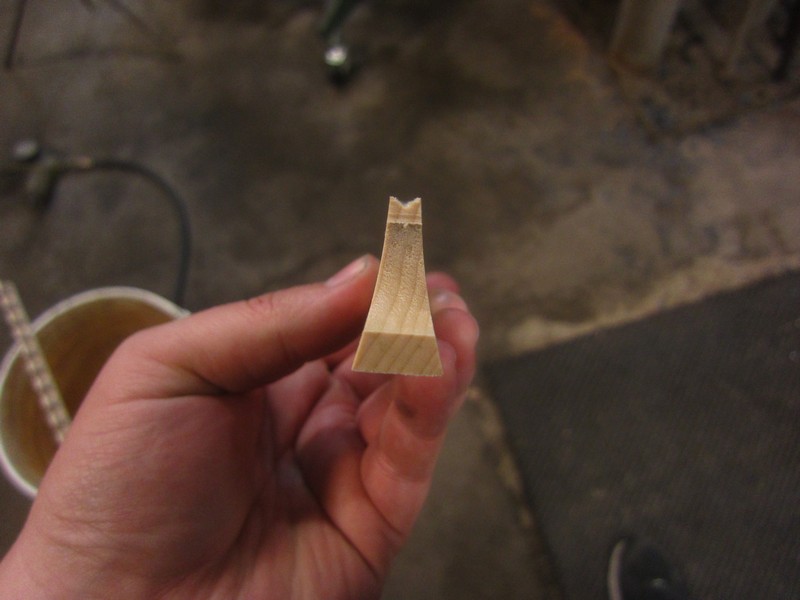
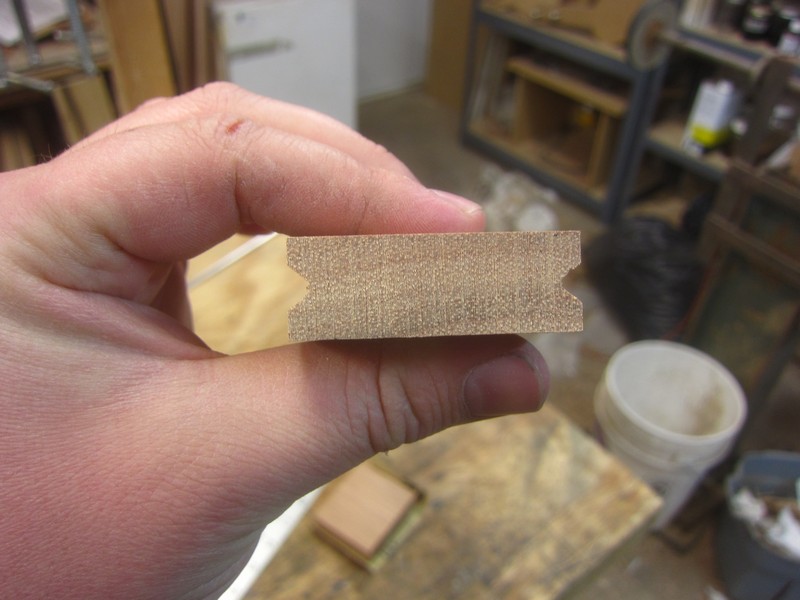
Next a ledge is cut on what will be the inside edge of the blocks. The edges of the free floating sound board will rest on these ledges. I used the table saw for this step.

Image

Author:  Phillip Patton [ Sun Dec 09, 2012 4:39 pm ]
Post subject:  Re: Hammer dulcimer build

Now the pin blocks are set on the back, and the positions of the braces are marked:

Image

Image

Then the notches for the braces are cut, again using the table saw.

Image

Then the top is cut at an angle, again using the table saw. In the past, I’d used the band saw, but the table saw was so much nicer for this step.

Image

Now the pin hole pattern is taped to the angled surface, and the pin holes are marked with an awl:

Image

Image

Then the holes are pre-drilled with a 1/8″ drill bit. My drill press doesn’t have a tilting table, so I have to use a jig in the vise to tilt the pin blocks so the surface is horizontal:

Image

Image

Author:  Phillip Patton [ Sun Dec 09, 2012 4:41 pm ]
Post subject:  Re: Hammer dulcimer build

Now the pin blocks are glued to the back. Since the top is now slanted I use the offcuts as a clamping caul, like so:

Image

Image

The nails are to keep the cauls from sliding “downhill”.Both of them done:

Image

Now the braces are made. First, they’re cut to width (slightly lower than the ledge) then to length, using a miter saw:

Image

Then a bunch of holes are drilled, so that the inside will act as one sound chamber, rather than three small ones.

Image

Now the braces are glued in:

Image

Image

And some mahogany “cleats” are glued on to the outside braces, to give the trim boards something to glue to:

Image

Author:  Phillip Patton [ Sun Dec 09, 2012 4:43 pm ]
Post subject:  Re: Hammer dulcimer build

Image

Then the top and bottom edges are jointed, so they will be straight and flat. Also, the mahogany trim pieces are cut to length and width, then planed down to 1/2″ thick:

Image

and then glued on:

Image

Image

Image

Image

Image


Now the extra wood is removed with chisel and plane, and then the surfaces are sanded and prepped for spraying:

Image

Author:  Phillip Patton [ Sun Dec 09, 2012 4:46 pm ]
Post subject:  Re: Hammer dulcimer build

Image

Image


The sharp corners are cut off, to make it less painful when run into:

Image

and the edges are all sanded round:

Image


Then it’s vacuumed out, and gone over with a tack cloth. Then it’s time for spraying. Here’s the gun:

Image


Here’s the victim:

Image


After spraying:

Image


I decided to leave all the woods natural, except the soundboard, which will be sprayed with black lacquer.

Author:  Phillip Patton [ Sun Dec 09, 2012 4:48 pm ]
Post subject:  Re: Hammer dulcimer build

The sound board. I’m using some western red cedar that I got from a lumber yard here in town. It started out as an 8″X8″ fence post. I cut it down to 48″ long, wasting some knots in the process:

Image


Then I ran it through my planer to clean it up:

Image


I normally use my bandsaw to resaw this sort of thing, but I don’t have any sharp blades for it right now, so I used the table saw. Was not fun, but it did the job. Had to cut from both sides, of course. I cut it plenty thick, and then planed the pieces down to 1/4″ thick.

I guess I neglected to get any pictures of the raw cut pieces, but here are some of gluing them all together. The short piece at the top is some old cedar or redwood the a friend gave me. He said it was salvaged from a river bottom after being sunk for 150 years. After smelling it, I believe him. :D

Image

Image

Image


After gluing all 4 pieces together, I mark it to cut it to it’s final shape:

Image


Then cut it so it fits inside the body:

Image


Image

Author:  Phillip Patton [ Sun Dec 09, 2012 4:50 pm ]
Post subject:  Re: Hammer dulcimer build

Now the locations of the soundholes are determined, and pilot holes are drilled. I also made the grooves at the locations of the bridge braces, which will be used for adjusting said braces:

Image

Image

Image

Image


The rosettes. Turns out they weren’t glued in to the old HD, so they just popped out. That was nice.

Image


I used a hole saw so cut the sound holes:

Image


And this is why I hate hole saws:

Image


It’s also why I drilled from the bottom of the soundboard. So no one will see mistakes like that. :D

After the holes are drilled, the side edges have a bevel planed on to them, which will hold the saddles, then the top is sanded smooth, and a coat of sealer is applied:

Image

Image

Author:  Phillip Patton [ Sun Dec 09, 2012 4:50 pm ]
Post subject:  Re: Hammer dulcimer build

After the sealer is dry, the soundboard is sprayed with a few coats of black lacquer. Here’s the first coat:


Image


When the first coat is dry, some dirt is removed, and other defects sanded, then a couple more coats are sprayed. Here’s the last coat of black:

Image


Then several coats of clear go on.

Author:  Phillip Patton [ Sun Dec 09, 2012 4:54 pm ]
Post subject:  Re: Hammer dulcimer build

Here’s the last shot of the sound board, after squeezing the rosettes in:

Image

Time to make the bridges. First thing is to determine the space between holes. This is usually the most frustrating part of the whole deal. But this time it was a cinch, so maybe my frontal lobe has developed some since I last made one of these. ;-)

This time, I stretched a thread between the pins, at the top and bottom of the blocks, then measured the distance between them, at the position and angle where the bridge will be. Then divide that number by the number of spaces between courses. So, for the treble side, it was 19.125″, divided by 17, = 1.125″.

Image

So, having got that figured out, it’s time to process the wood. I used curly maple for the bridges. First cut it out of the parent board, then joint the edges, and plane to 5/8″ thick. I’m making these 1-1/8″ tall.

Image

Now the table saw is used to make a V shaped groove on the top:

Image

Image

Then the holes are layed out:

Image

and drilled. I used a 3/4″ forstner bit. I also marked where I’ll be cutting notches:

Image

The notches cut and the bridges set in place:

Image

Author:  Phillip Patton [ Sun Dec 09, 2012 4:56 pm ]
Post subject:  Re: Hammer dulcimer build

Here’s how the cross section of the bridges ended up. I used a 10" wheel on my belt grinder to give them a hollow grind.

Image

I’m using 3/16″ diameter music wire set on top of the braces, to support the bridges. I was worried they wouldn’t be strong enough to support it, so I added some braces in between the others:

Image

Now it’s time to make the strips of wood that hold the saddles. They’re made pretty much like the bridges, except they’re only 1/4″ tall:

Image

Image

Image

Now it’s time to drill out the tuning pin holes:

Image

The pins:

Image

I made this tool for driving the pins in. It keeps them from going in too far.

Image

Author:  stan thomison [ Sun Dec 09, 2012 4:57 pm ]
Post subject:  Re: Hammer dulcimer build

Nice. I build a few Mt. Dulcimers and have thought of doing one of these for my wife who is a player.

Author:  Phillip Patton [ Sun Dec 09, 2012 4:58 pm ]
Post subject:  Re: Hammer dulcimer build

Image

Image

The hitch pins:

Image

Making a carrying handle:

Image

Image

Image

The hole to the left of the handle is for the pickup jack.

Author:  Phillip Patton [ Sun Dec 09, 2012 5:02 pm ]
Post subject:  Re: Hammer dulcimer build

Here’s the soundboard, with the piezo pickups glued to the underside and wires soldered to them:

Image

And here the wires are threaded through the holes in the braces. When the sound board is lowered into place, the wires are pulled somewhat taut, so they won’t rattle around too much.

Image

Now the wires are pulled out through the jacks hole, and trimmed to length:

Image

Then the ends are stripped, and the hot wires are all soldered together, and so are the ground wires, with a short section of wire that will go to the jack:

Image

The soldered portions are trimmed down, and covered with tape so they won’t short out:

Image

Now the wires are soldered to the jack. After taking this picture, I realized I got the hot and ground wires mixed up, so I had to reverse them…

Image

Now the jack plate is screwed to the instrument:

Image

Here’s where those steel rods end up. The idea here is, after stringing it up, you can move these rods around if it doesn’t sound good. You have to do it fairly quickly, because the string pressure will make press the rods into the soundboard a bit, and it they won’t want to move then.

Image

Author:  Phillip Patton [ Sun Dec 09, 2012 5:05 pm ]
Post subject:  Re: Hammer dulcimer build

The bridges and saddle set into place:

Image

Here’s the delrin markers that go on top of the bridges. White ones mark the start and end of keys:

Image

I almost forgot my label…

Image

Here it is with half the strings put on:

Image

The other half:

Image

And it’s finished! Please excuse the cluttered desk…

Image


I’ll try to record a video or sound clip soon.

If anyone has any questions, please don’t hesitate to speak up.

Author:  Ken Franklin [ Sun Dec 09, 2012 6:05 pm ]
Post subject:  Re: Hammer dulcimer build

That is too cool Phillip. Do you have plans you built from?

Author:  nyazzip [ Sun Dec 09, 2012 8:34 pm ]
Post subject:  Re: Hammer dulcimer build

that things a monster! i didn't know they were so big; there must be mini models that are popular, ans thats what i was envisioning

Author:  Bryan Bear [ Sun Dec 09, 2012 9:35 pm ]
Post subject:  Re: Hammer dulcimer build

Very nice! It looks like it would take some practice to get this right. I love the colors too.

Author:  WudWerkr [ Mon Dec 10, 2012 9:40 am ]
Post subject:  Re: Hammer dulcimer build

Beautiful work ................... you may win the chisel with this one ! :D

Author:  Phillip Patton [ Mon Dec 10, 2012 9:49 am ]
Post subject:  Re: Hammer dulcimer build

Ken Franklin wrote:
That is too cool Phillip. Do you have plans you built from?


I used plans for the last one I did. For this one, I took a few measurements off my own dulcimer, then did everything else by eye.

The plans I used before were free online. A search should eventually turn them up. Next time I'm in the shop I'll look for them...


WudWerkr wrote:
Beautiful work ................... you may win the chisel with this one ! :D


Thanks Jim!

I think the total is less than $150, so I could have entered, if I weren't sponsoring. duh

This took me right about a week to build.

Author:  douglas ingram [ Mon Dec 10, 2012 10:10 am ]
Post subject:  Re: Hammer dulcimer build

Very nice.

You make it look so easy, however this is one year too late for me! I had a friend ask me about building one last year, but I had no idea of the work involved so had no way to provide an estimate and passed on the project.

Author:  SteveSmith [ Mon Dec 10, 2012 10:12 am ]
Post subject:  Re: Hammer dulcimer build

That is really nice work. Thanks for showing us how that was built.

Author:  Phillip Patton [ Mon Dec 10, 2012 11:07 am ]
Post subject:  Re: Hammer dulcimer build

I remembered wrong about the plans. The ones I used before was this book:

http://www.amazon.com/Do-It-Yourself-Du ... 1893385019

I got it from the library.

Page 1 of 1 All times are UTC - 5 hours
Powered by phpBB® Forum Software © phpBB Group
http://www.phpbb.com/