Official Luthiers Forum!
http://luthiersforum.com/forum/

X Brace Tutorial (Lots of Pics)
http://luthiersforum.com/forum/viewtopic.php?f=10117&t=15971
Page 1 of 2

Author:  LanceK [ Fri Dec 21, 2007 11:07 pm ]
Post subject: 

Like most things with lutherie, this is only one way to do it!

Below is a fairly quick and accurate method of making an X brace using a laminate trimmer, 1/4" bit, table saw and a Luthier Suppliers brace radiusing jig.

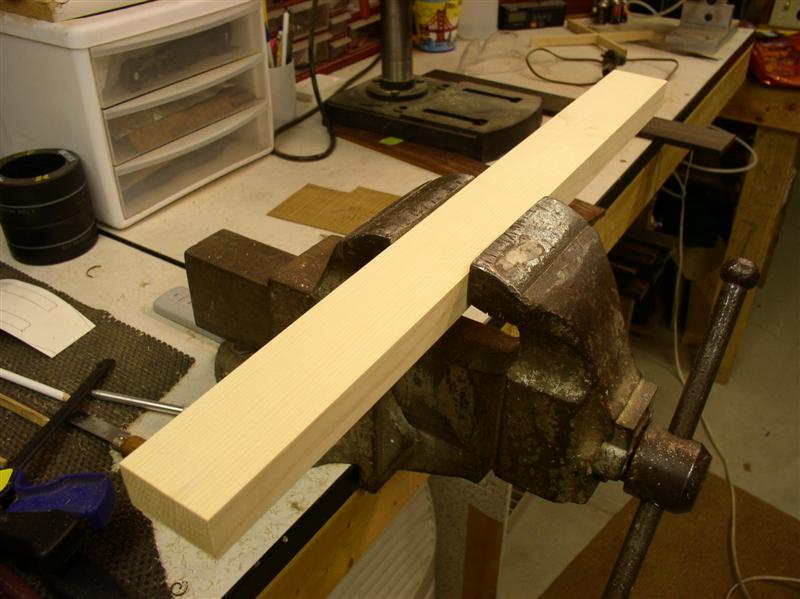
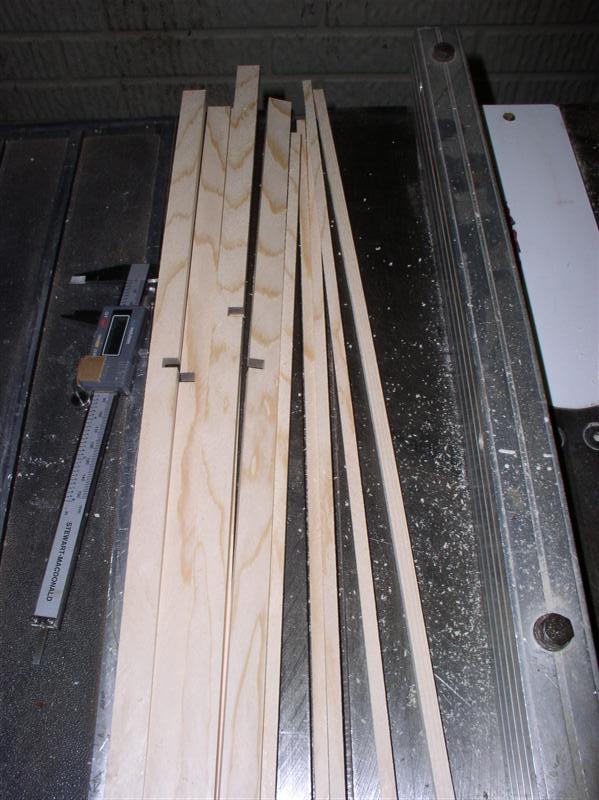
First thing I do is square up all four sides of my brace stock.


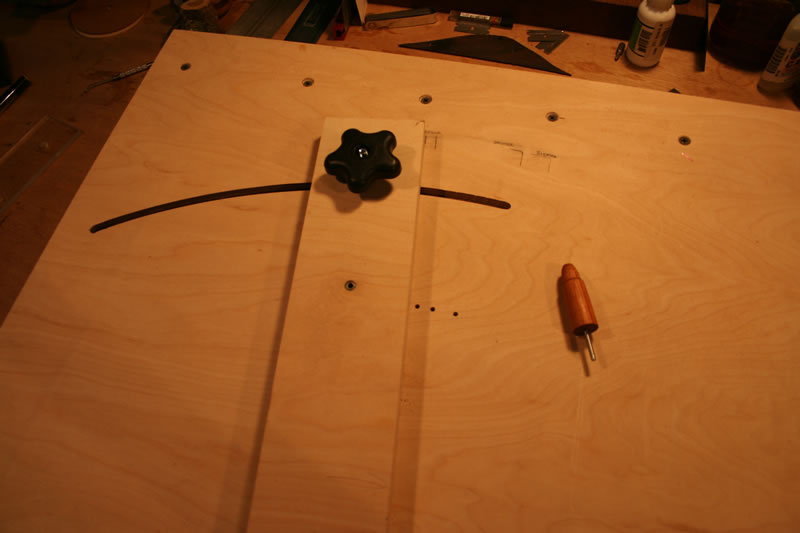
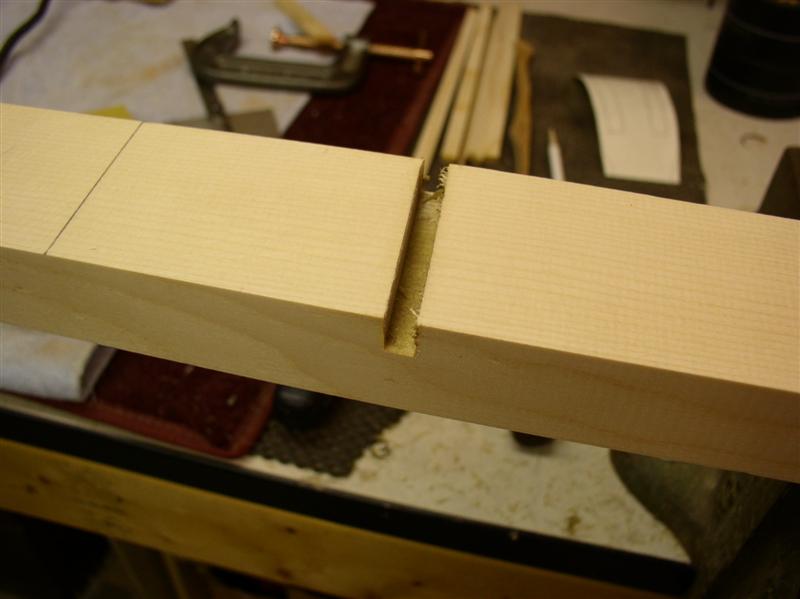
Then I mark were I want to cut the lap joint. Here I am using a 96* splay for my OMFS model.


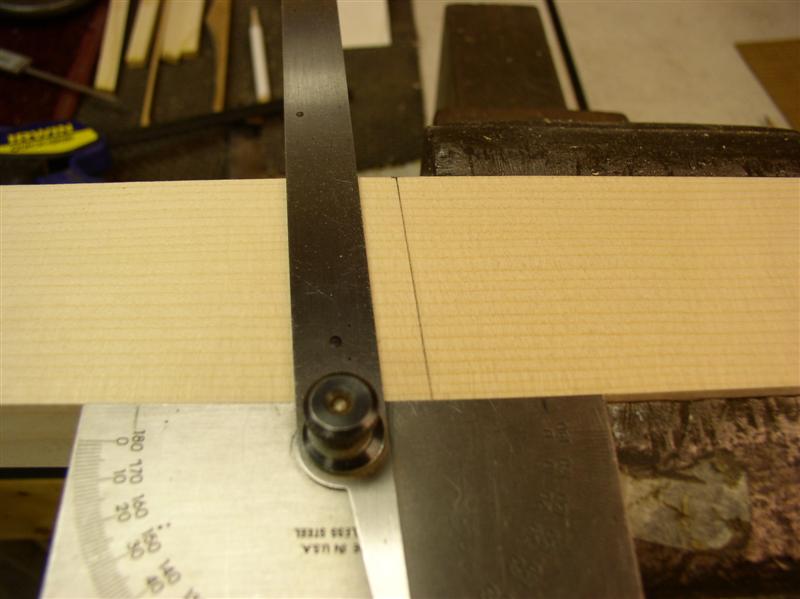
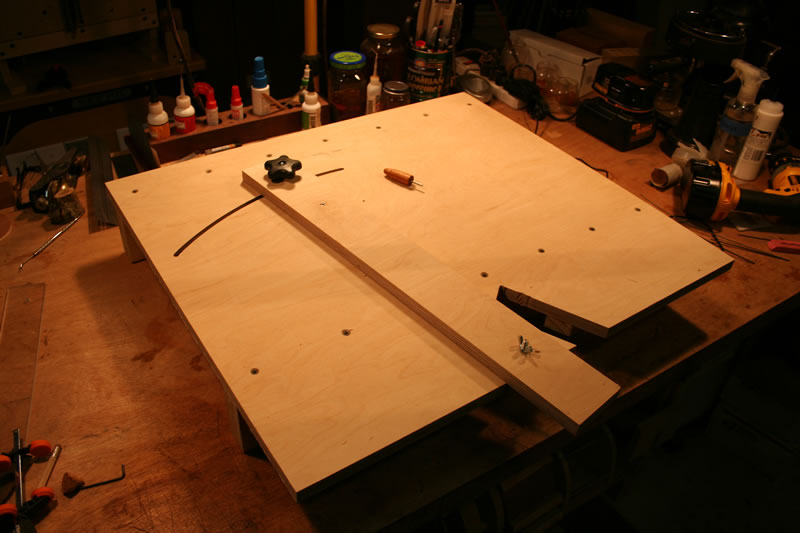
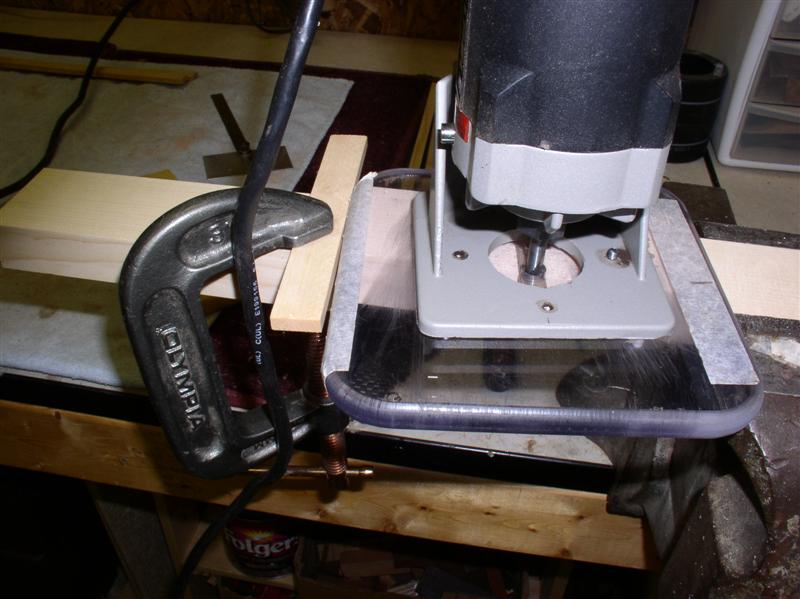
Next I measure from the out side of the bit to the edge of the base, this will give me the distance I need to place my fence from the line I want to cut.


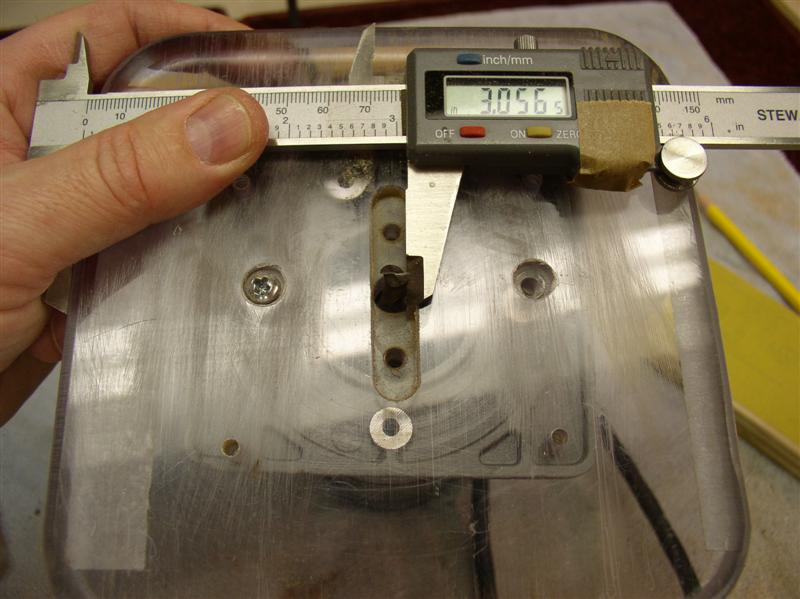
Here I have clamped on a temporary fence then check the deapth of cut.


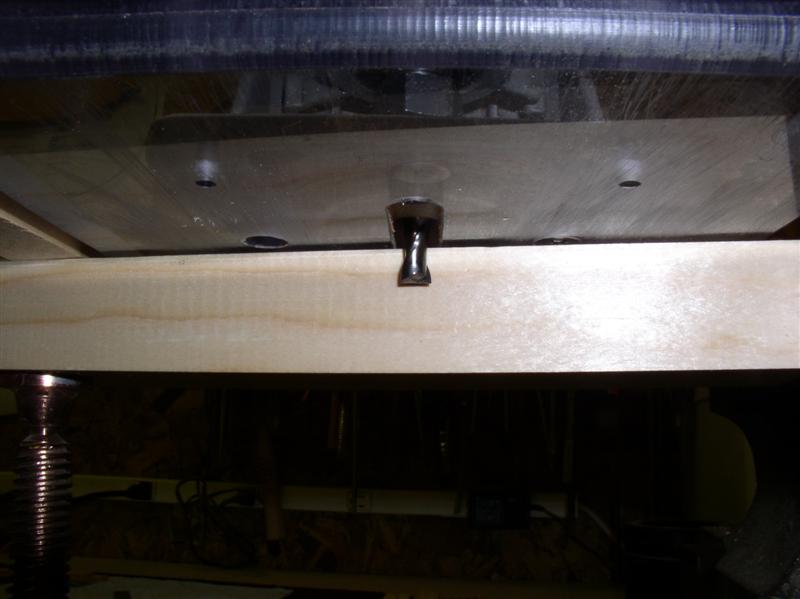
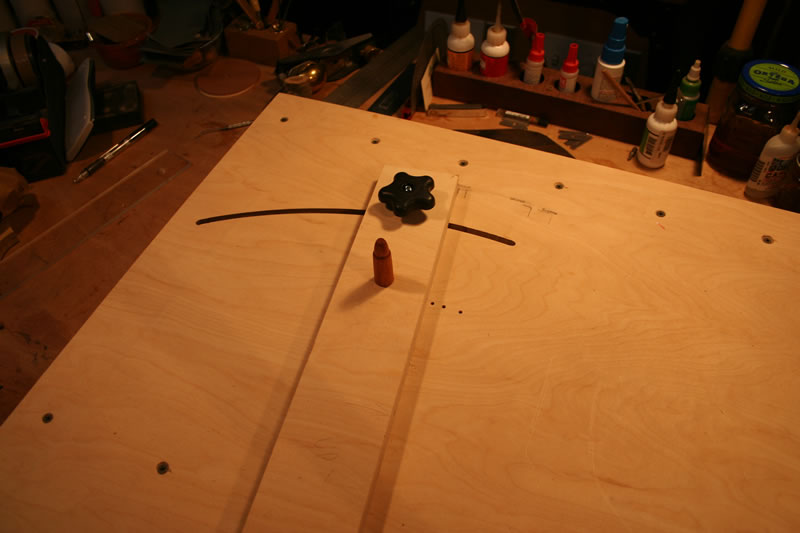
Next I cut the 1/4" channel.


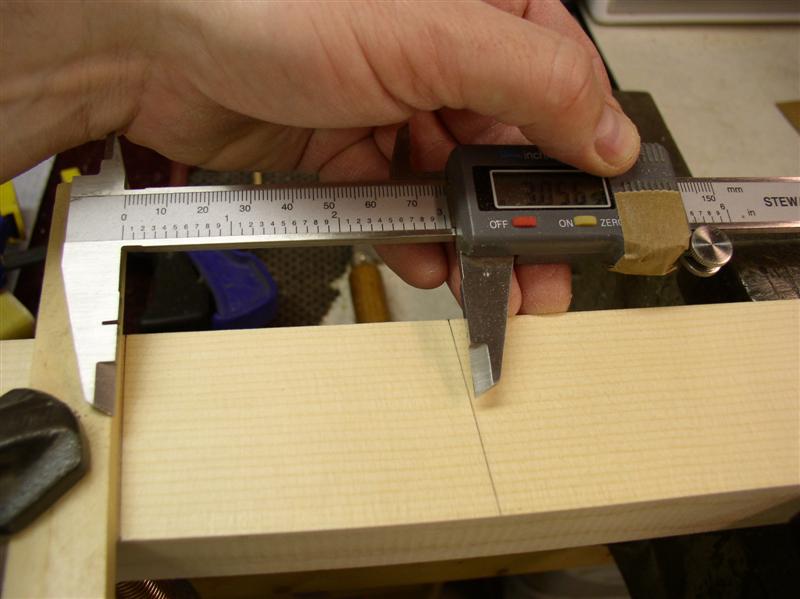
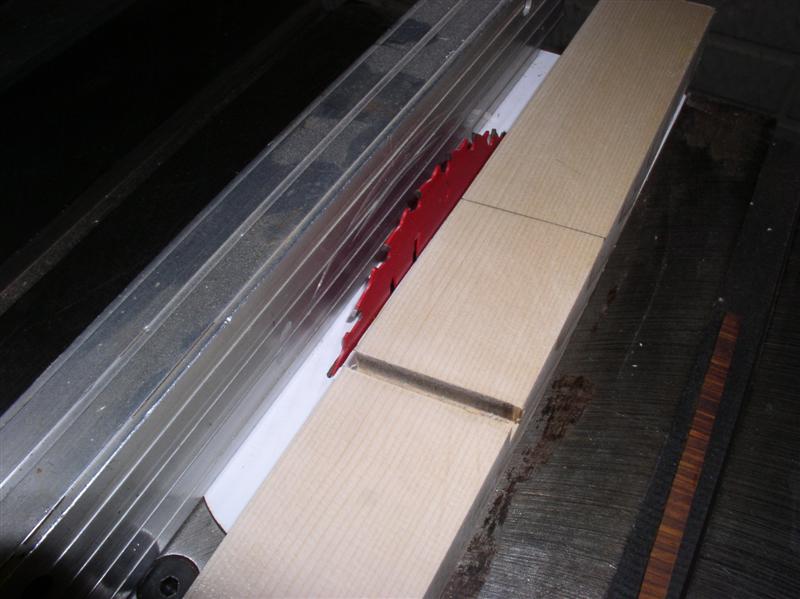
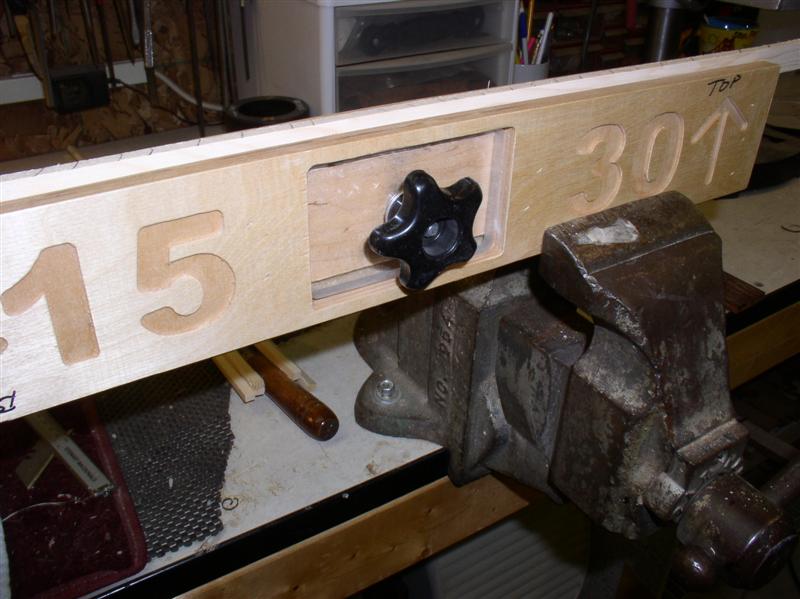
Next I take the brace stock to the table saw. I want to cut my braces just a tad wider than 1/4".


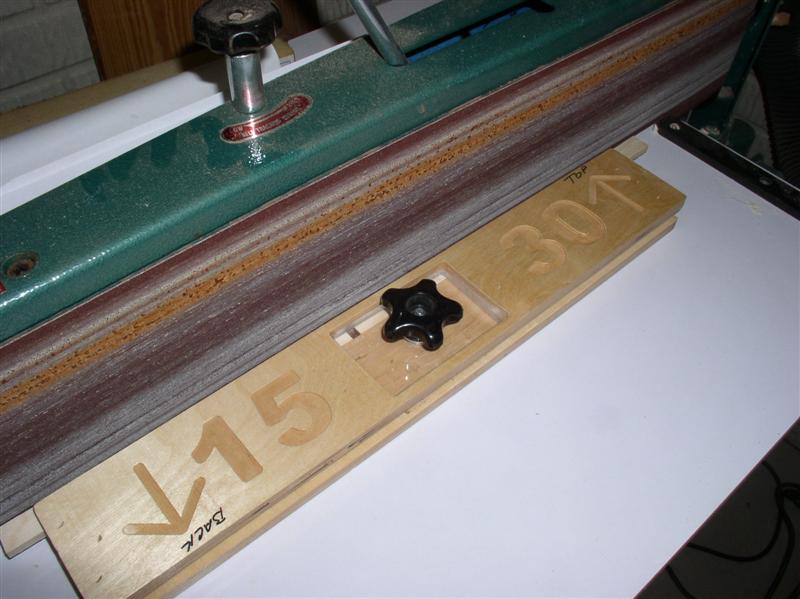
Now I will sneak up on the final thickness of the brace using my drum sander.


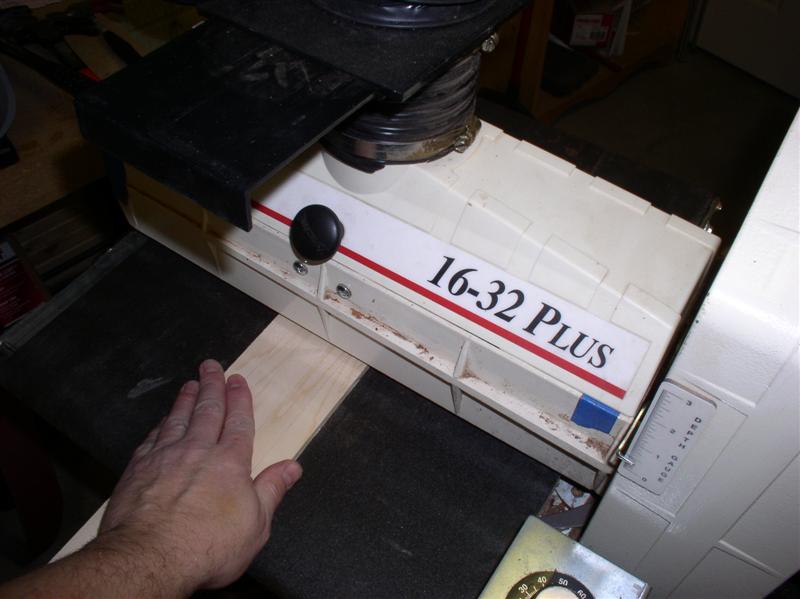
I am shooting for .250, getting close.


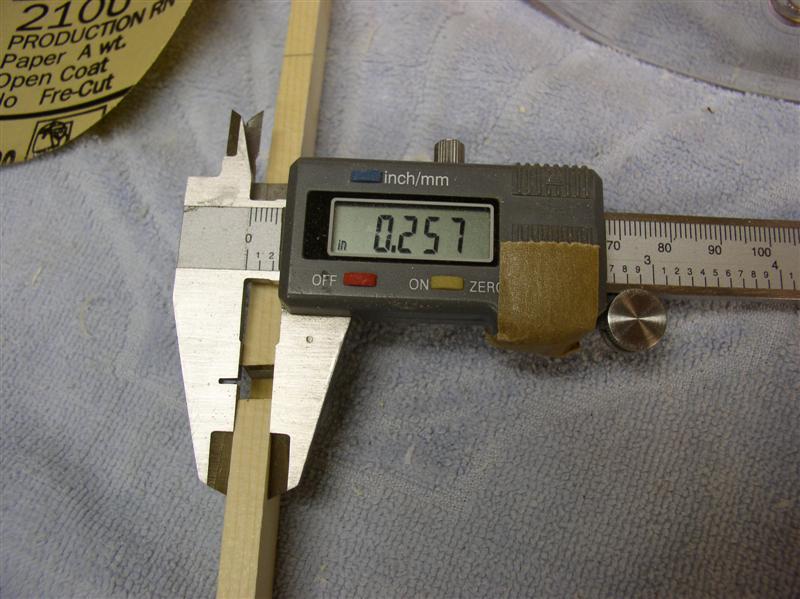
The last few thousands are taken of using 220 to give the brace a nice clean appearance.
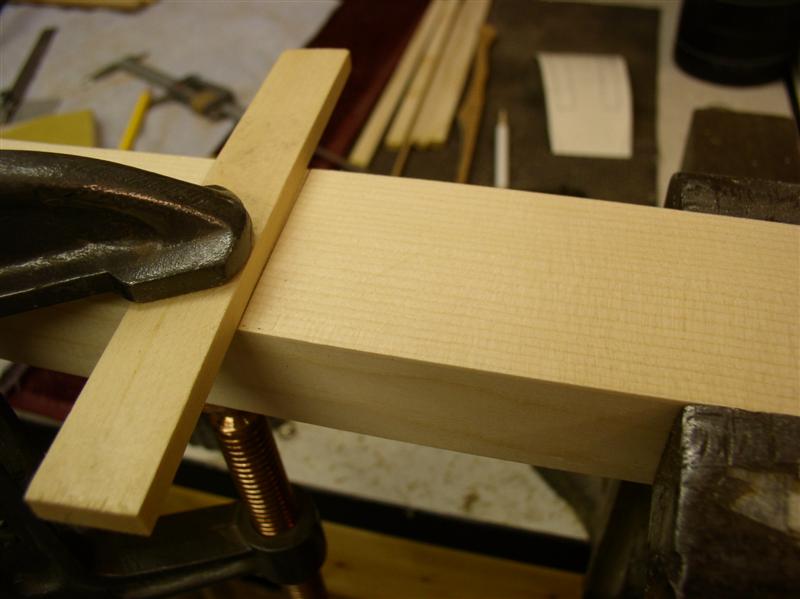
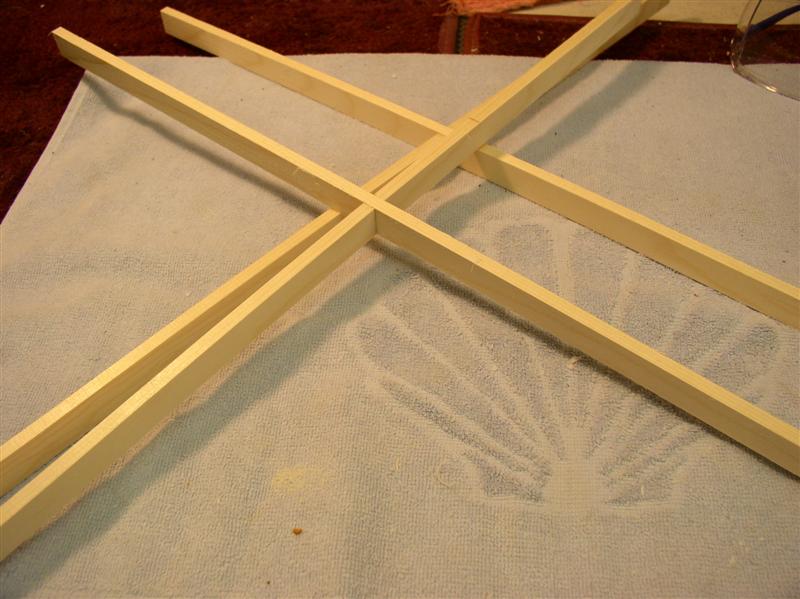
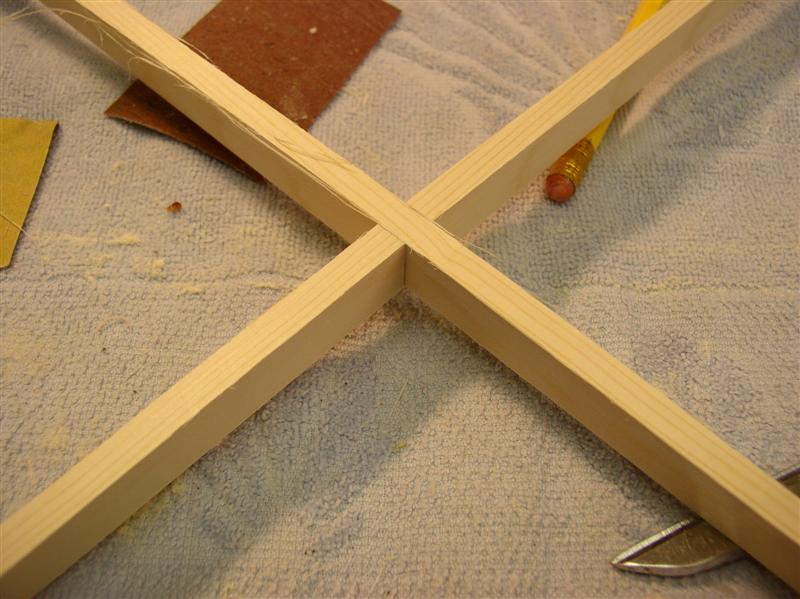


Perfect fit!


The last thing I do is establish the radius. Some people use a sanding dish, some mark the radius and plan it off, I use one of Luthier Suppliers radius jigs. Love this thing!


Finished!


Author:  MaxBishop [ Fri Dec 21, 2007 11:27 pm ]
Post subject: 

Super tutorial, Lance. I don't make acoustics, but your methods and processes will be very useful to me in making clasicals and flamencos.

Many thanks,
Max Bishop
Brighton, Michigan

Author:  Hesh [ Fri Dec 21, 2007 11:59 pm ]
Post subject: 

Lance you tooted!!!!  Excellent toot my friend!!!  Many thanks for this!

In another thread a while back we discussed when you have a perfect fit not gluing the braces at the intersection and instead gluing one of them at a time onto the top.  When the second brace is glued the X joint is also buttered up and glued.  This is attractive to me because you only have one X-brace to go-bar and clean around at once.  And when using HHG you don't have 5 points of alignment to get right all at once.

Do you think that you will glue this way or do you already?

Great job Lance!!!


Author:  LanceK [ Sat Dec 22, 2007 12:23 am ]
Post subject: 

Thanks Guys!

Hesh, No I prefer to glue up the X brace prior to gluing it down to the top.

Author:  LanceK [ Sat Dec 22, 2007 12:24 am ]
Post subject: 

[QUOTE=Hesh] Lance you tooted!!!!  Excellent toot my friend!!! 
[/QUOTE]

Excuse me!

Author:  jhowell [ Sat Dec 22, 2007 12:51 am ]
Post subject: 

Lance--


Thanks for the tutorial!  Using a router to accurately set the x-brace angle and width fit just rocks!  As Hesh has mentioned above, I glue mine in one at a time on the go-bar deck.  Seemed intuitively easier!


Author:  WaddyThomson [ Sat Dec 22, 2007 12:58 am ]
Post subject: 

Very nice tutorial Lance.  Welcome to the Toot Board of Excellence.  

Author:  JJ Donohue [ Sat Dec 22, 2007 1:40 am ]
Post subject: 

Thanks, Lance...nice method!

I radius my braces in the Bob C. router jig that he posted 3-4 years ago...when he used to make terrific guitars!

I'm also in the camp where I assemble and join the 2 halves and glue in one piece. Before that, however I sand the assembled X in it's appropriate sanding dish to make sure that all is smooth at the juncture. I glue up in the radiused dish in a gobar deck. Make sure you keep the dish and the top clamped so it won't rotate during the glueup...this is important IMO.

Even with HHG, I've never struggled with time. One key is to keep the surfaces warm to allow for more open time. Also...no wasted motion...keep everything within reach. Practice so that the dance is choreographed without any hitches. Here's how I do it with plenty of time to spare:

1) heat the surface of the top with a hair dryer
2) microwave the X-assembly for 20-30 sec on high
3) Lay down a bead on the top between the bracing pencil lines
4) Place the X in place and put one gobar in the center, followed by the others along the legs.

Steps #3 & #4 take around 30 seconds max. Once you do this a few times you'll get the knack of how large the bead needs to be for minimal squeeze-out. Early on I used alignment blocks at the brace overhang as well as the X juncture itself but I don't need that anymore. Be creative and devise your own time savers. Once you get confident, you'll find that it's far less scary than you ever imagined. Just do it!

Rant over!


Author:  Brad Way [ Sat Dec 22, 2007 1:58 am ]
Post subject: 

Lance....great tutorial.

Author:  Terence Kennedy [ Sat Dec 22, 2007 1:59 am ]
Post subject: 

That's great Lance.  I like your slotting technique.  I built a slotting jig way back that works fine but it only does one angle.  Your idea for measuring the router bit-base edge distance is way too simple! 
BTW is that the Grizzly G0512 edge sander?  Has it worked well for you?
Terry


Author:  Terence Kennedy [ Sat Dec 22, 2007 2:03 am ]
Post subject: 

Oh yeah, one other thing, When you guys cut your braces after you've squared up the stock do you get much warping as the wood is stress relieved? 
Terry


Author:  Bill Greene [ Sat Dec 22, 2007 2:06 am ]
Post subject: 

Great Lance...just great. I appreciate this. I've done two the old fashioned way, and this will work perfectly for what I want to do, which is cut a few properly, and rubber band them together and put them aside for later use.

Thanks!

Author:  Rod True [ Sat Dec 22, 2007 2:29 am ]
Post subject: 

Thanks Lance, great method.

I want to use the router to cut the channel to, you've given me an other way to make this work. Thank you.

Author:  Rod True [ Sat Dec 22, 2007 2:33 am ]
Post subject: 

PS,

That's one heafty looking vice you got there. Do you use soft jaws of some sort when holding parts?

Also, are you a lefty? You have your table saw fence on the opposite side that I see most (not that there is anything wrong with that)

Author:  Brock Poling [ Sat Dec 22, 2007 2:42 am ]
Post subject: 

[QUOTE=Terence Kennedy] That's great Lance.  I like your slotting technique.  I built a slotting jig way back that works fine but it only does one angle.  Your idea for measuring the router bit-base edge distance is way too simple!  BTW is that the Grizzly G0512 edge sander?  Has it worked well for you?Terry
[/QUOTE]

After seeing yours I actually built an adjustable version of yours. Not only can you adjust the angle, but you can also replicate angles exactly over and over again. I used a drill bushing and a registration pin.

The pictures should be clear.


Author:  Rod True [ Sat Dec 22, 2007 2:52 am ]
Post subject: 

Nice looking jig Brock, but I'm confused with one thing.

where do you put the brace stock? It sure looks like you'd run the braces against the fence but where does the router run? It looks like it runs more parallel to the fence rather than perpendicular.

I'd like to make something like you've made and I have an idea of how I'll do it, just thought you'd explain the "cutting" a bit.

Author:  Brock Poling [ Sat Dec 22, 2007 2:57 am ]
Post subject: 


Sorry,

I put it under the front of the table. There is a fence spaced 1" back from the edge of the front. I place stop blocks in there and clamp the braces to it.

The only thing you have to do is make sure and put a sacrifice piece behind it or you will get some tear out as the router leaves the stock. (and ... I suppose this is obvious, but the sacrifice piece needs to be of a uniform thickness so you don't mess up the angle.)


Author:  Terence Kennedy [ Sat Dec 22, 2007 3:08 am ]
Post subject: 

That's cool Brock.  I may re-tool
Terry


Author:  Rod True [ Sat Dec 22, 2007 3:10 am ]
Post subject: 

Ah, now I get it. Thanks Brock. Somewhat similar to Charlie Hoffman's jig on his website, but yours is adjustable.

Thanks Brock.

Author:  grumpy [ Sat Dec 22, 2007 3:12 am ]
Post subject: 

All fun, but..

... Why use a router to make the lap joint, when you have a table saw right there? Set the miter gauge at the angle of your X brace, set the blade height, and cut. Use whatever blade is in there, and nibble the waste. Use a drill bit as your guide to the width if you wish to pre-cut the notch as you did here.

The router works, but it's one more tool to set up, take out, more clamps, etc... You're already at the table saw.

I thought I saw an edit button?


Author:  LanceK [ Sat Dec 22, 2007 3:19 am ]
Post subject: 

Mario, I have cut most of my lap joints using my table saw. It indeed does work great!
I find this method quick and more accurate.
But that's just me

I'm sure there are those that would say "Why use a table saw" Just mark your line and use a pull saw and chisel! Much easer!"

Guess its what your comfortable with.

My first comment in my thread was...

"Like most things with lutherie, this is only one way to do it! "

Author:  Mark Tripp [ Sat Dec 22, 2007 3:33 am ]
Post subject: 

Great tutorial Lance.

Thanks!

-Mark


Author:  L. Presnall [ Sat Dec 22, 2007 3:52 am ]
Post subject: 

[QUOTE=Bill Greene] Great Lance...just great. I appreciate this. I've done two the old fashioned way, and this will work perfectly for what I want to do, which is cut a few properly, and rubber band them together and put them aside for later use.

Thanks![/QUOTE]

Or do a "Bruce D." and make about a thousand of 'em, glue 'em up, and hang 'em on a hook in your shop...that makes all the other guys (like me) jealous!

Author:  L. Presnall [ Sat Dec 22, 2007 3:55 am ]
Post subject: 

Hesh, if Lance tooted, it'd be so CLEAN you wouldn't notice!

Author:  stan thomison [ Sat Dec 22, 2007 4:27 am ]
Post subject: 

I have used both, and the tablesaw with daddo blade to do the cutting. Now without a table saw with try this until can get new (used) saw.
Do you do left and right side legs seperate? I do the radius on brace gluing surface first. Mark them left and right and put them in a small storage place for later use.
Try to keep shop at steady rh so no warping. I do several guitars at a time and pull them out as needed. In fact do all the braces at one time. Shaping, if using scallop or not and have them ready. I use vacuum to glue braces at one shot (well except the bridge plate and large transverse brace which do prior to X and others. Just another way, probably not best, but works form me.

Page 1 of 2 All times are UTC - 5 hours
Powered by phpBB® Forum Software © phpBB Group
http://www.phpbb.com/