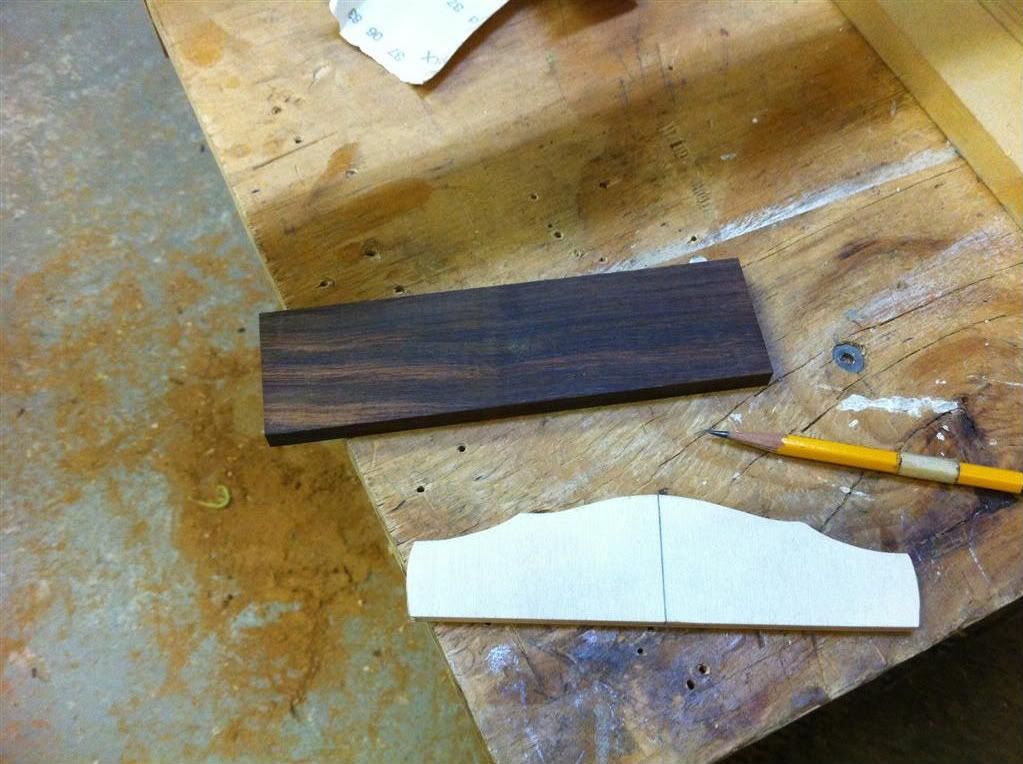
First I thickness my bridge blank to 3/8”+ (that means a skosh bigger than 3/8”). And I draw the outline from my template.
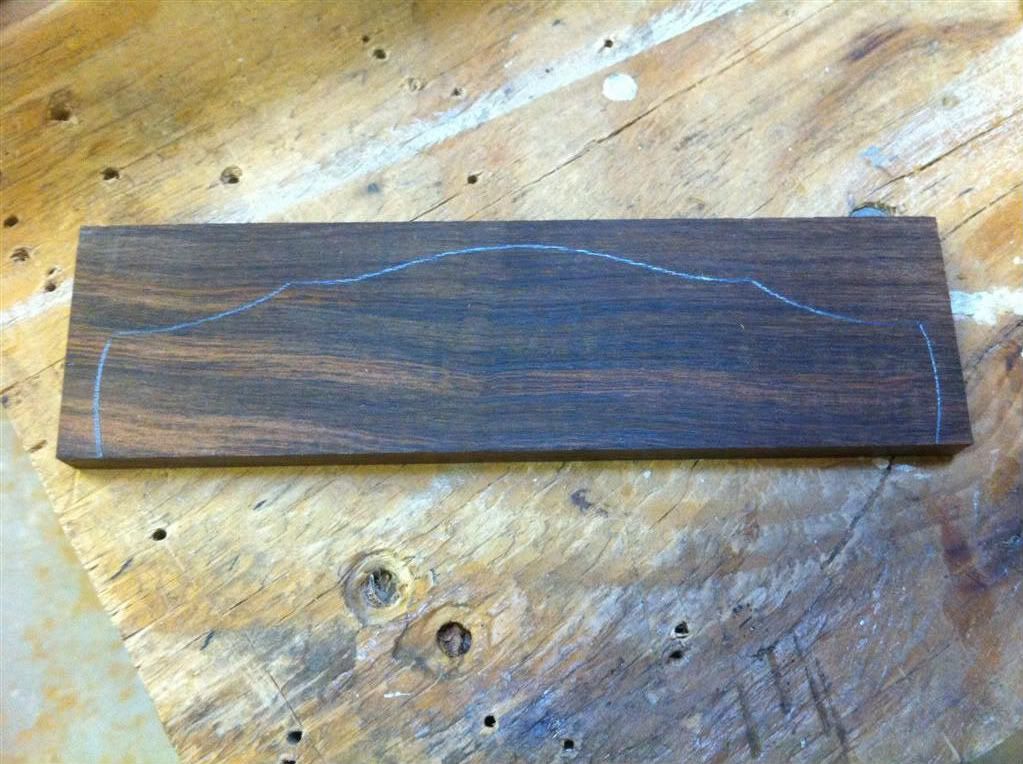
Then I bandsaw it out.
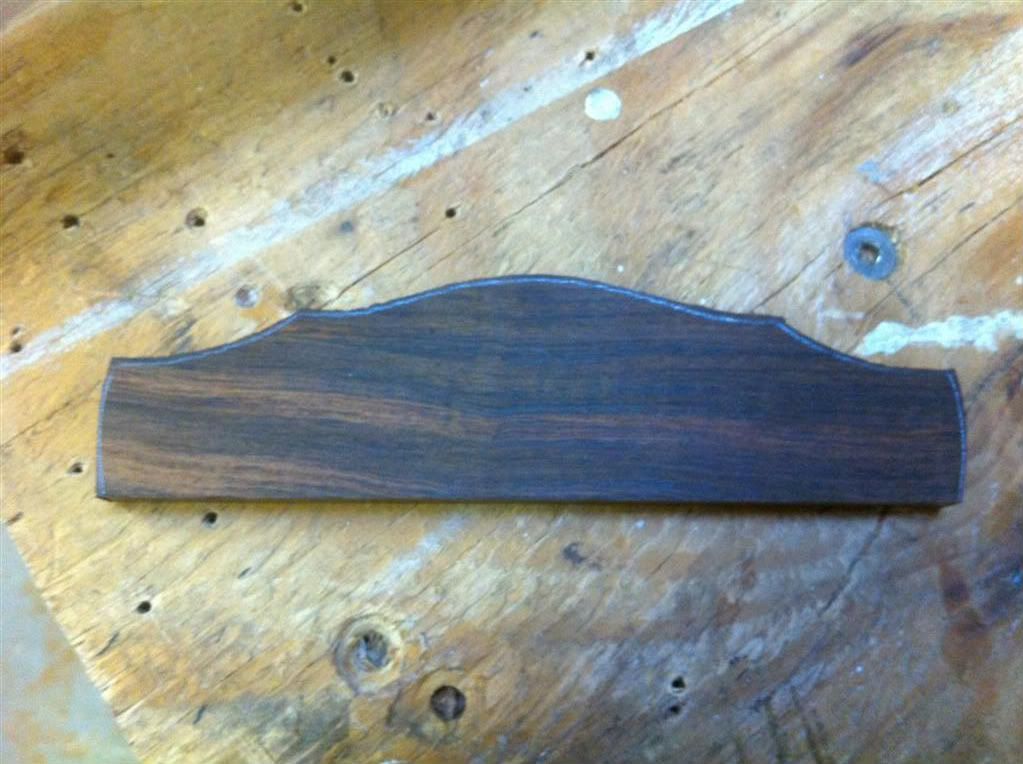
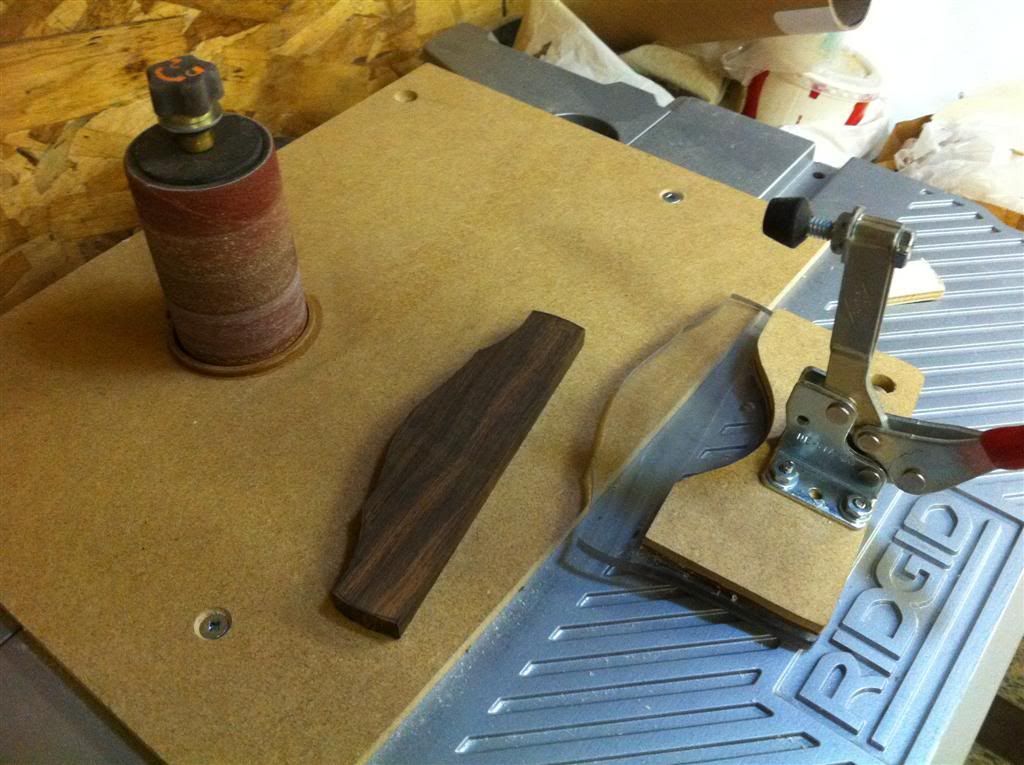
Then I sand it to profile on a jig I made for my rigid oscillating spindle sander. You can find the details of the jig here.
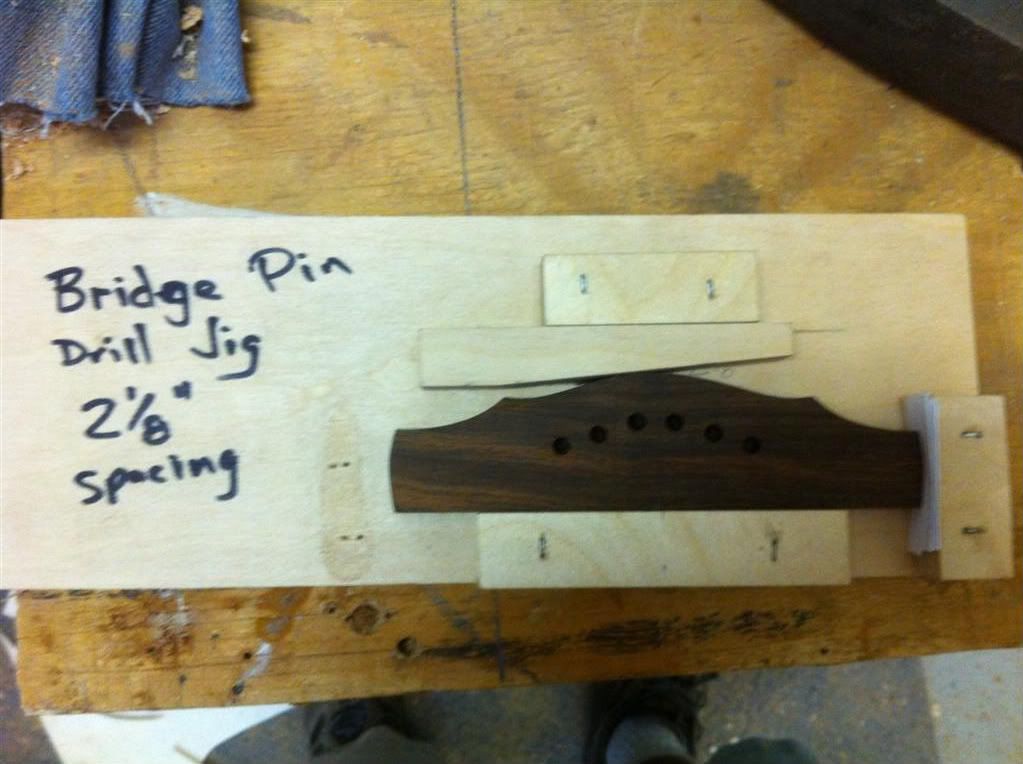
Once it’s sanded to profile, I drill the pin holes. I use a jig for this (of course, I do.....)
Here’s my jig. I got the idea off pictures from Kevin Ryan’s website. Don’t know if this is how he use to do it (my guess being they are CNC drilled now) but the concept is the same.
I made this jig from ½” Baltic birch. First I laid out the bridge pin holes according to my 2-1/8” spacing (used a cad template) and then I set the front and side rails. Then I drilled the bridge pin holes for the spacing I wanted using a 1/16” bit.
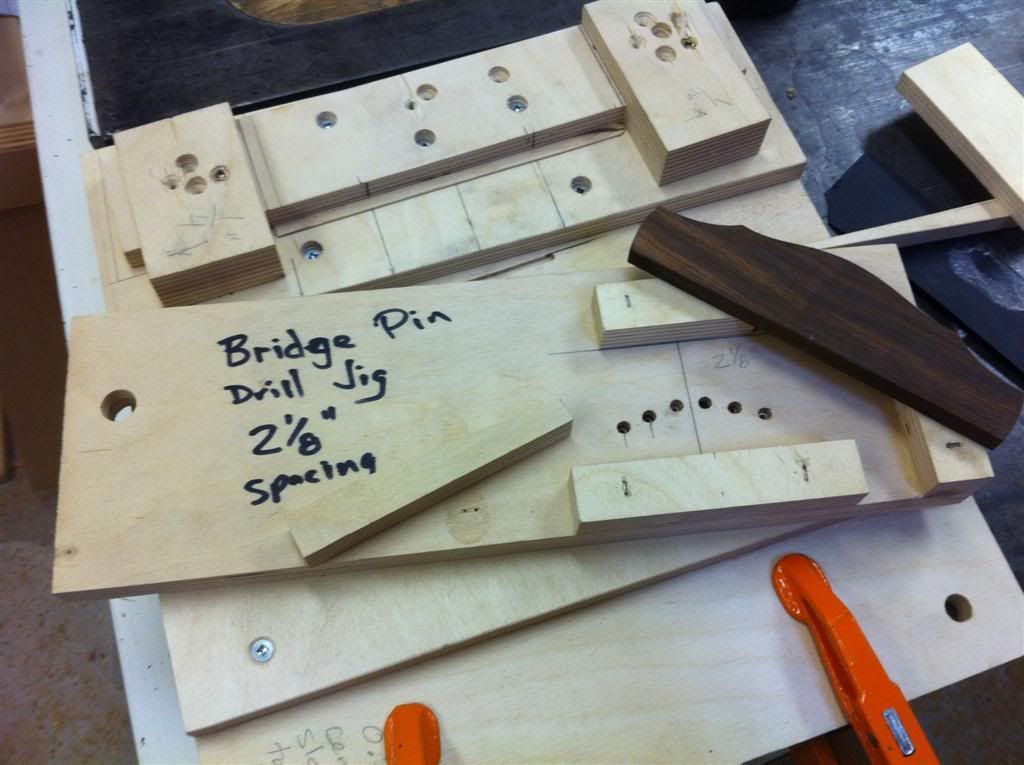
And put a bit of a chamfer on the bottom of the plate.
Maybe you can see where this is going
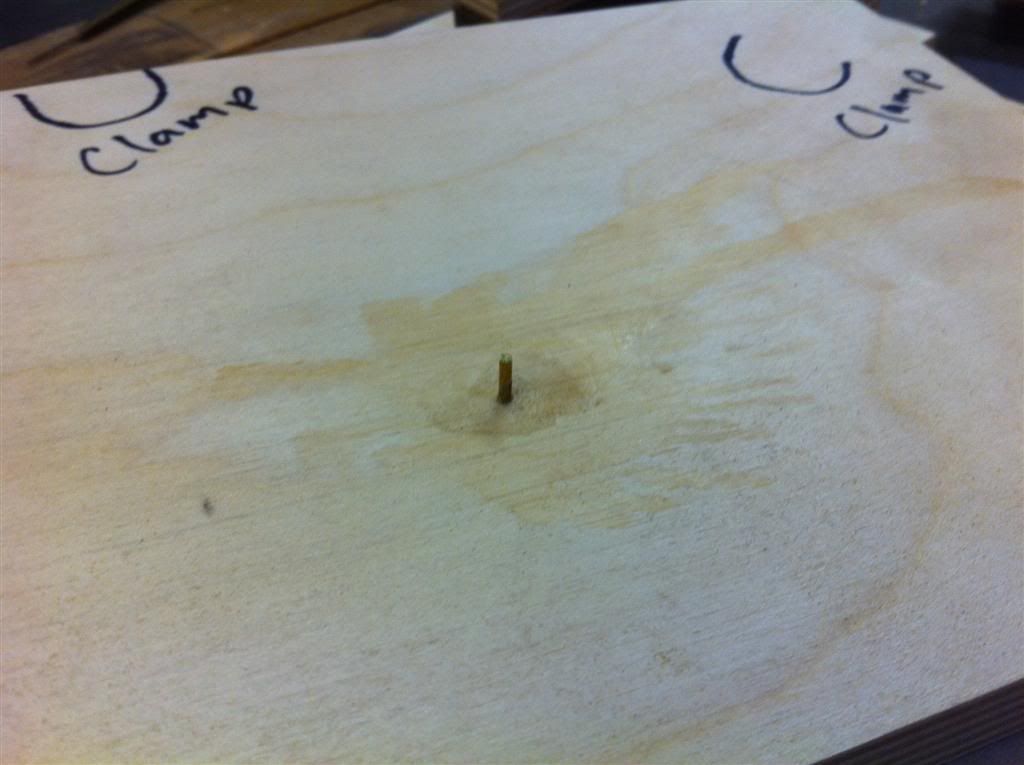
Next I drilled a 1/16” hole in another piece of ½” Baltic birch plywood, big enough for the drill press. I then super glued a #16ga brass nail in the hole and clipped off the head (I like these nails
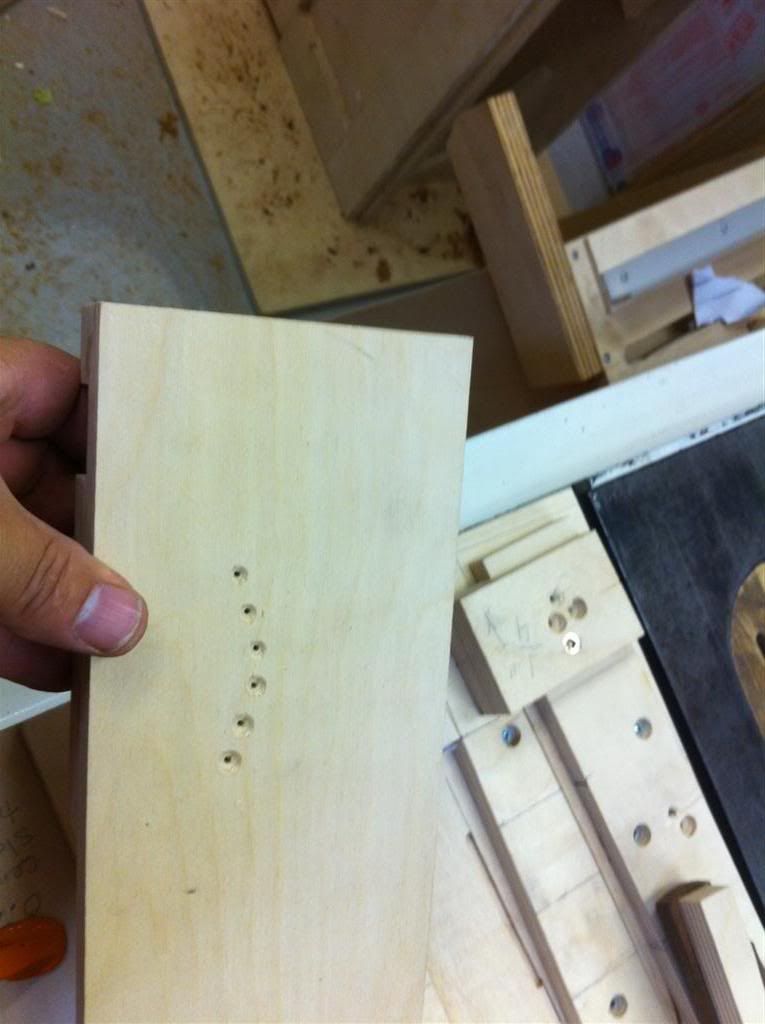
When I’m ready to drill my bridge pin holes, I locate the lower base plate on the drill press. I use a 3/16” brad point bit that is dedicated to this task. I put the base plate on the drill press table, and pull the bit down to line it up on the center of the bit (this is by eye and close enough I think).
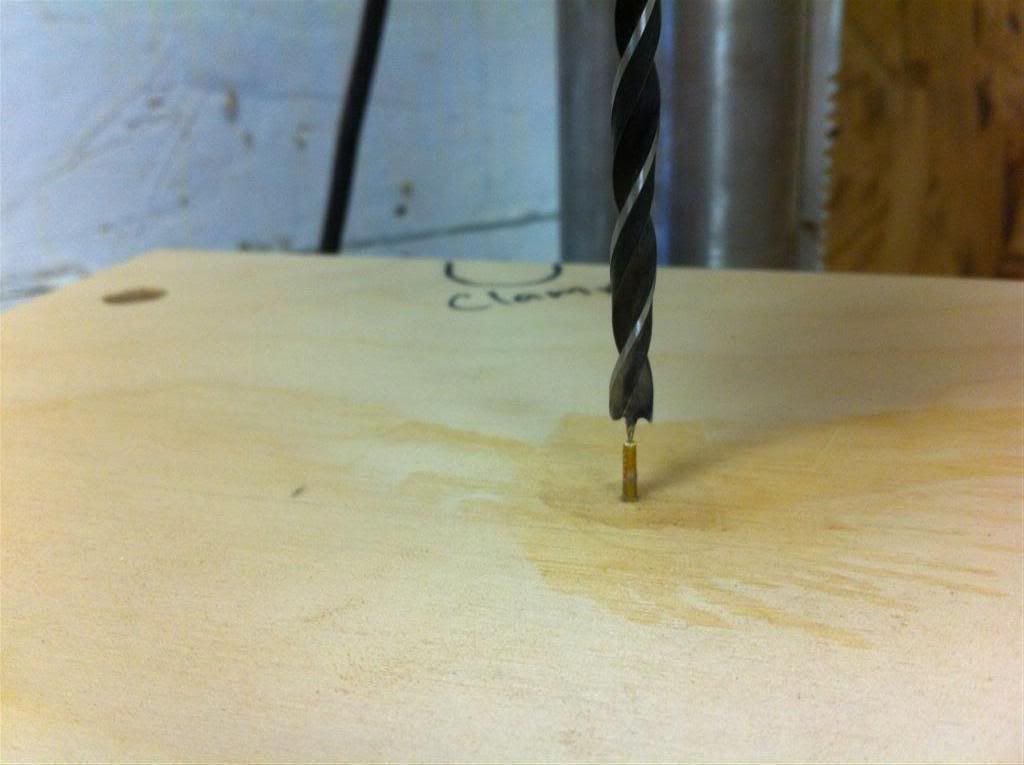
Then I clamp the base plate to the drill press bed, and ensure the base plate stayed in line with the bit. Move if necessary.
Then I put my bridge in place and shim the right side if needed to get the bridge center located for the holes properly.
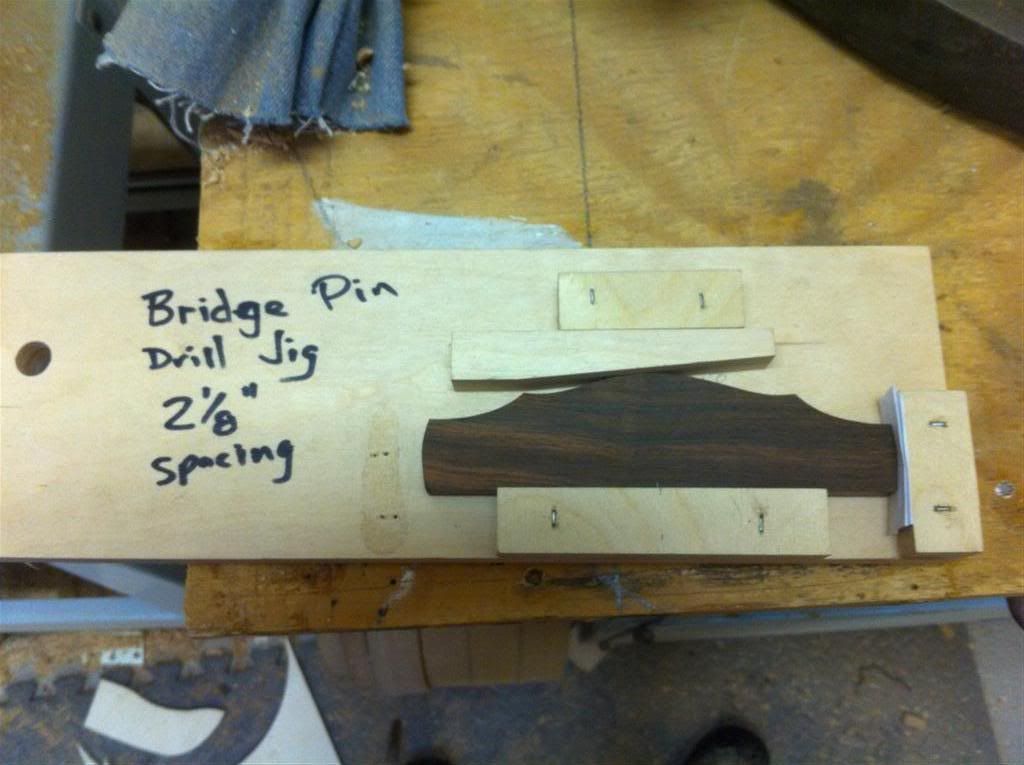
Then I place the bridge holder/pin hole locator plate onto the base plate using the nail as my locator pin and drill for each hole. It’s super fast and totally repeatable, which is why I made it
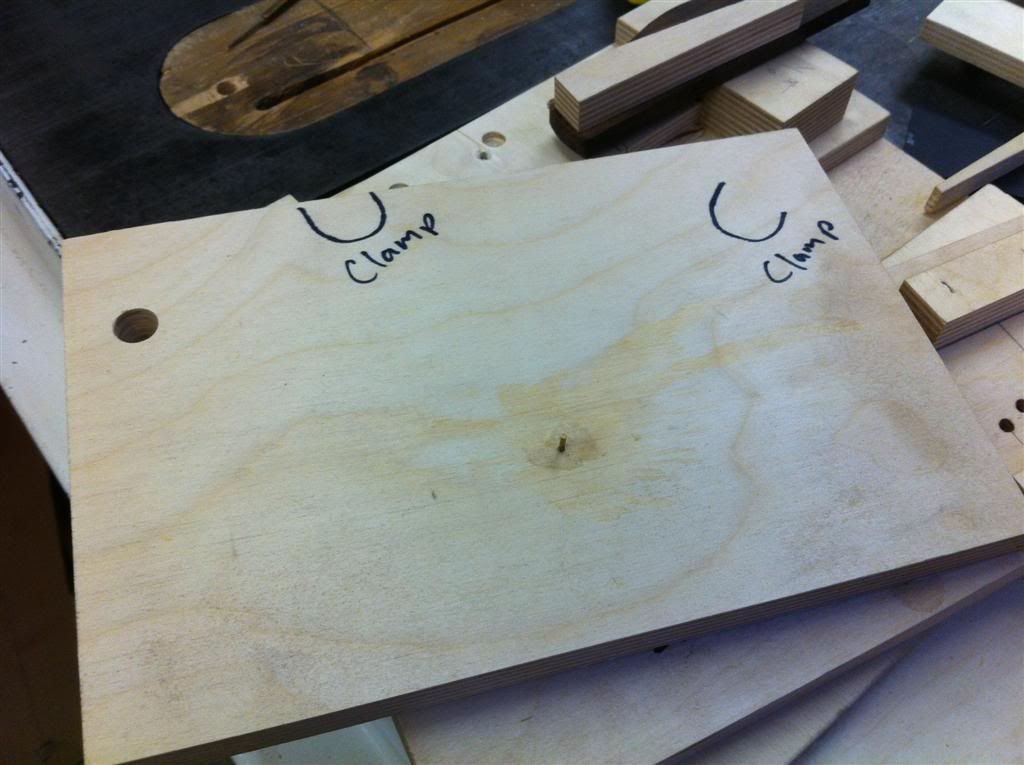
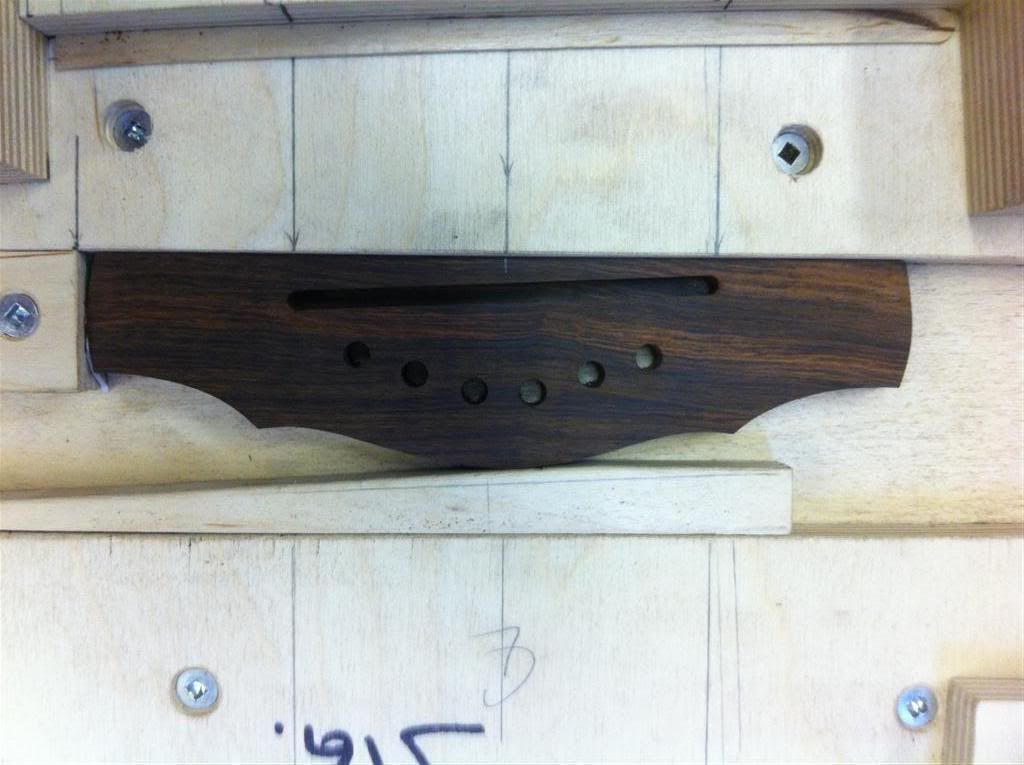
After this, I cut the saddle slot. Again I have a jig for this (of course.....)
Here’s my jig. I made it also from ½” Baltic birch plywood. Need to do some math and layout but once that’s done, you just don’t have to think about it again (for a basic scale length that is
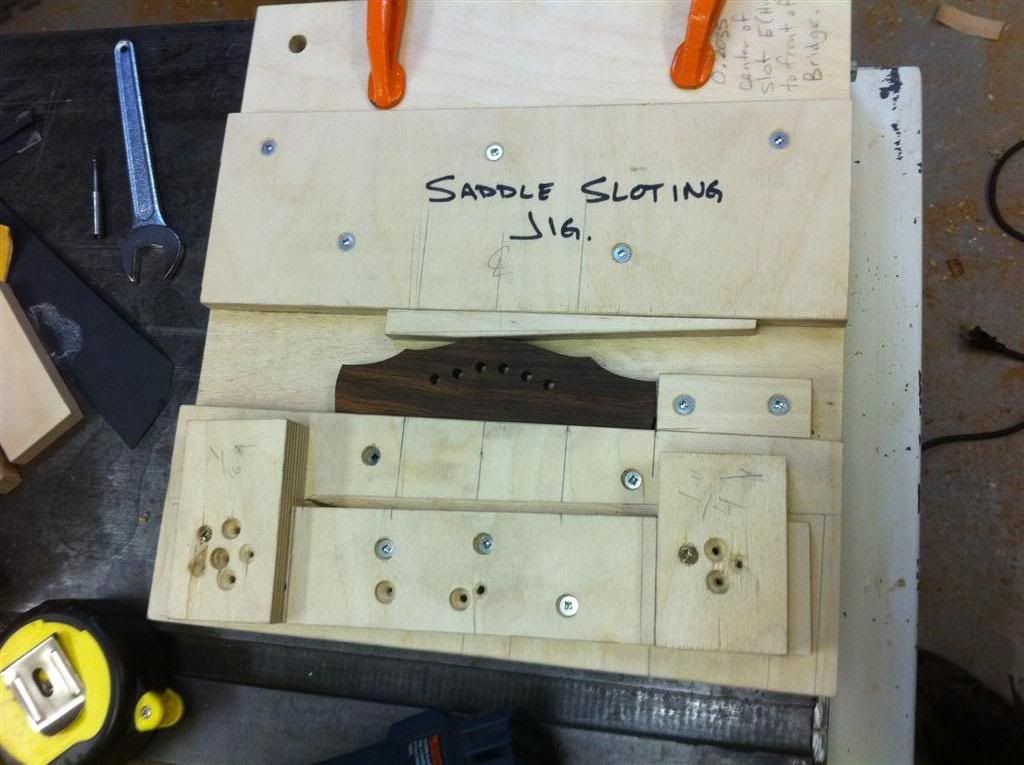
As you can see, the wedge system works well to hold the bridge in place. I got this jig idea from Tony Karol, thanks Tony.
Now, I set up my router to cut the saddle slot to the proper depth (I do it in one pass, going slowly) with a 1/8” down cut spiral bit. Quick and easy.
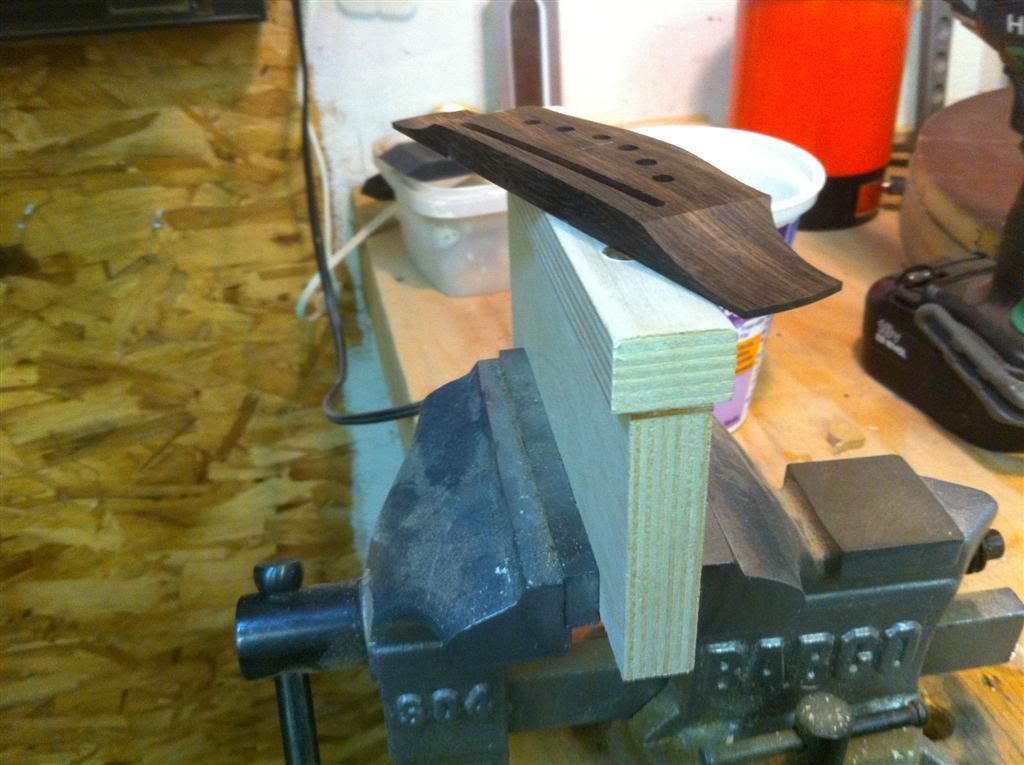
Next, I bandsaw the wings to rough shape. Then I run them into my drum sander to get the wing thickness right as well as the curve of the wing to the top of the bridge.
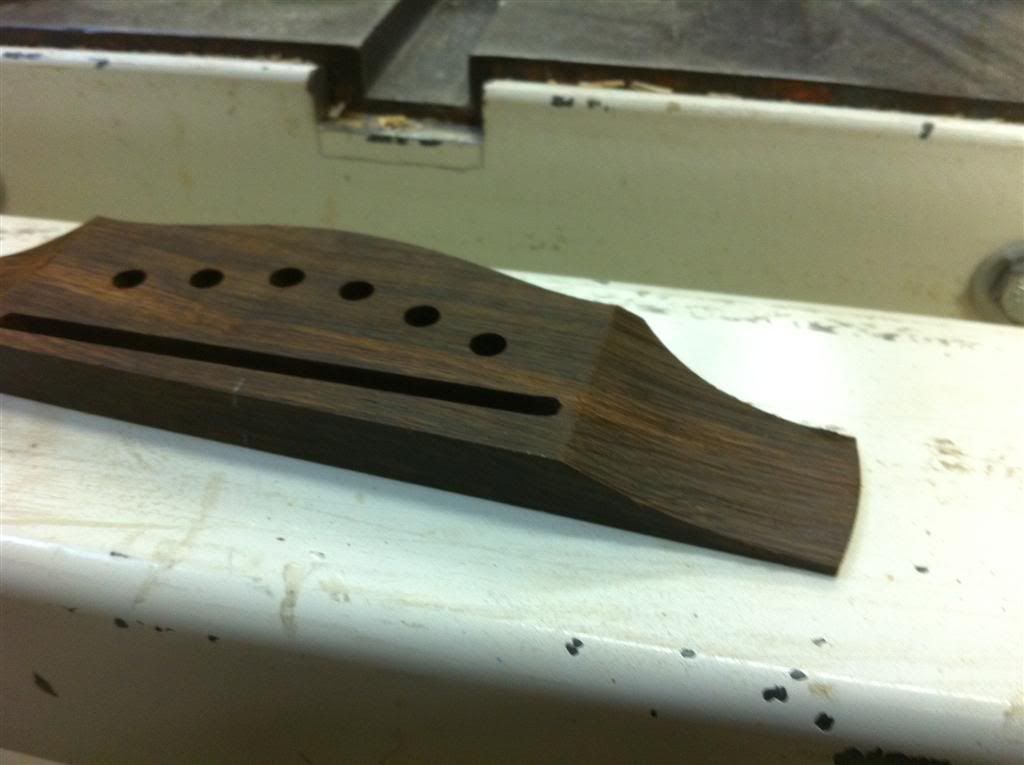
Then I curve the top of the bridge, on my sanding dish. I do it till it looks right. I’ve not measured it but it looks to be about 25” radius.....
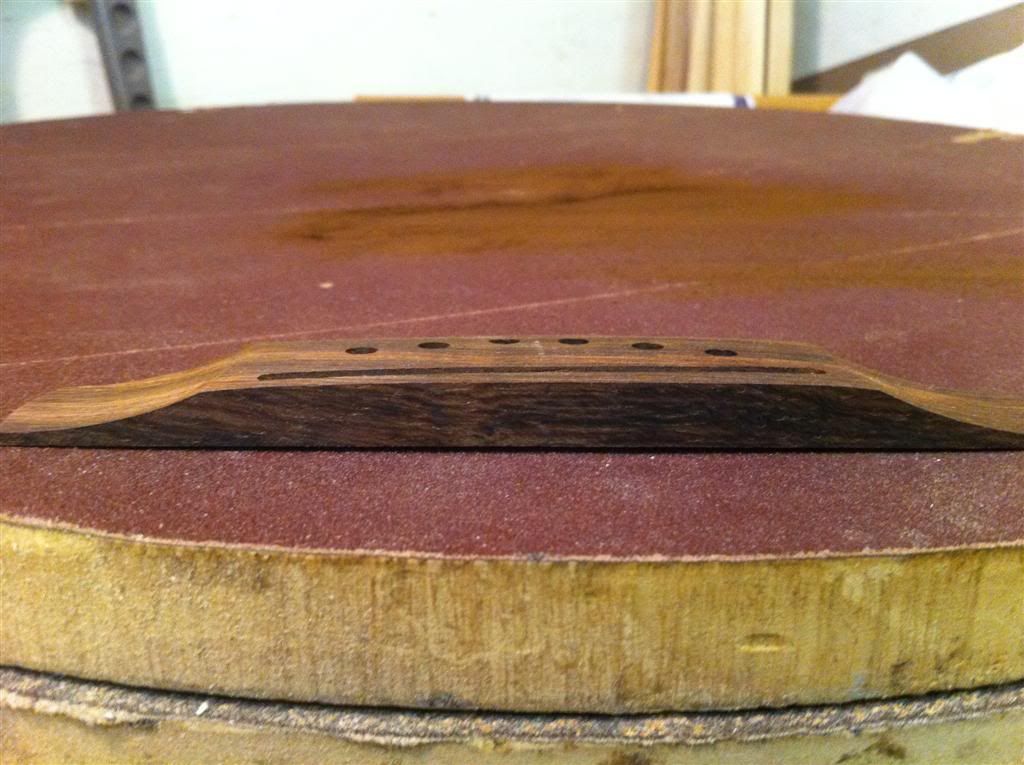
The rest is done by hand. I “clamp” the bridge to a holder with double sided tape and use a file to profile the “belly”. This is pretty much the idea from Todd Stock, thanks Todd.

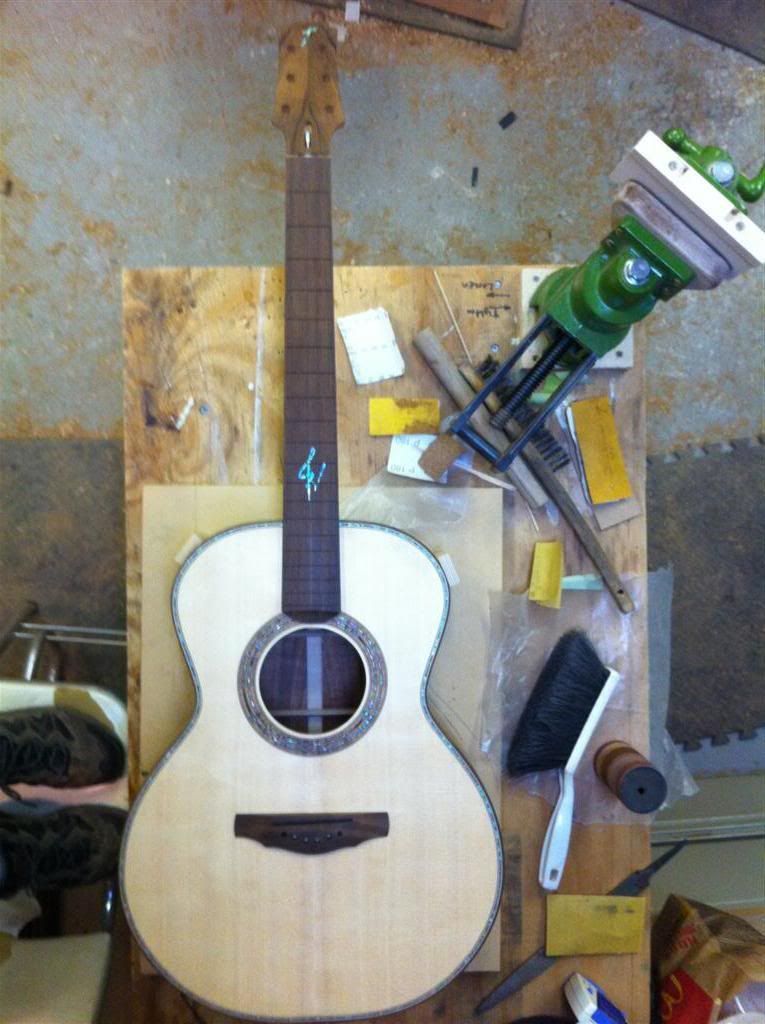
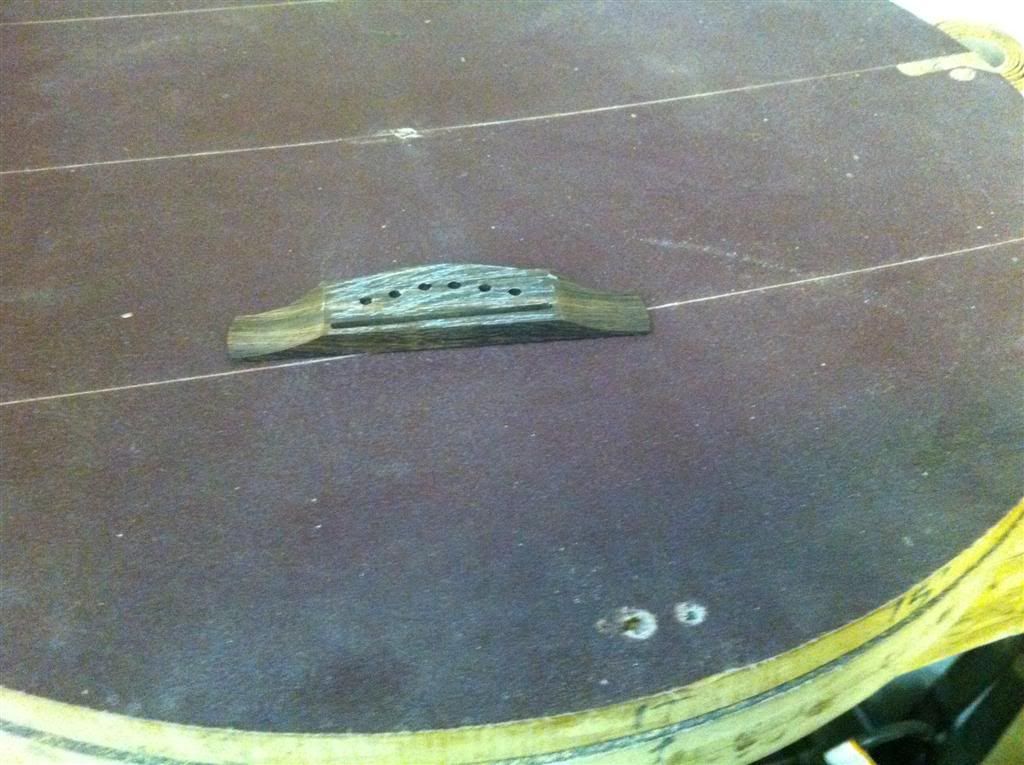
And finally, a picture of the bridge on the guitar. Just because it looks cool