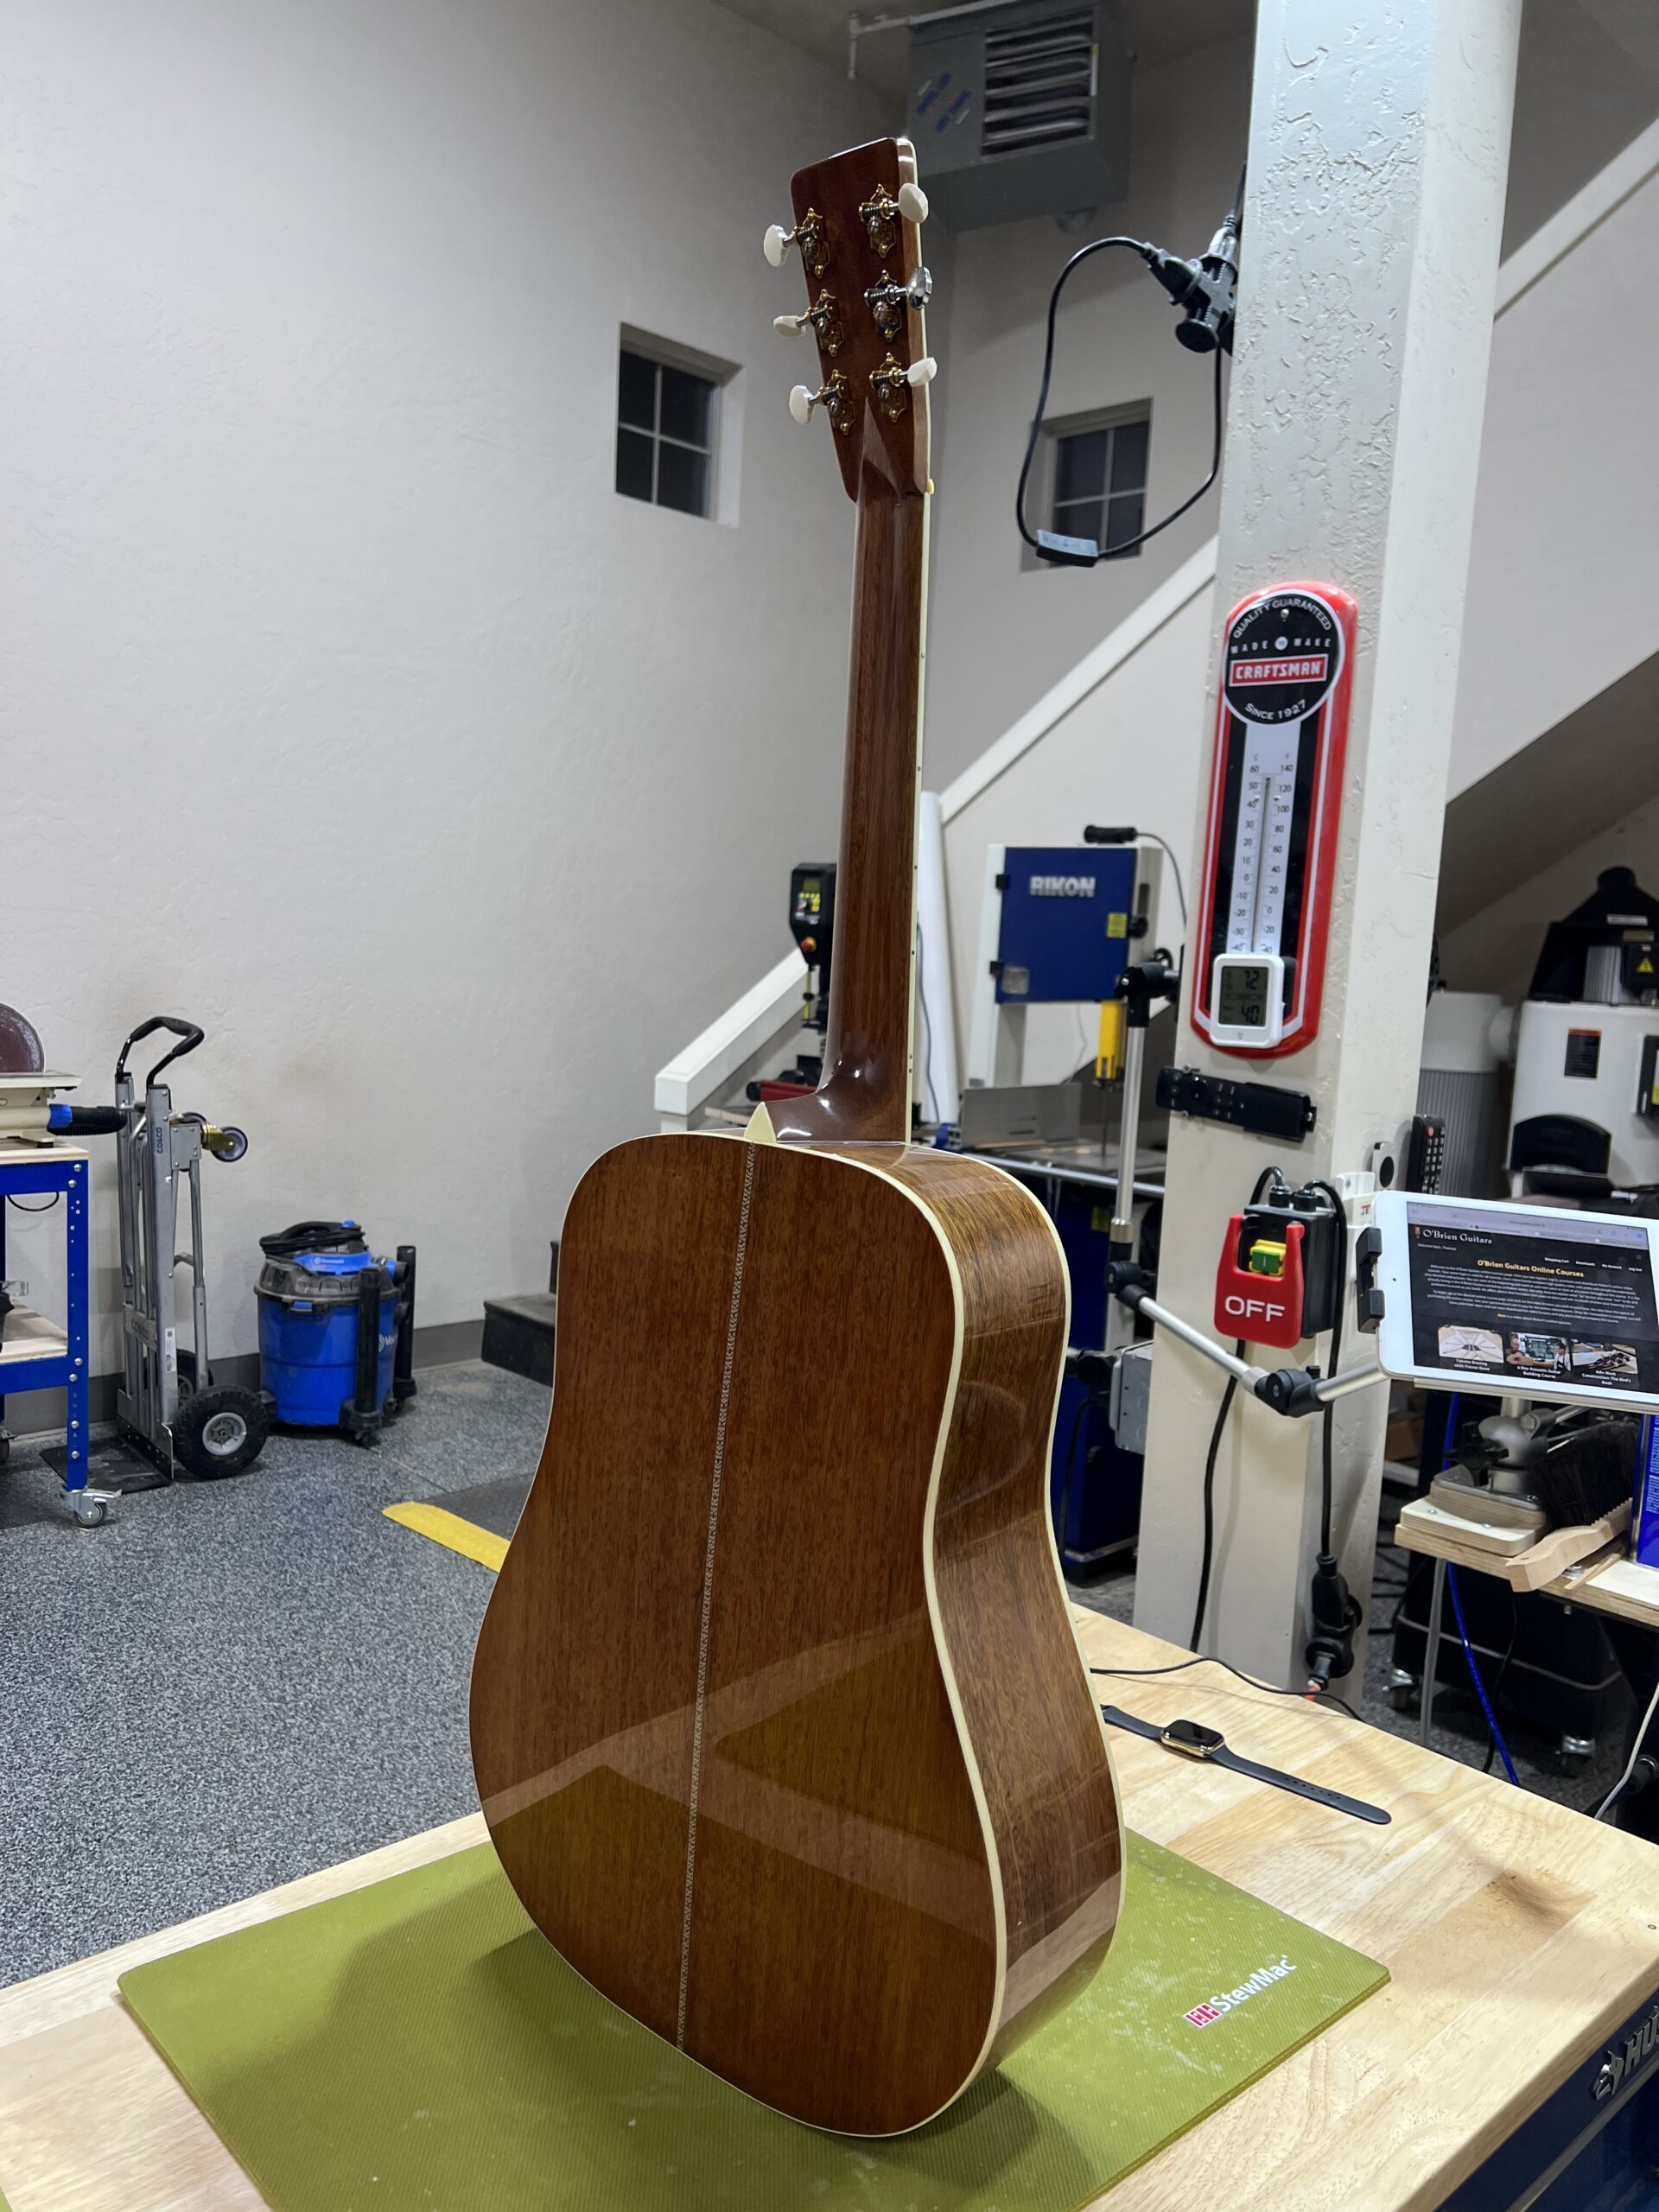
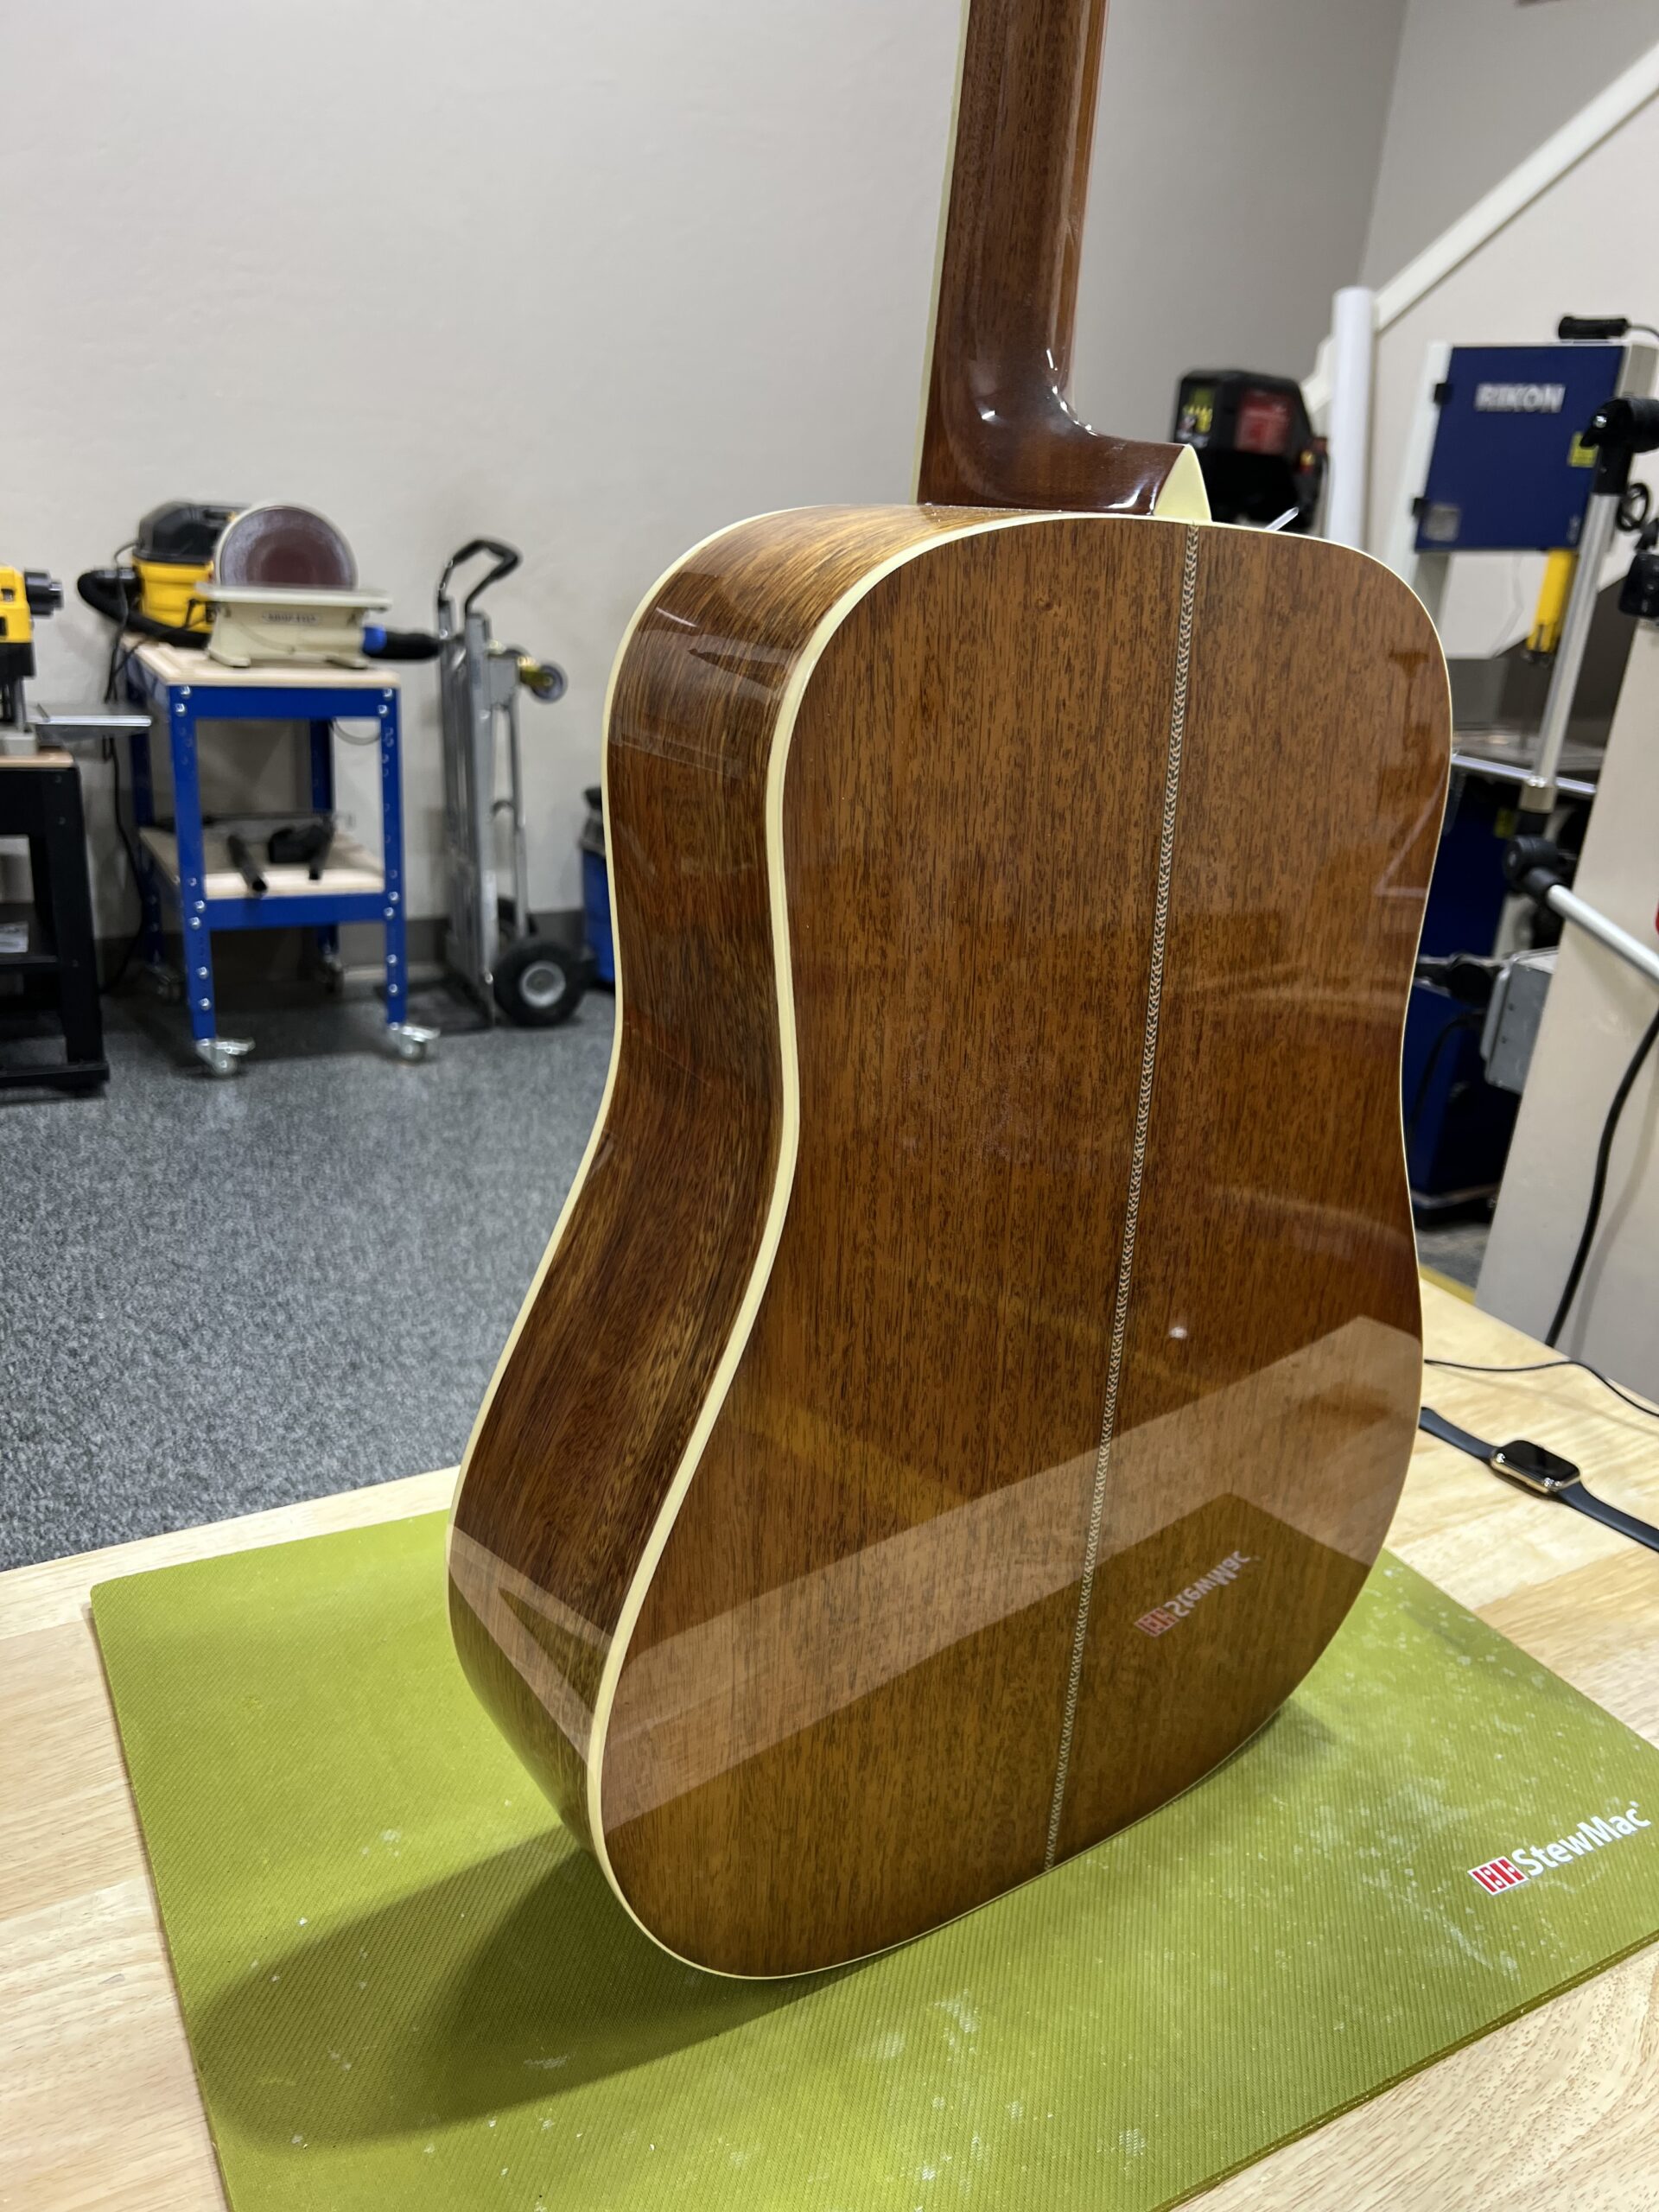
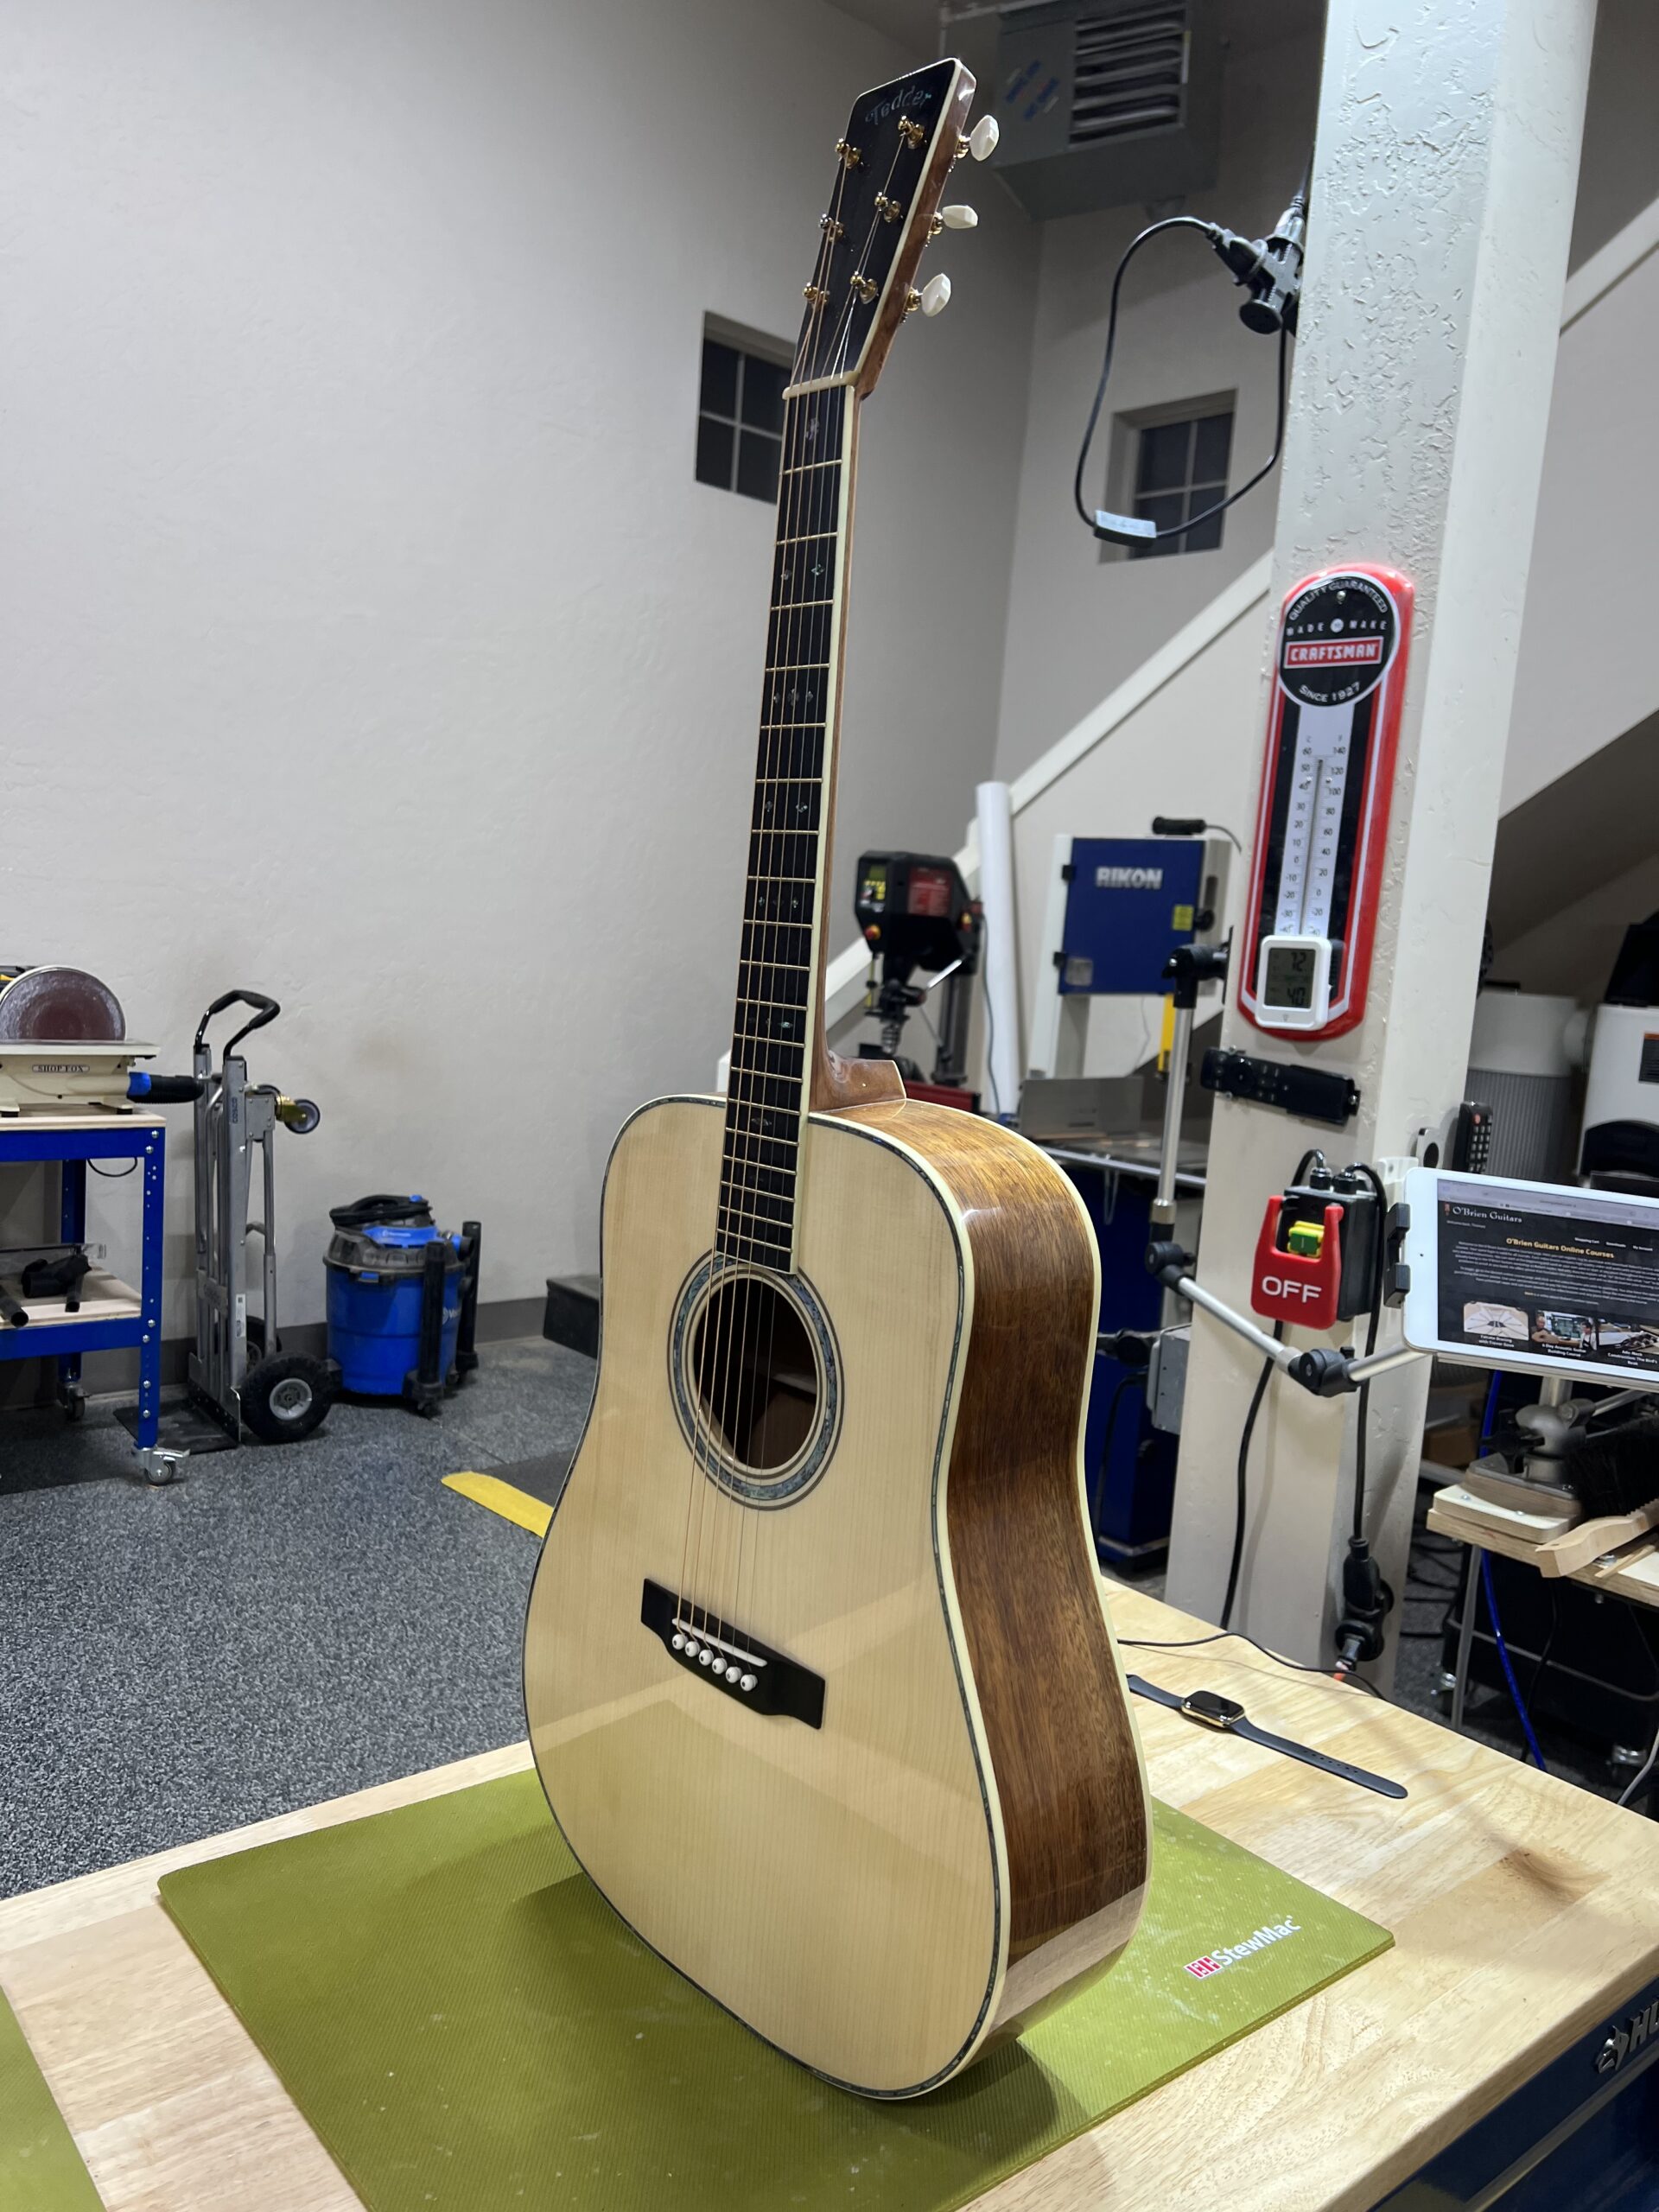
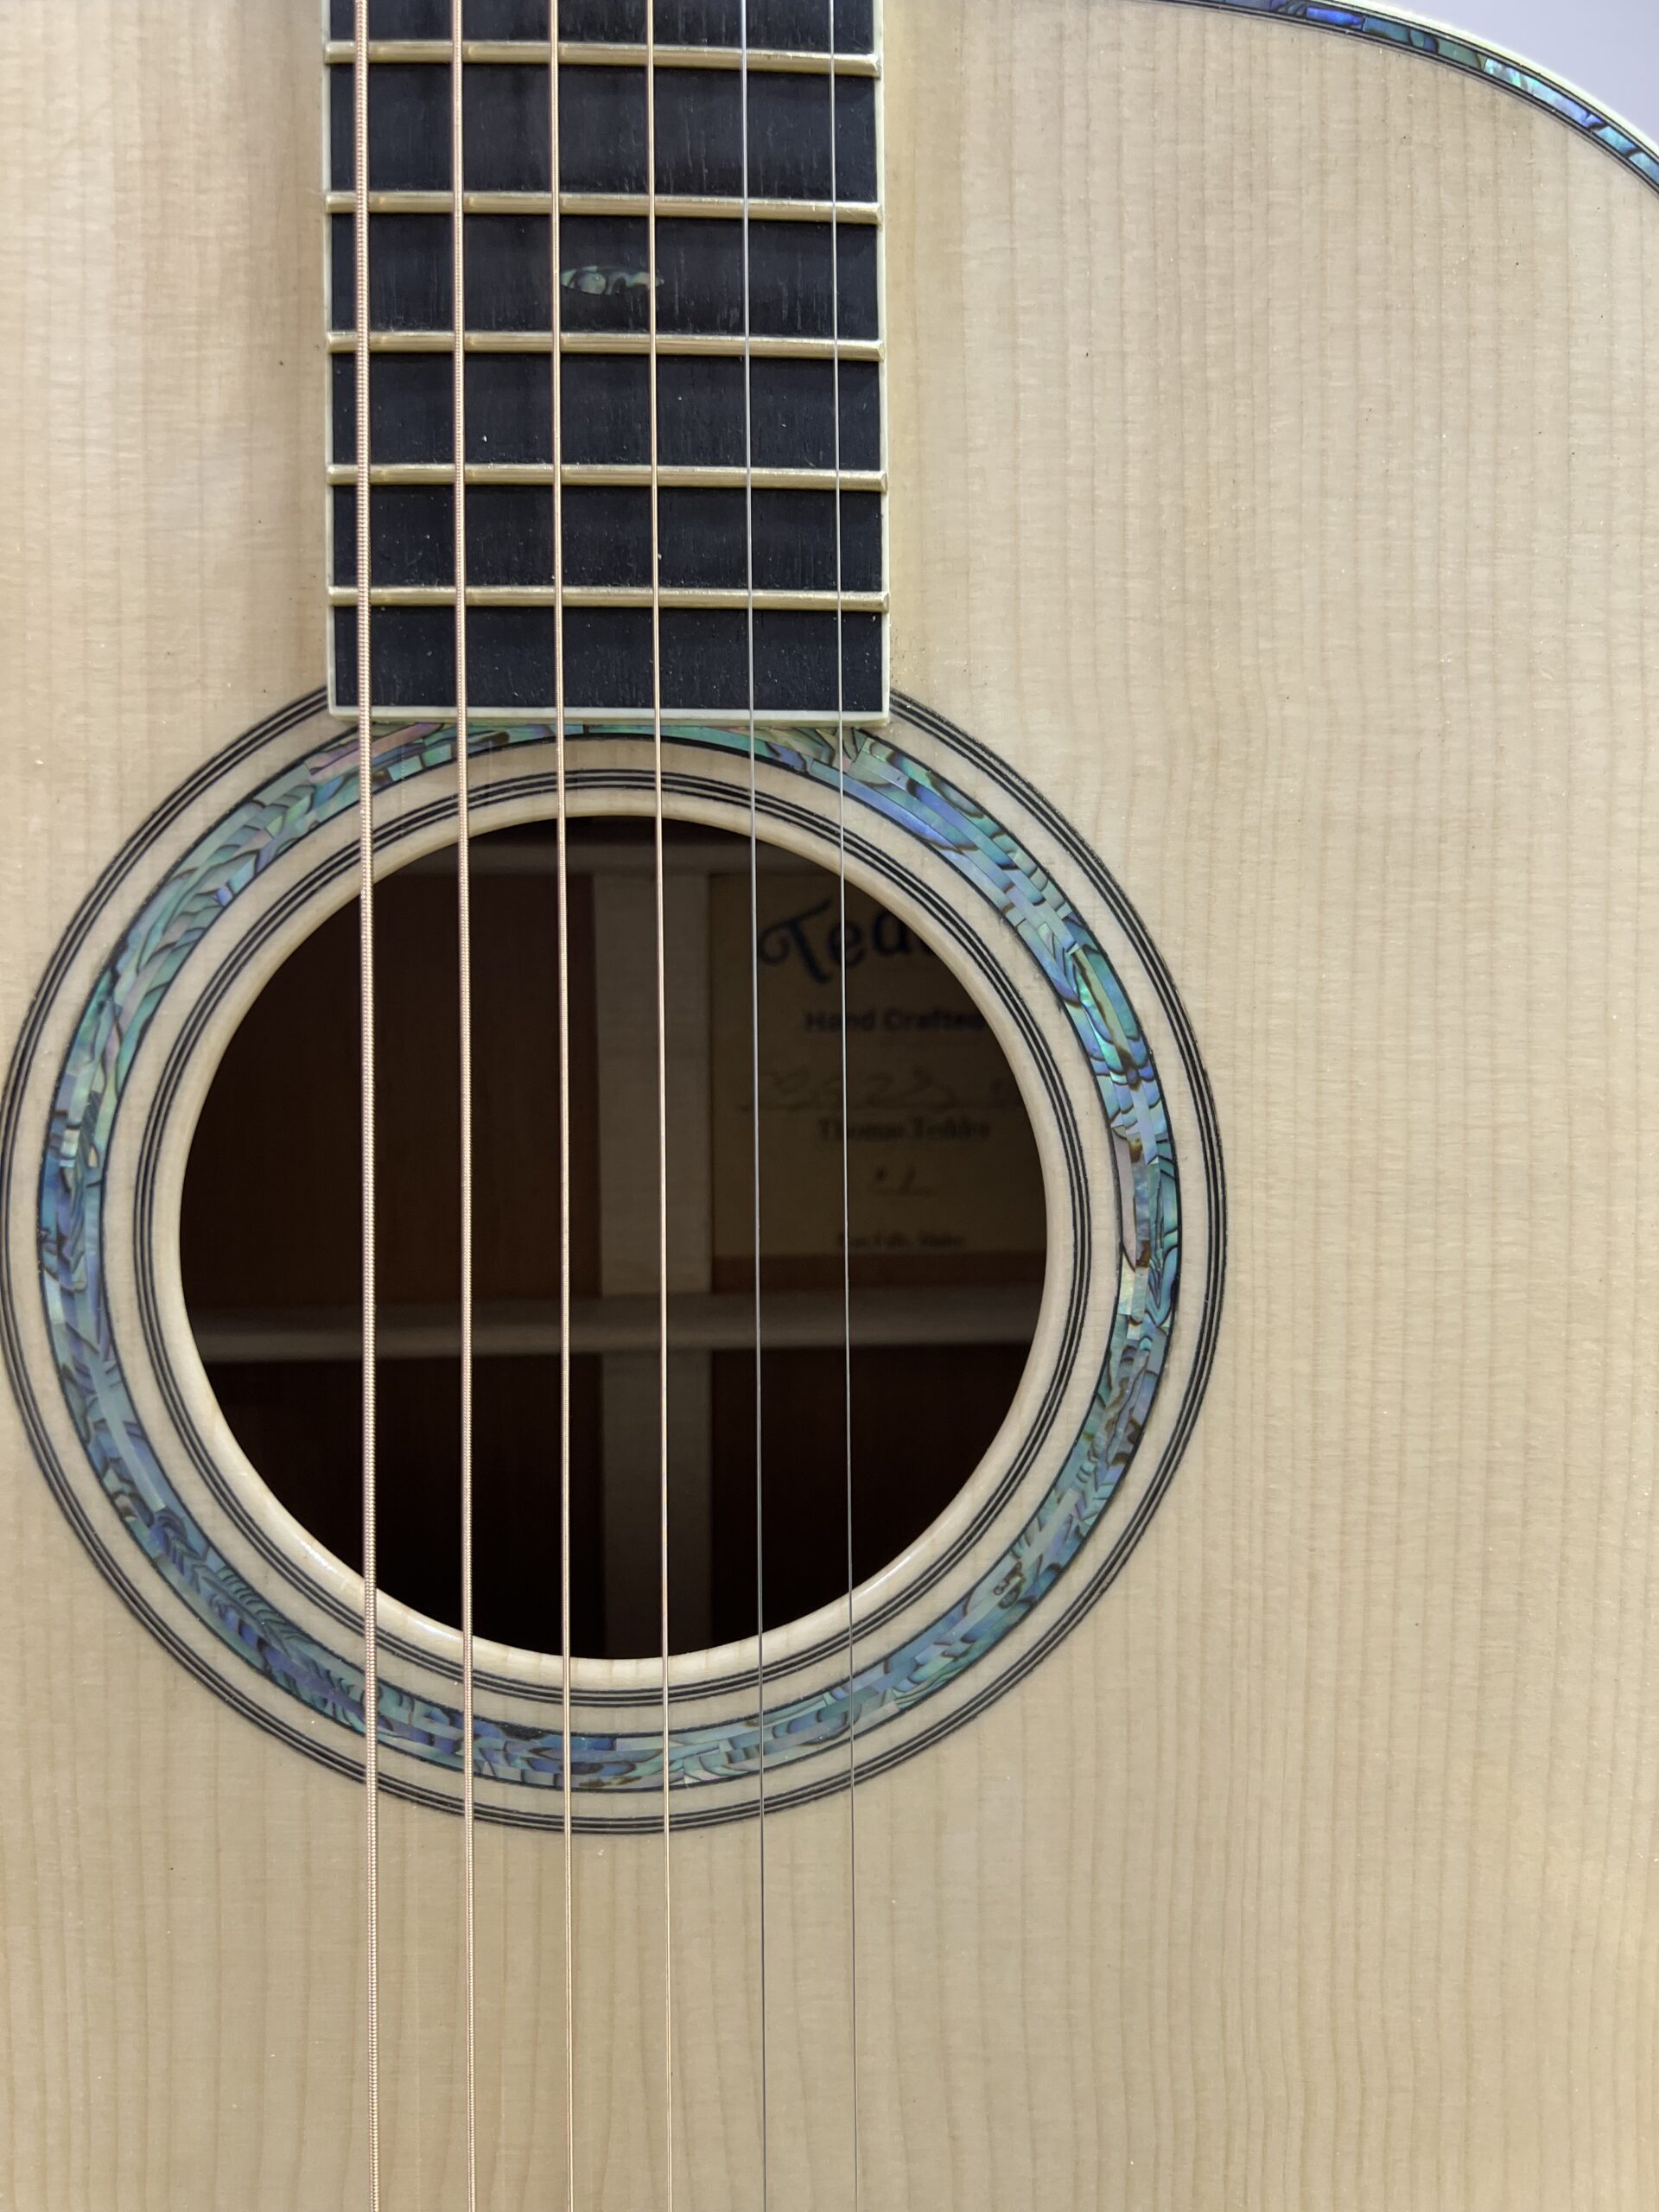
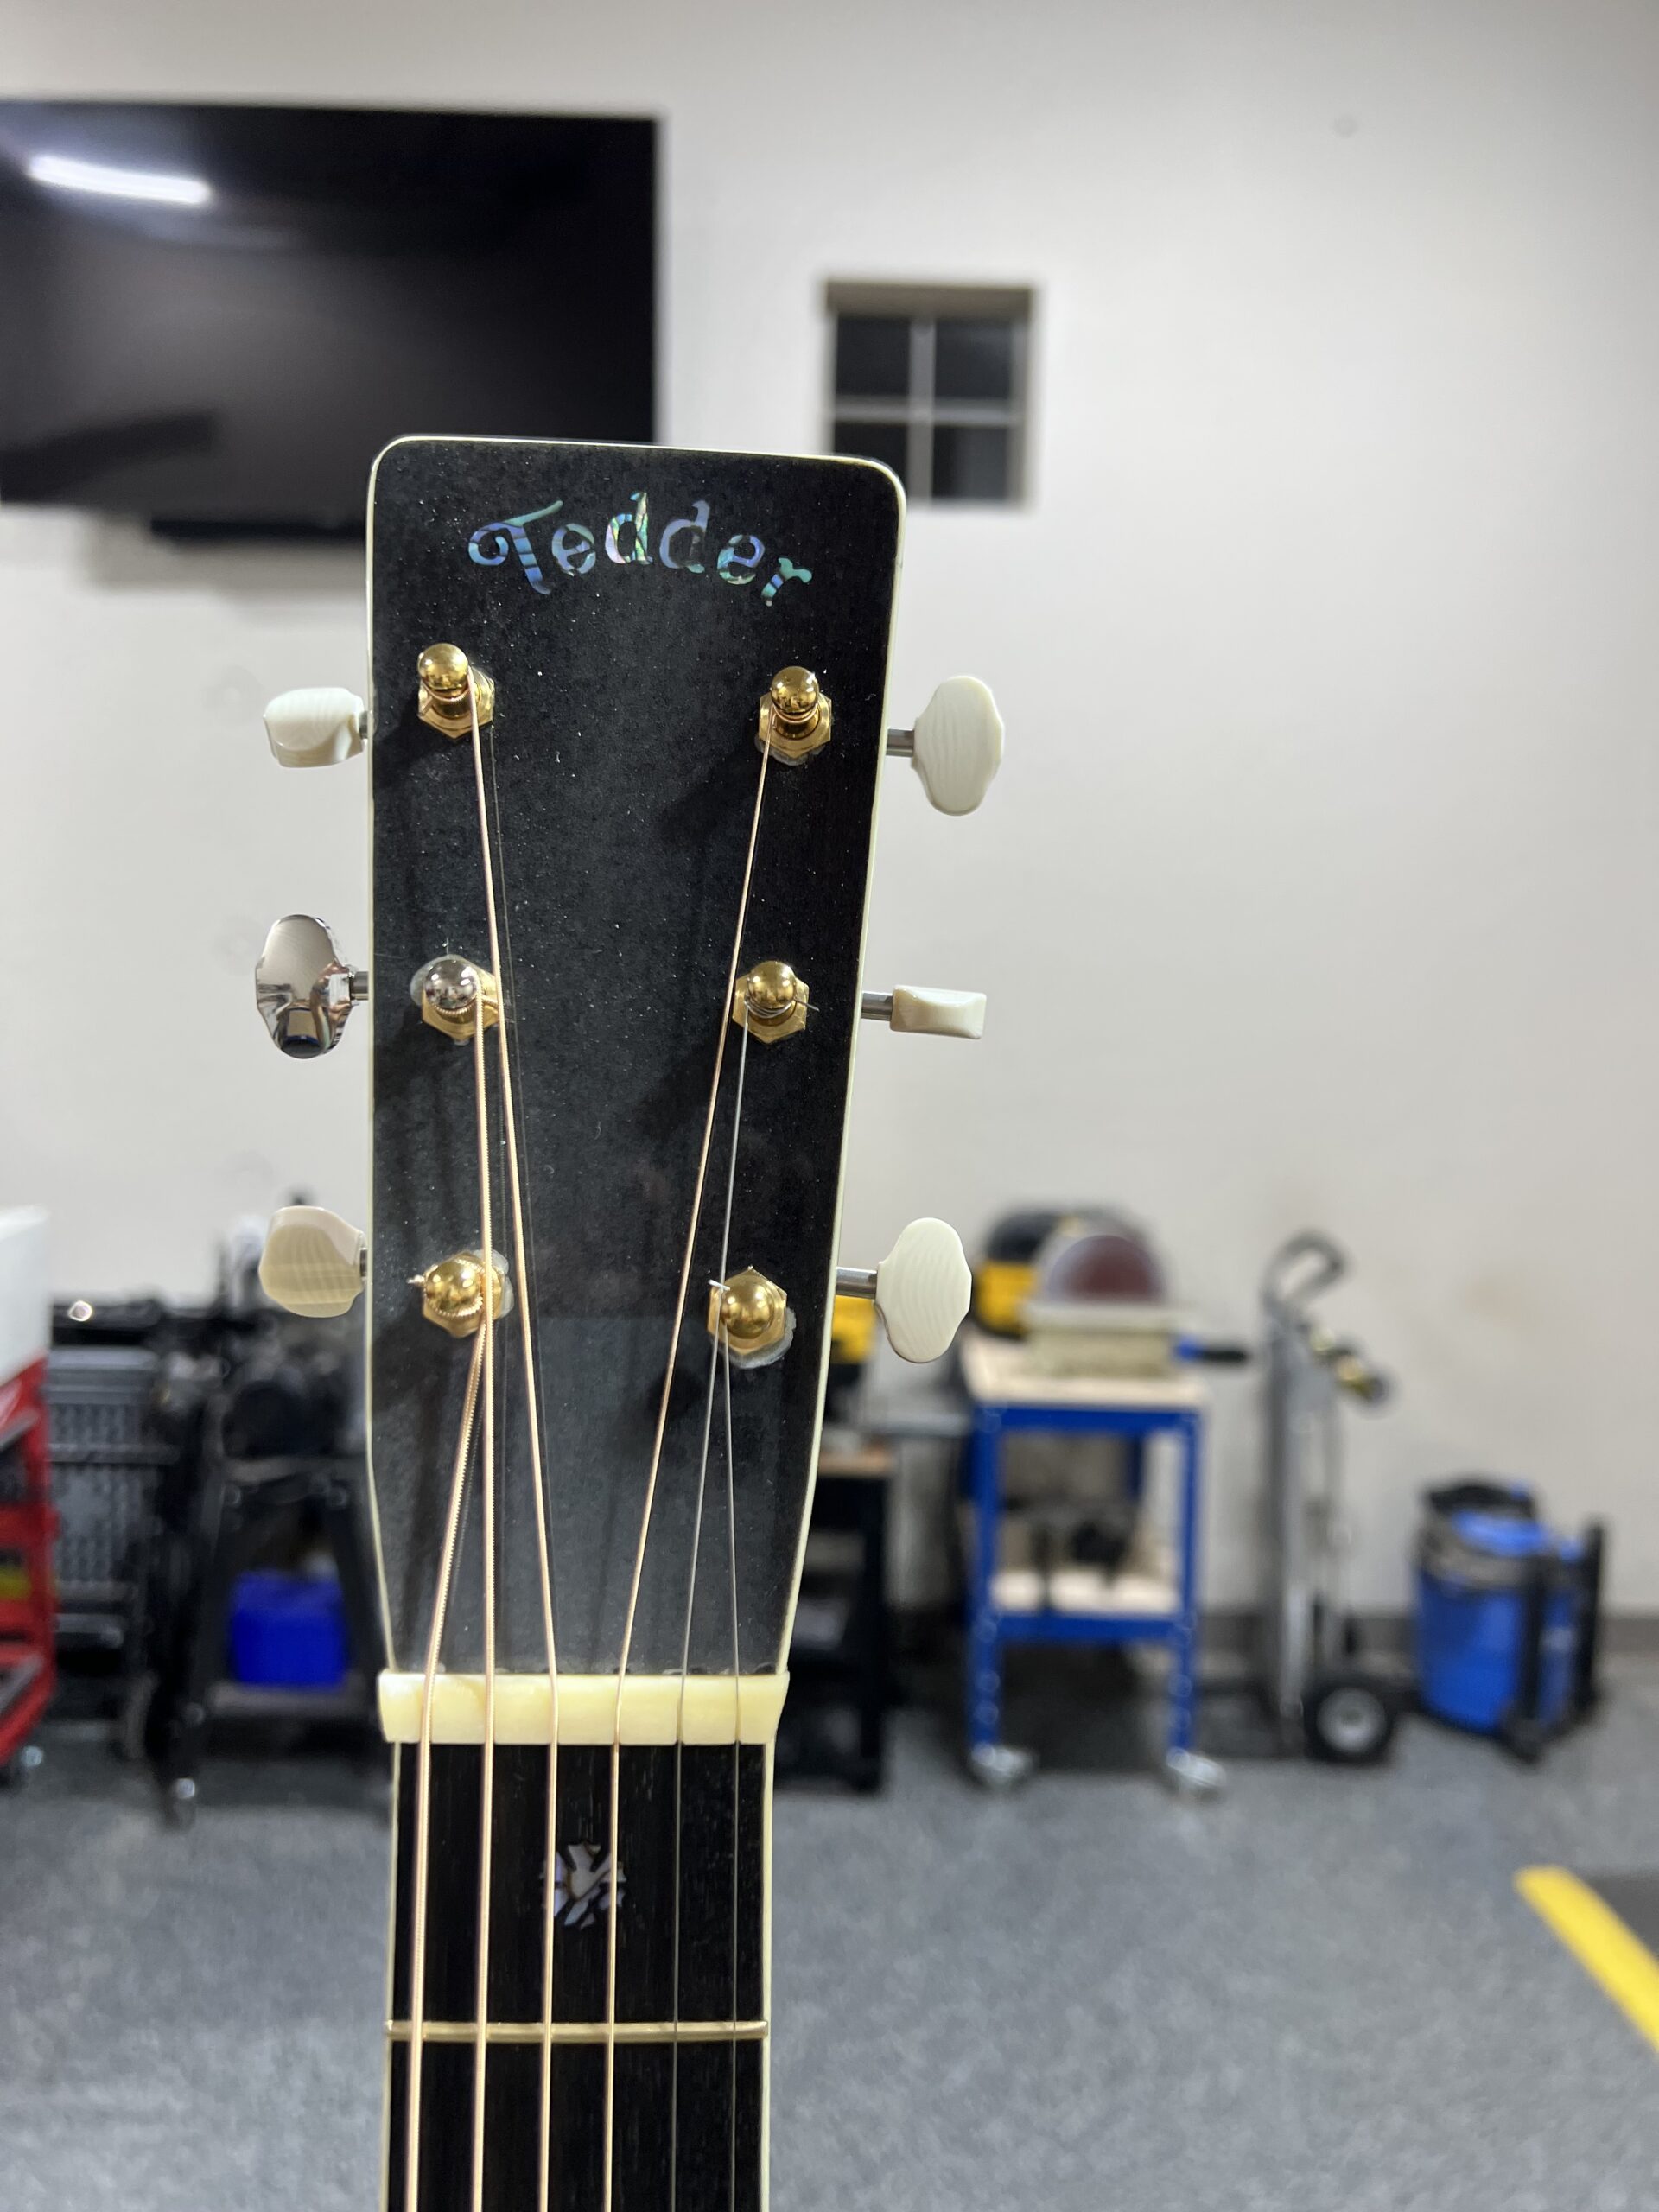
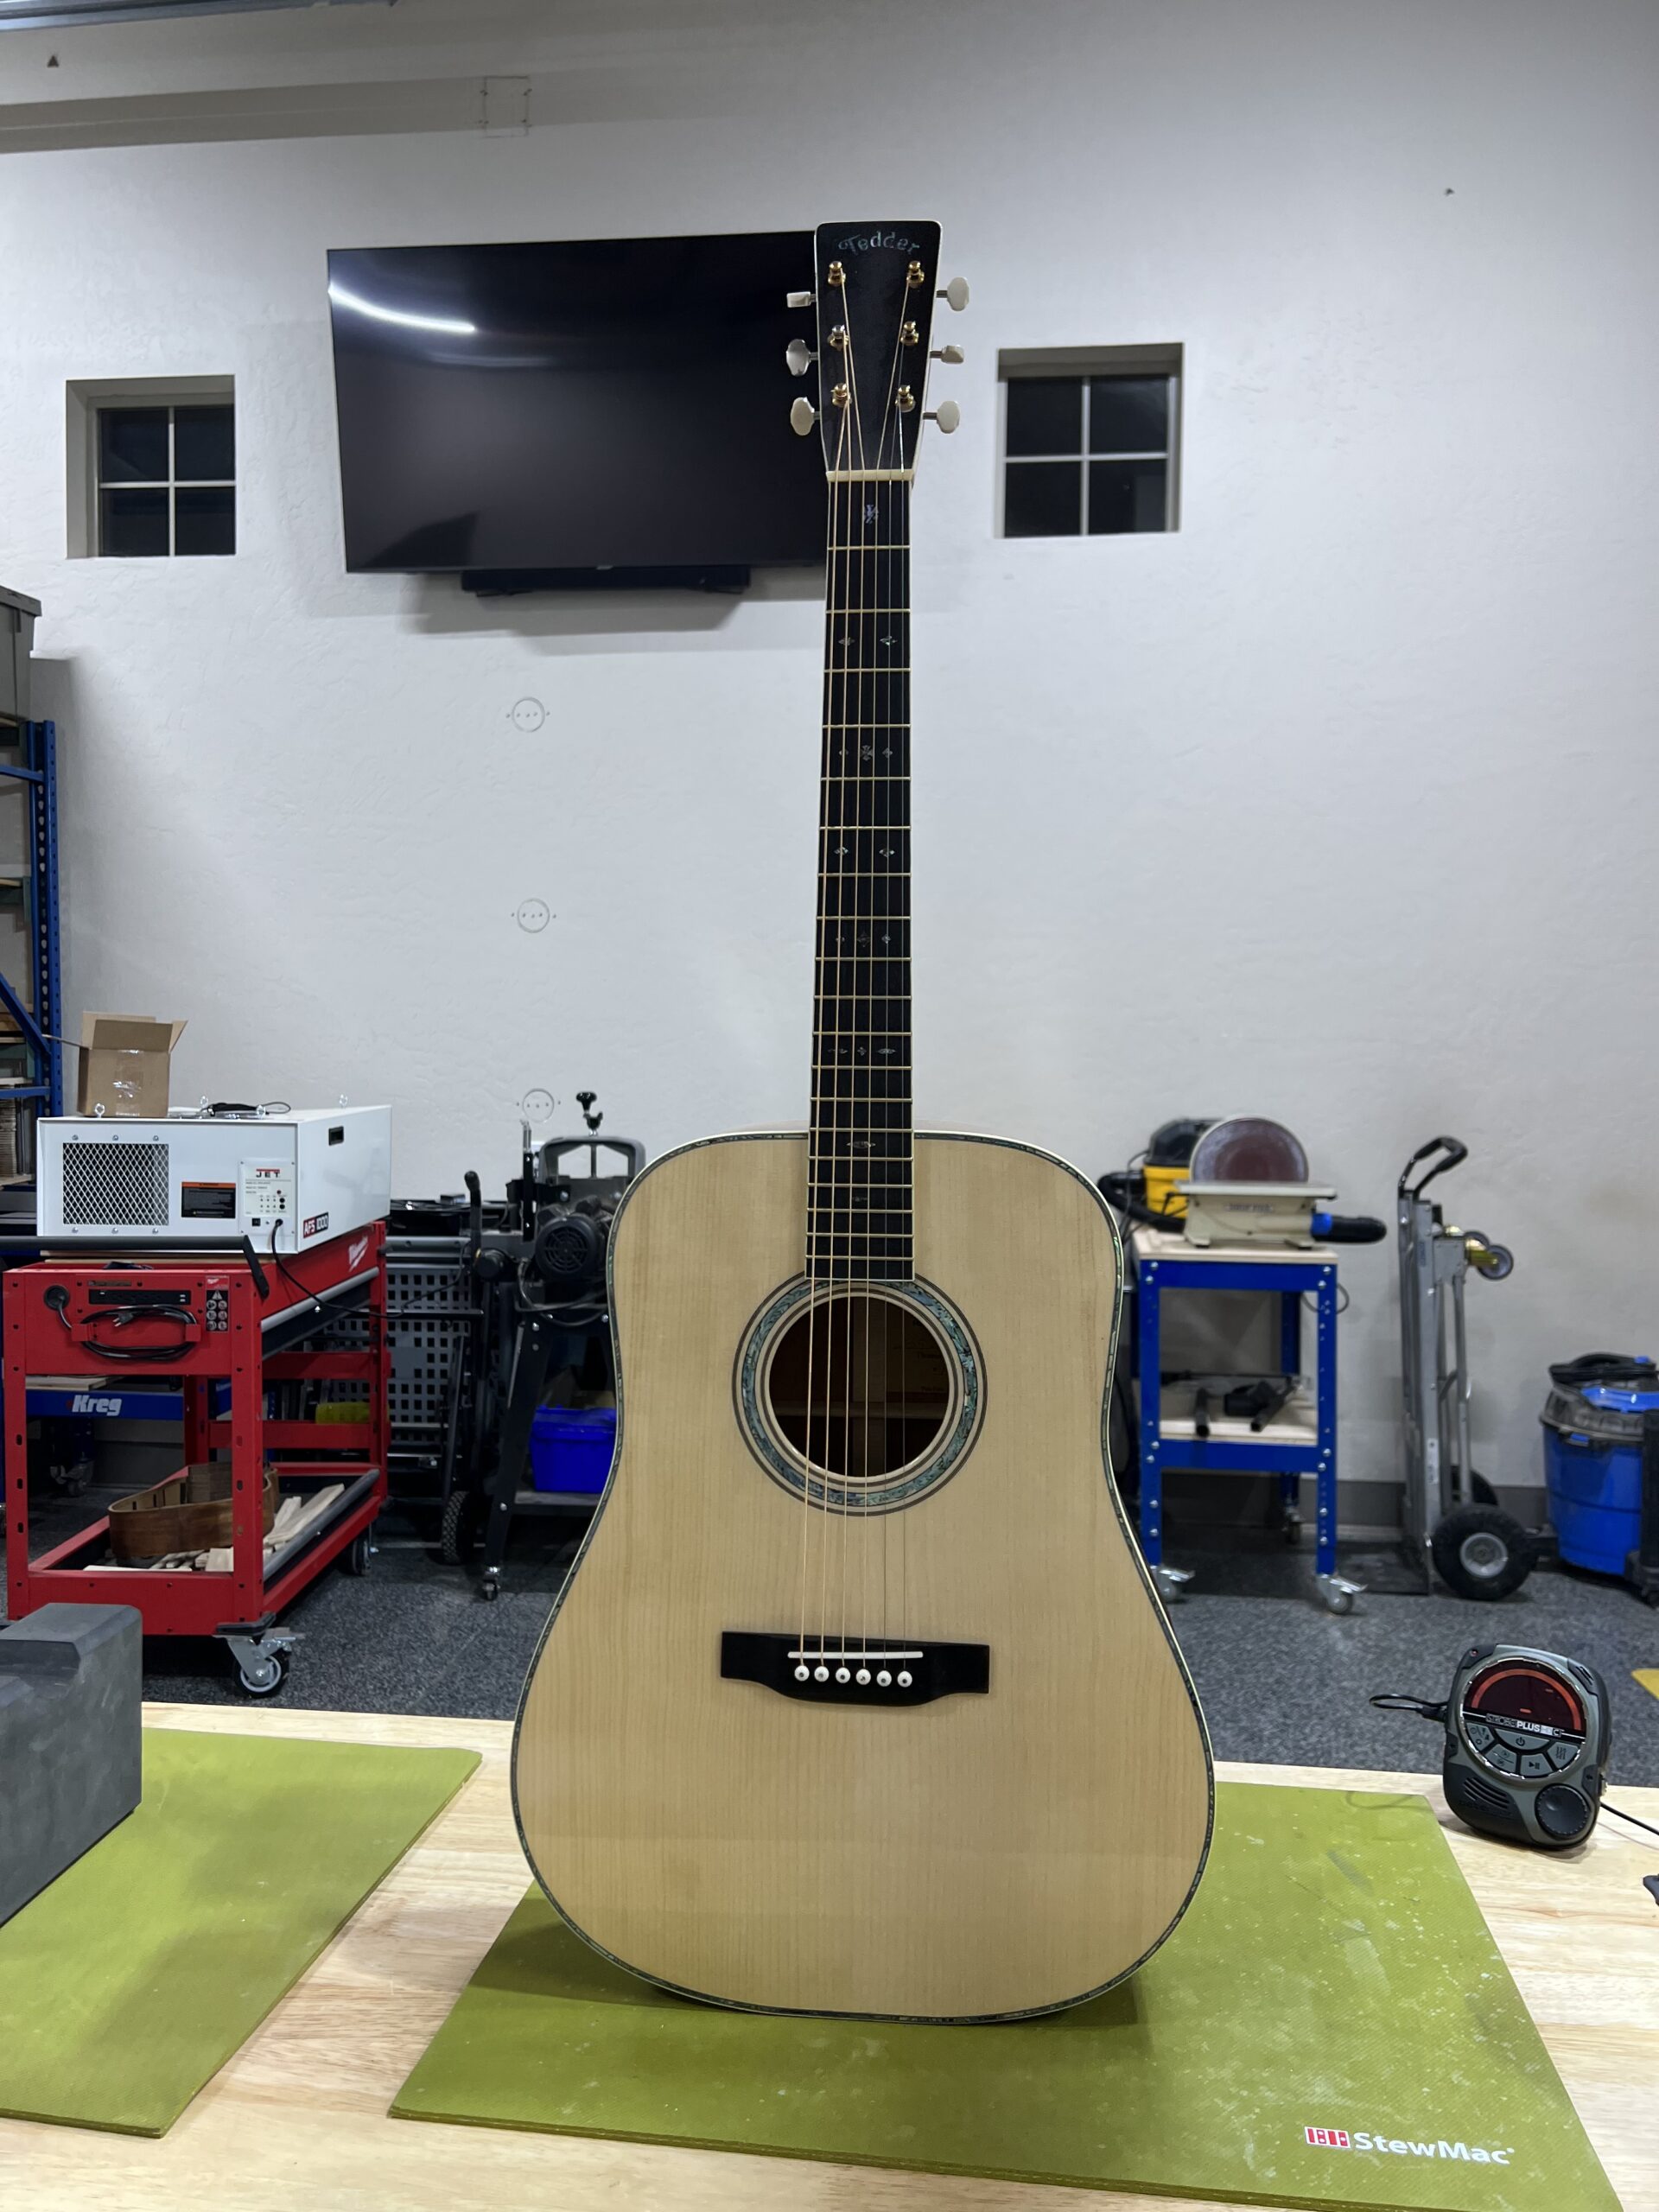
Pre damage

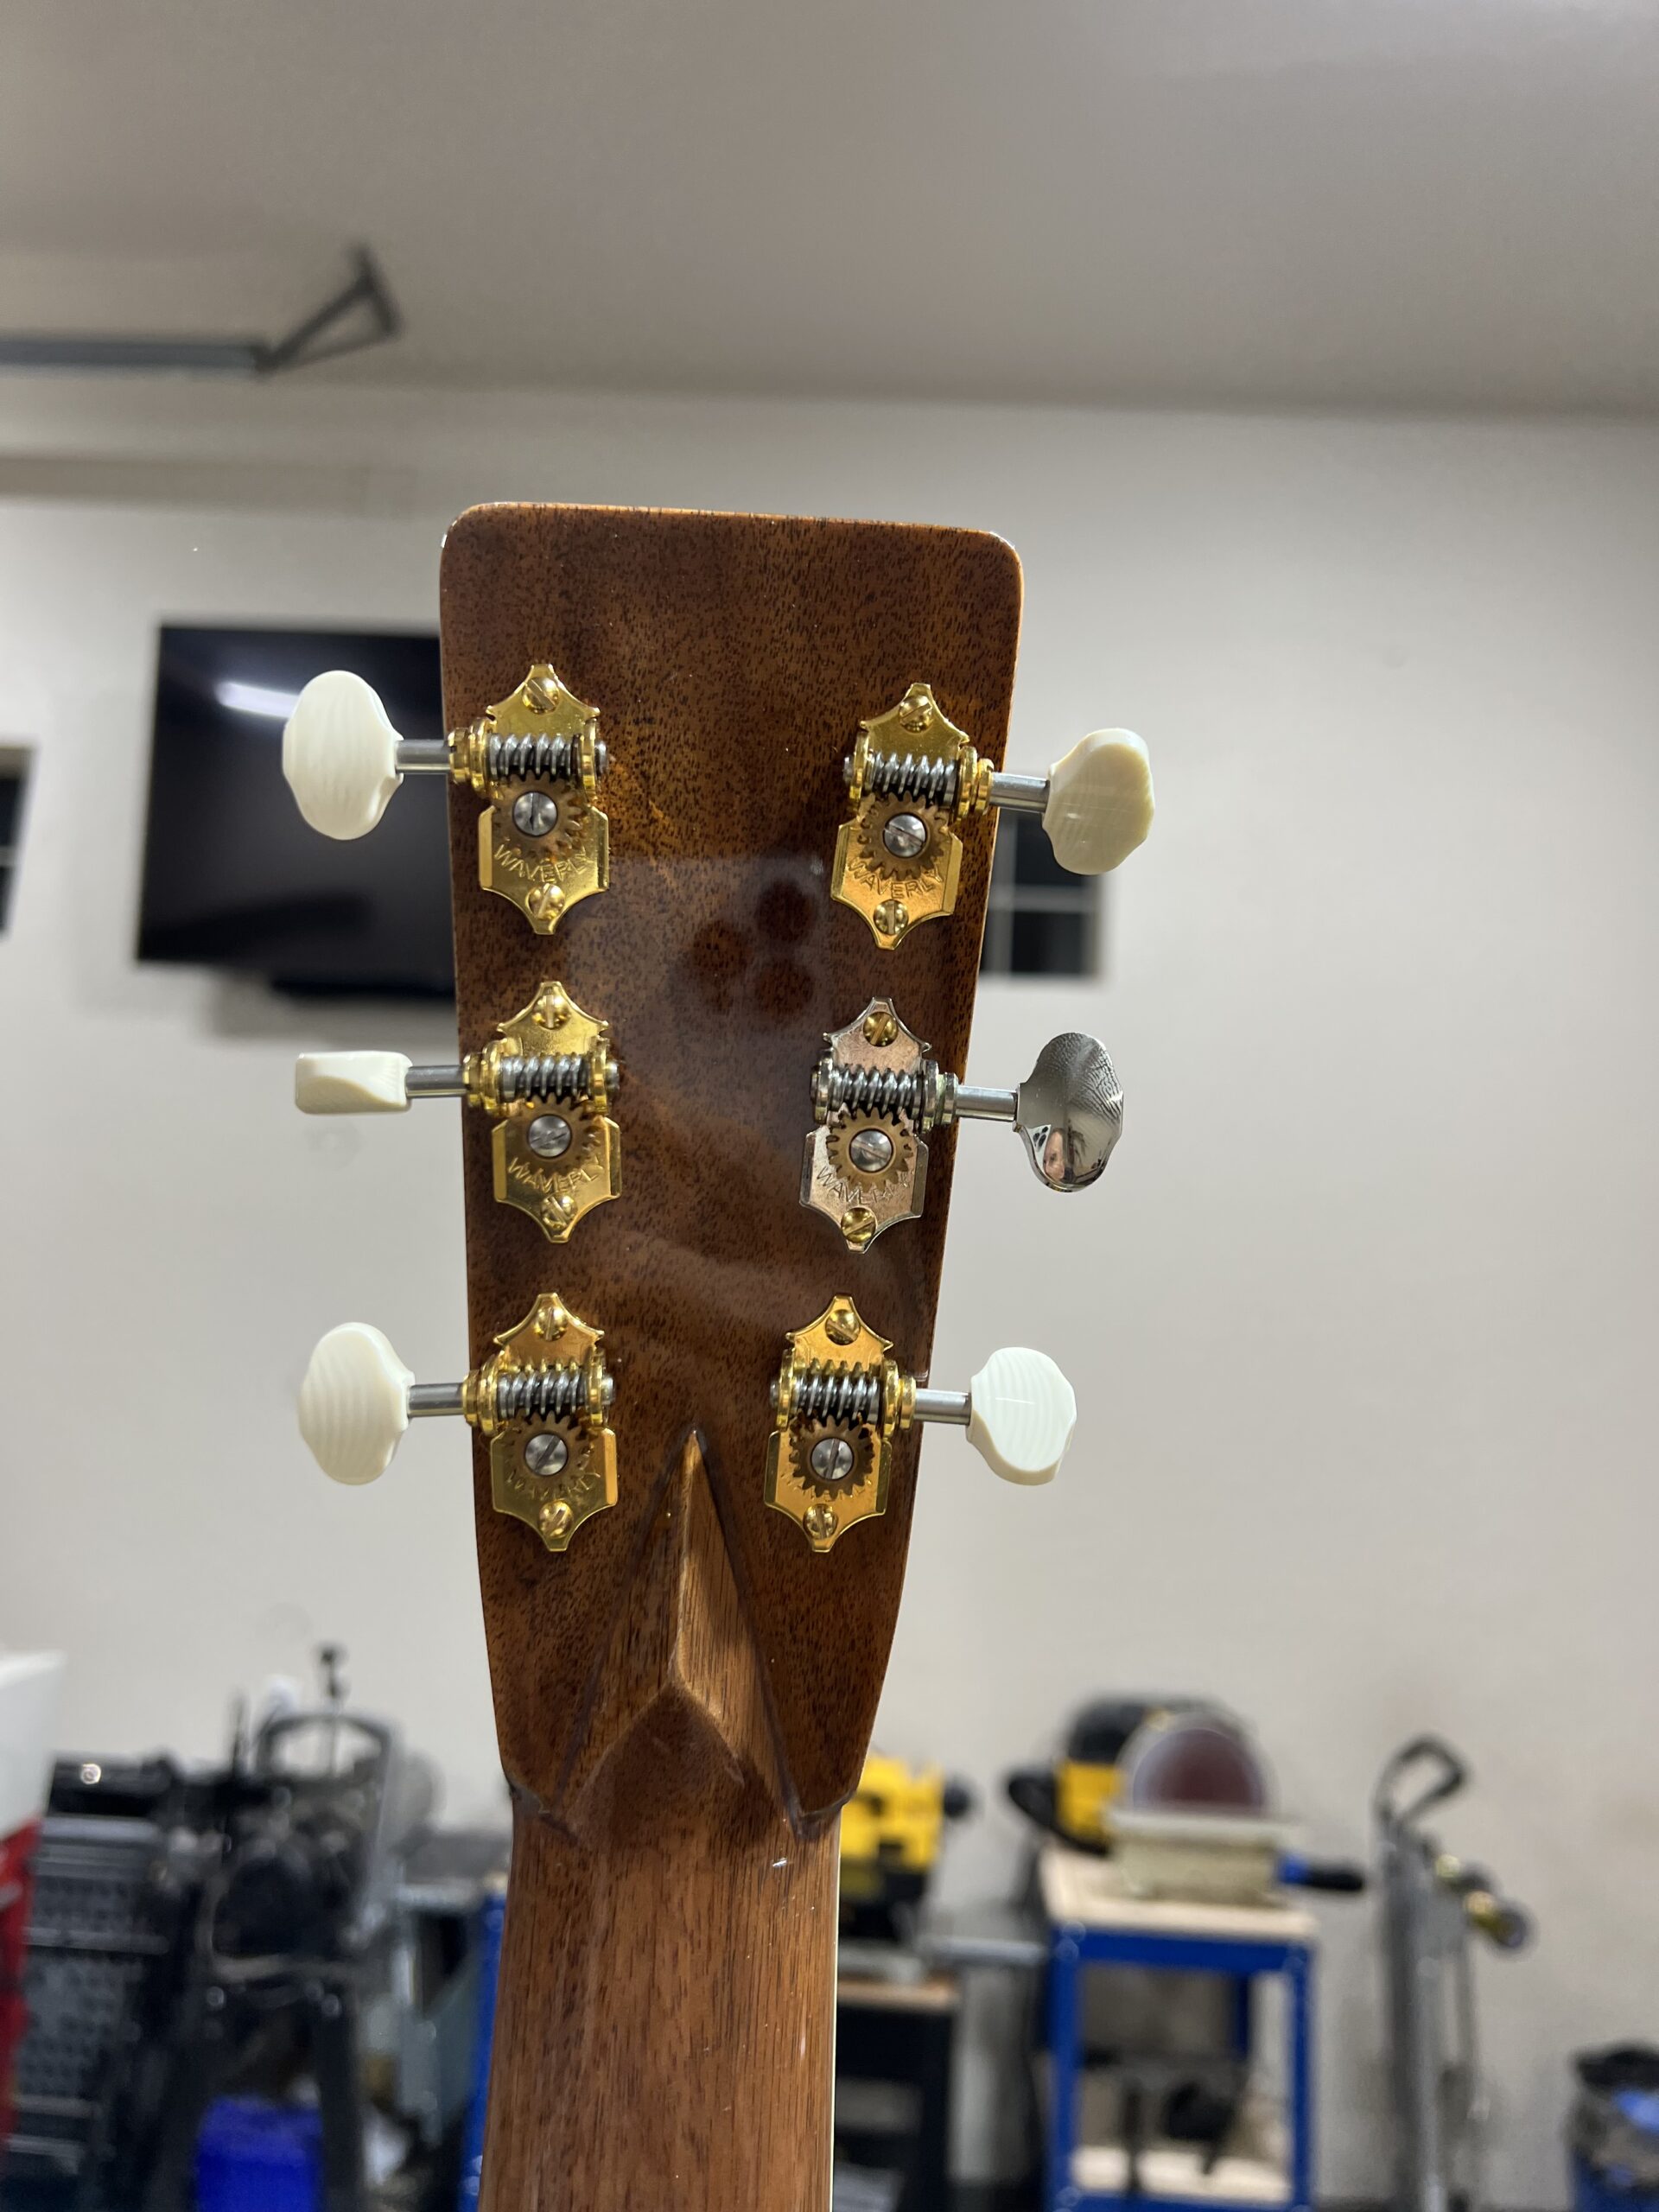
Here one of my tuners was defective and is replaced by a plain one.
Here the blushing is visible in the neck

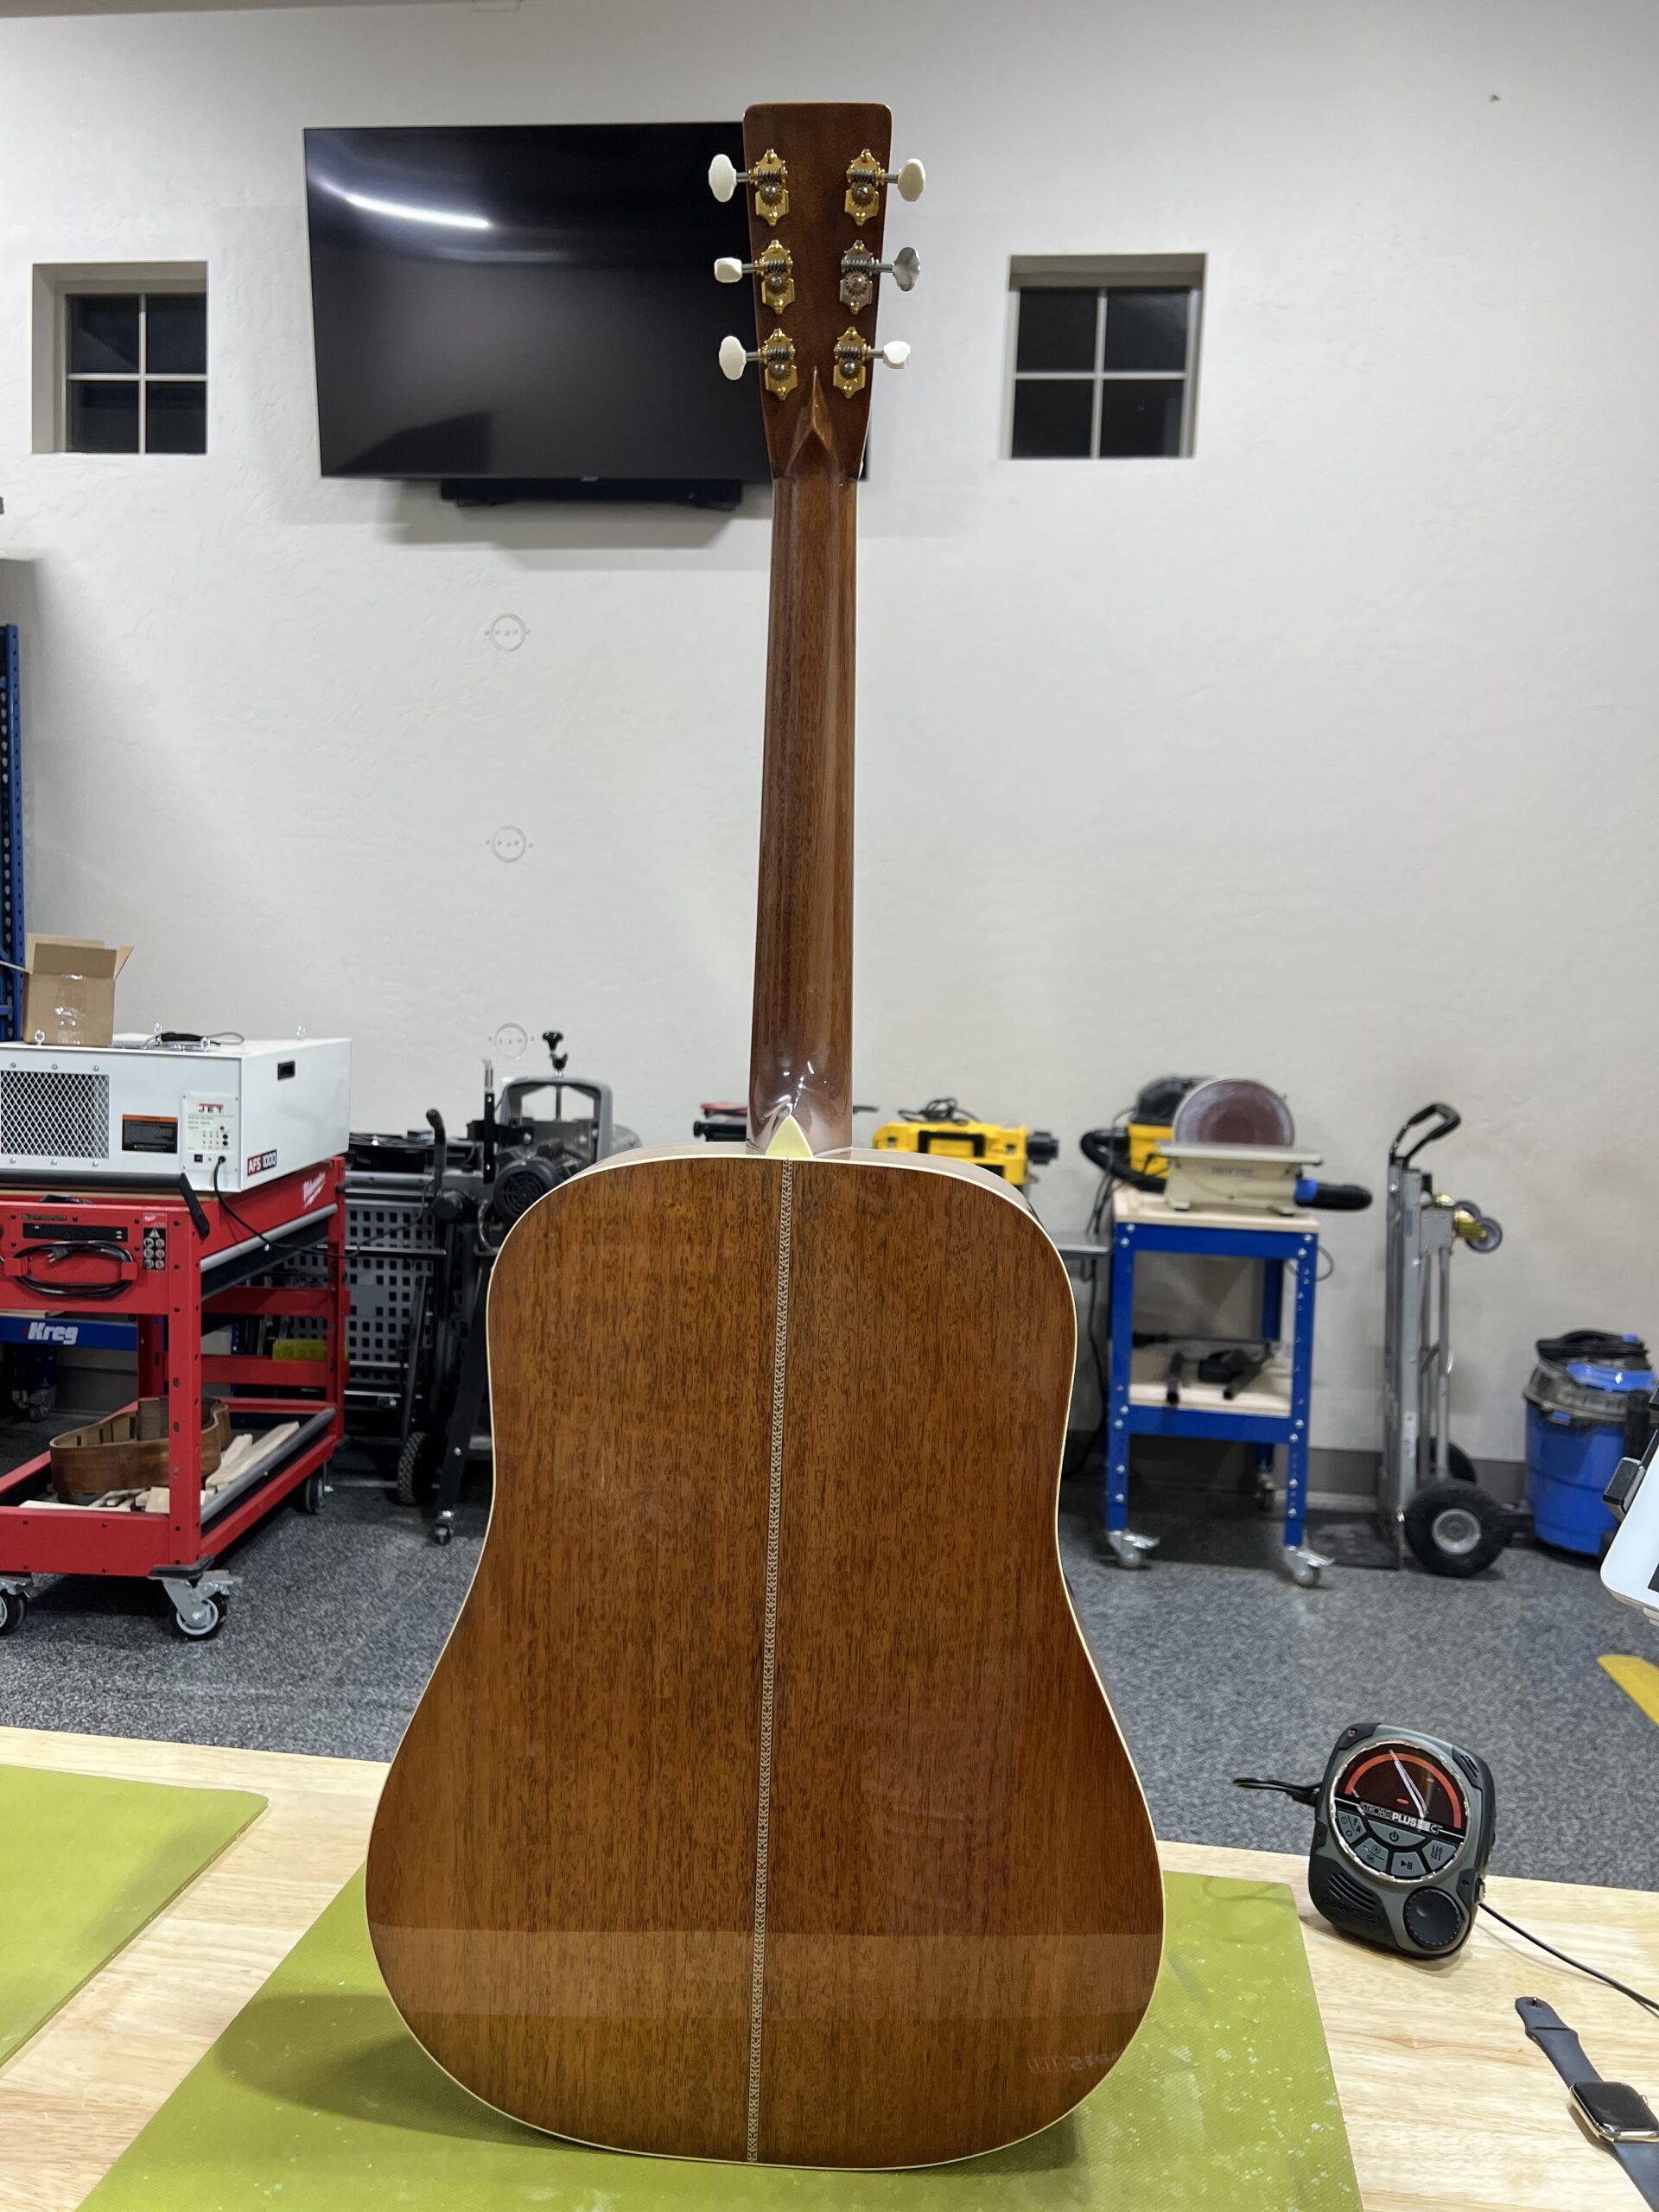
More blushing
| Official Luthiers Forum! https://luthiersforum.com/forum/ |
|
| Devastating end to first build https://luthiersforum.com/forum/viewtopic.php?f=10101&t=55375 |
Page 1 of 2 |
| Author: | guitarmaker78 [ Tue Nov 29, 2022 7:23 pm ] |
| Post subject: | Devastating end to first build |
I spent about 8 months off-and-on building my first guitar. Admittedly, most of my time was spent learning so I expect to go much faster on the next two, which are already underway. I don't know why, but I decided to share some of my experience. Anyway, I made a few mistakes, but everything was "good enough" or fixable until the very end. It's not worth discussing most of the fixable mistakes that sometimes took an entire week to fix, because they were all great learning experiences. Hell, for that matter, the unfixable ones are too, I suppose. I'll preface by saying that I have never done woodworking before deciding to build a guitar, but I was rebuilding carburetors on my lawnmower when I was 12 and car engines by 21. I now have multiple patents in an unrelated industry. I say that not to brag, but to say I know how to figure things out. Admittedly, I'm a bit of a perfectionist and I should have been happy with what I had until the very end when tragedy struck. In spite of everything, the guitar plays and sounds as good as anything I have and I have some of the best guitars made by Martin/Taylor/Gibson. I intend to use and enjoy it for a long time. It sounds almost identical to my J45, which was my second favorite guitar. Big Mistake #1 - Bind channel not cut properly at the top of the back. Pretty sure I know how to handle that next time. And I bought the Elevate binding jig as well. I'm not too impressed by the one I got from Stewmac. Big Mistake #2 - Not using a weight to secure the tripod I modified to hold the guitar to spray lacquer on it. After I stripped the stain several times and started over, I was so happy to finally paint the guitar. I had it hanging on a stand outside. I had my mask on. I had the gun in my hand having just filled it with fresh lacquer. I was walking towards my canvass with a grin from ear-to-ear. As I was 3 or 4 steps from my baby, the wind picked up and blew my guitar (stand and all) right over onto the concrete. I took a couple of days to get back to where I was. I thought some of the dents would be very noticeable, but after all was finished, I'm the only one that can point them out. Big Mistake #3 - Blush/fogginess in the lacquer that I didn't understand until it was too late. It only showed up in a couple of places and almost looked like it was a purposeful patina. Anywho, I just planned to sand it down and refinish it when I paint the next one. Big Mistake #4 - At this point, I'm thinking things are pretty awesome. Then it was time to drill the end pin. I started with a small bit to drill a pilot hole. Now I normally work my way up through several sizes when drilling, but as I said, I'm not a woodworker and I thought that this is just soft Mahogany so I'll just go for the big bit now and finish it off. A fraction of a second into the operation, I immediately regretted that decision. As soon as the bit passed the Ivoroid end wedge, the bit grabbed the laminate and ripped it straight out and away from the body. It happened so fast it was all over before I even had time to react. Now at this point I was pretty upset, but I said to myself "Self. You have to repaint the neck anyway. Just fix this and repaint the bottom then." I'm also thinking at this point that it's a good thing I used lacquer. I mean sure, there are some mistakes, but it's all fixable. Big Mistake #5 - Leaving the guitar in my truck. I was so excited about the guitar, even though I wasn't completely happy with it, that I had it in my truck and was showing anyone who would let me. It was early fall and the weather was perfect. I've always been careful not to ever leave a guitar in my truck, but I just completely forgot it was there and the weather wasn't due to turn for another month anyway. Then for the first time in five months, spring/summer was over instantly and the temperature dropped below freezing overnight. Old man winter came at least a month early this year. My finish cracked all over - front, back, and neck. Now I'll be damned if I am going to sand this thing back to bare wood and refinish the whole thing so this will be my outdoor/travel guitar. It still sounds great. I've given thought to putting it through a few hot/cold cycles to see if I can get it to crack all over like it was on purpose. FIX ACTION - I guess a mistake I made that I haven't mentioned yet is what made mistake #5 possible, at least from what I've read. I left the finish at 12 thou. Now I didn't know this until I was done buffing it and pulled the tape off where my bridge was to be glued. I measured it at 12 thou. From what I read 5-8 is a good target. I figured this thing looked great and I had extra protection. It now seems that I had extra crack potential. It actually sounds amazing, so it probably would have been even more incredible with less lacquer on it. When I was sanding the lacquer, I had a constant fear that I was going to sand through the lacquer and had no idea where to stop. So I decided that I'll know for a fact what my thickness is next time I'm finishing a guitar. I bought a DeFelsko PosiTector 200. First off if is ridiculously expensive at $2k, but I will never again have to guess where to stop sanding. I was skeptical at first, but as soon as it arrived, I tested it out. My guitar reading came in at 12 thou - right where I measured it with my caliper. My Taylor shows 6 thou, my Martins came in around 7 thou, and my Gibson at 8 thou. I'll upload some pictures separately here shortly. |
|
| Author: | guitarmaker78 [ Tue Nov 29, 2022 7:41 pm ] |
| Post subject: | Re: Devastating end to first build |
Pre damage Here one of my tuners was defective and is replaced by a plain one. Here the blushing is visible in the neck More blushing
|
|
| Author: | Chris Pile [ Tue Nov 29, 2022 7:46 pm ] |
| Post subject: | Re: Devastating end to first build |
If you hadn't told us, I don't think we would have guessed. Looks great from here! |
|
| Author: | guitarmaker78 [ Tue Nov 29, 2022 7:51 pm ] |
| Post subject: | Re: Devastating end to first build |
Post Damage 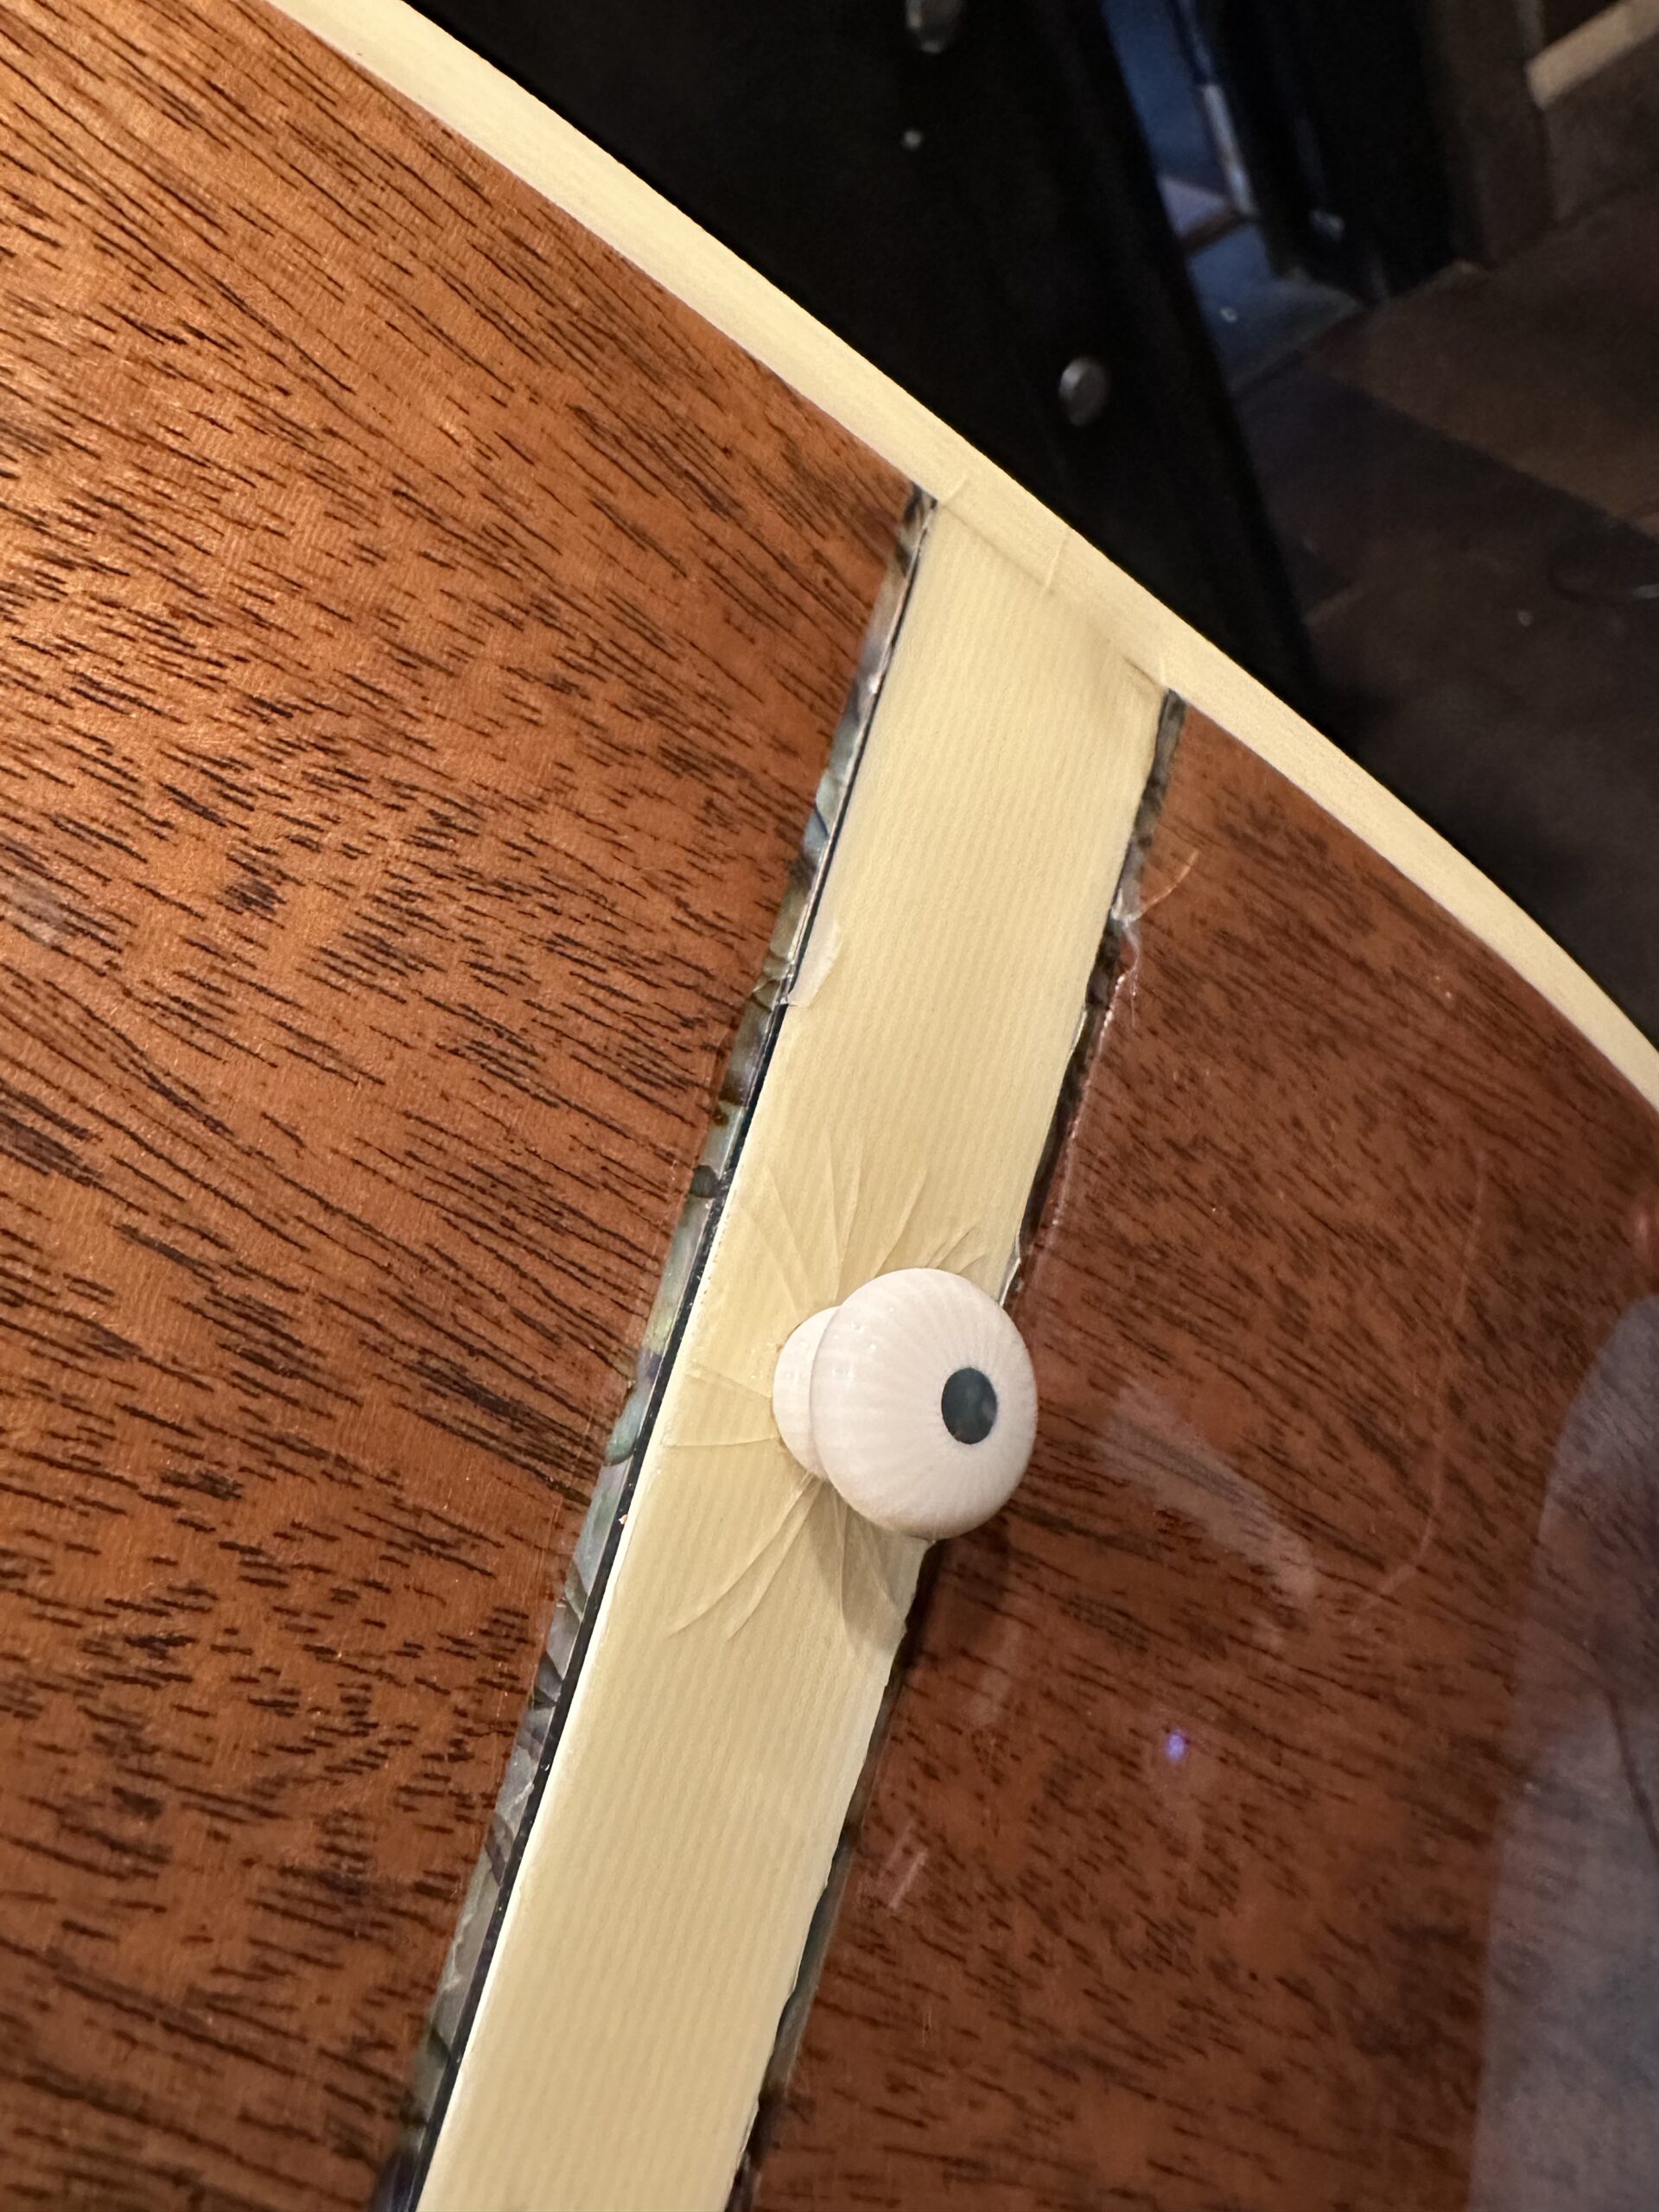 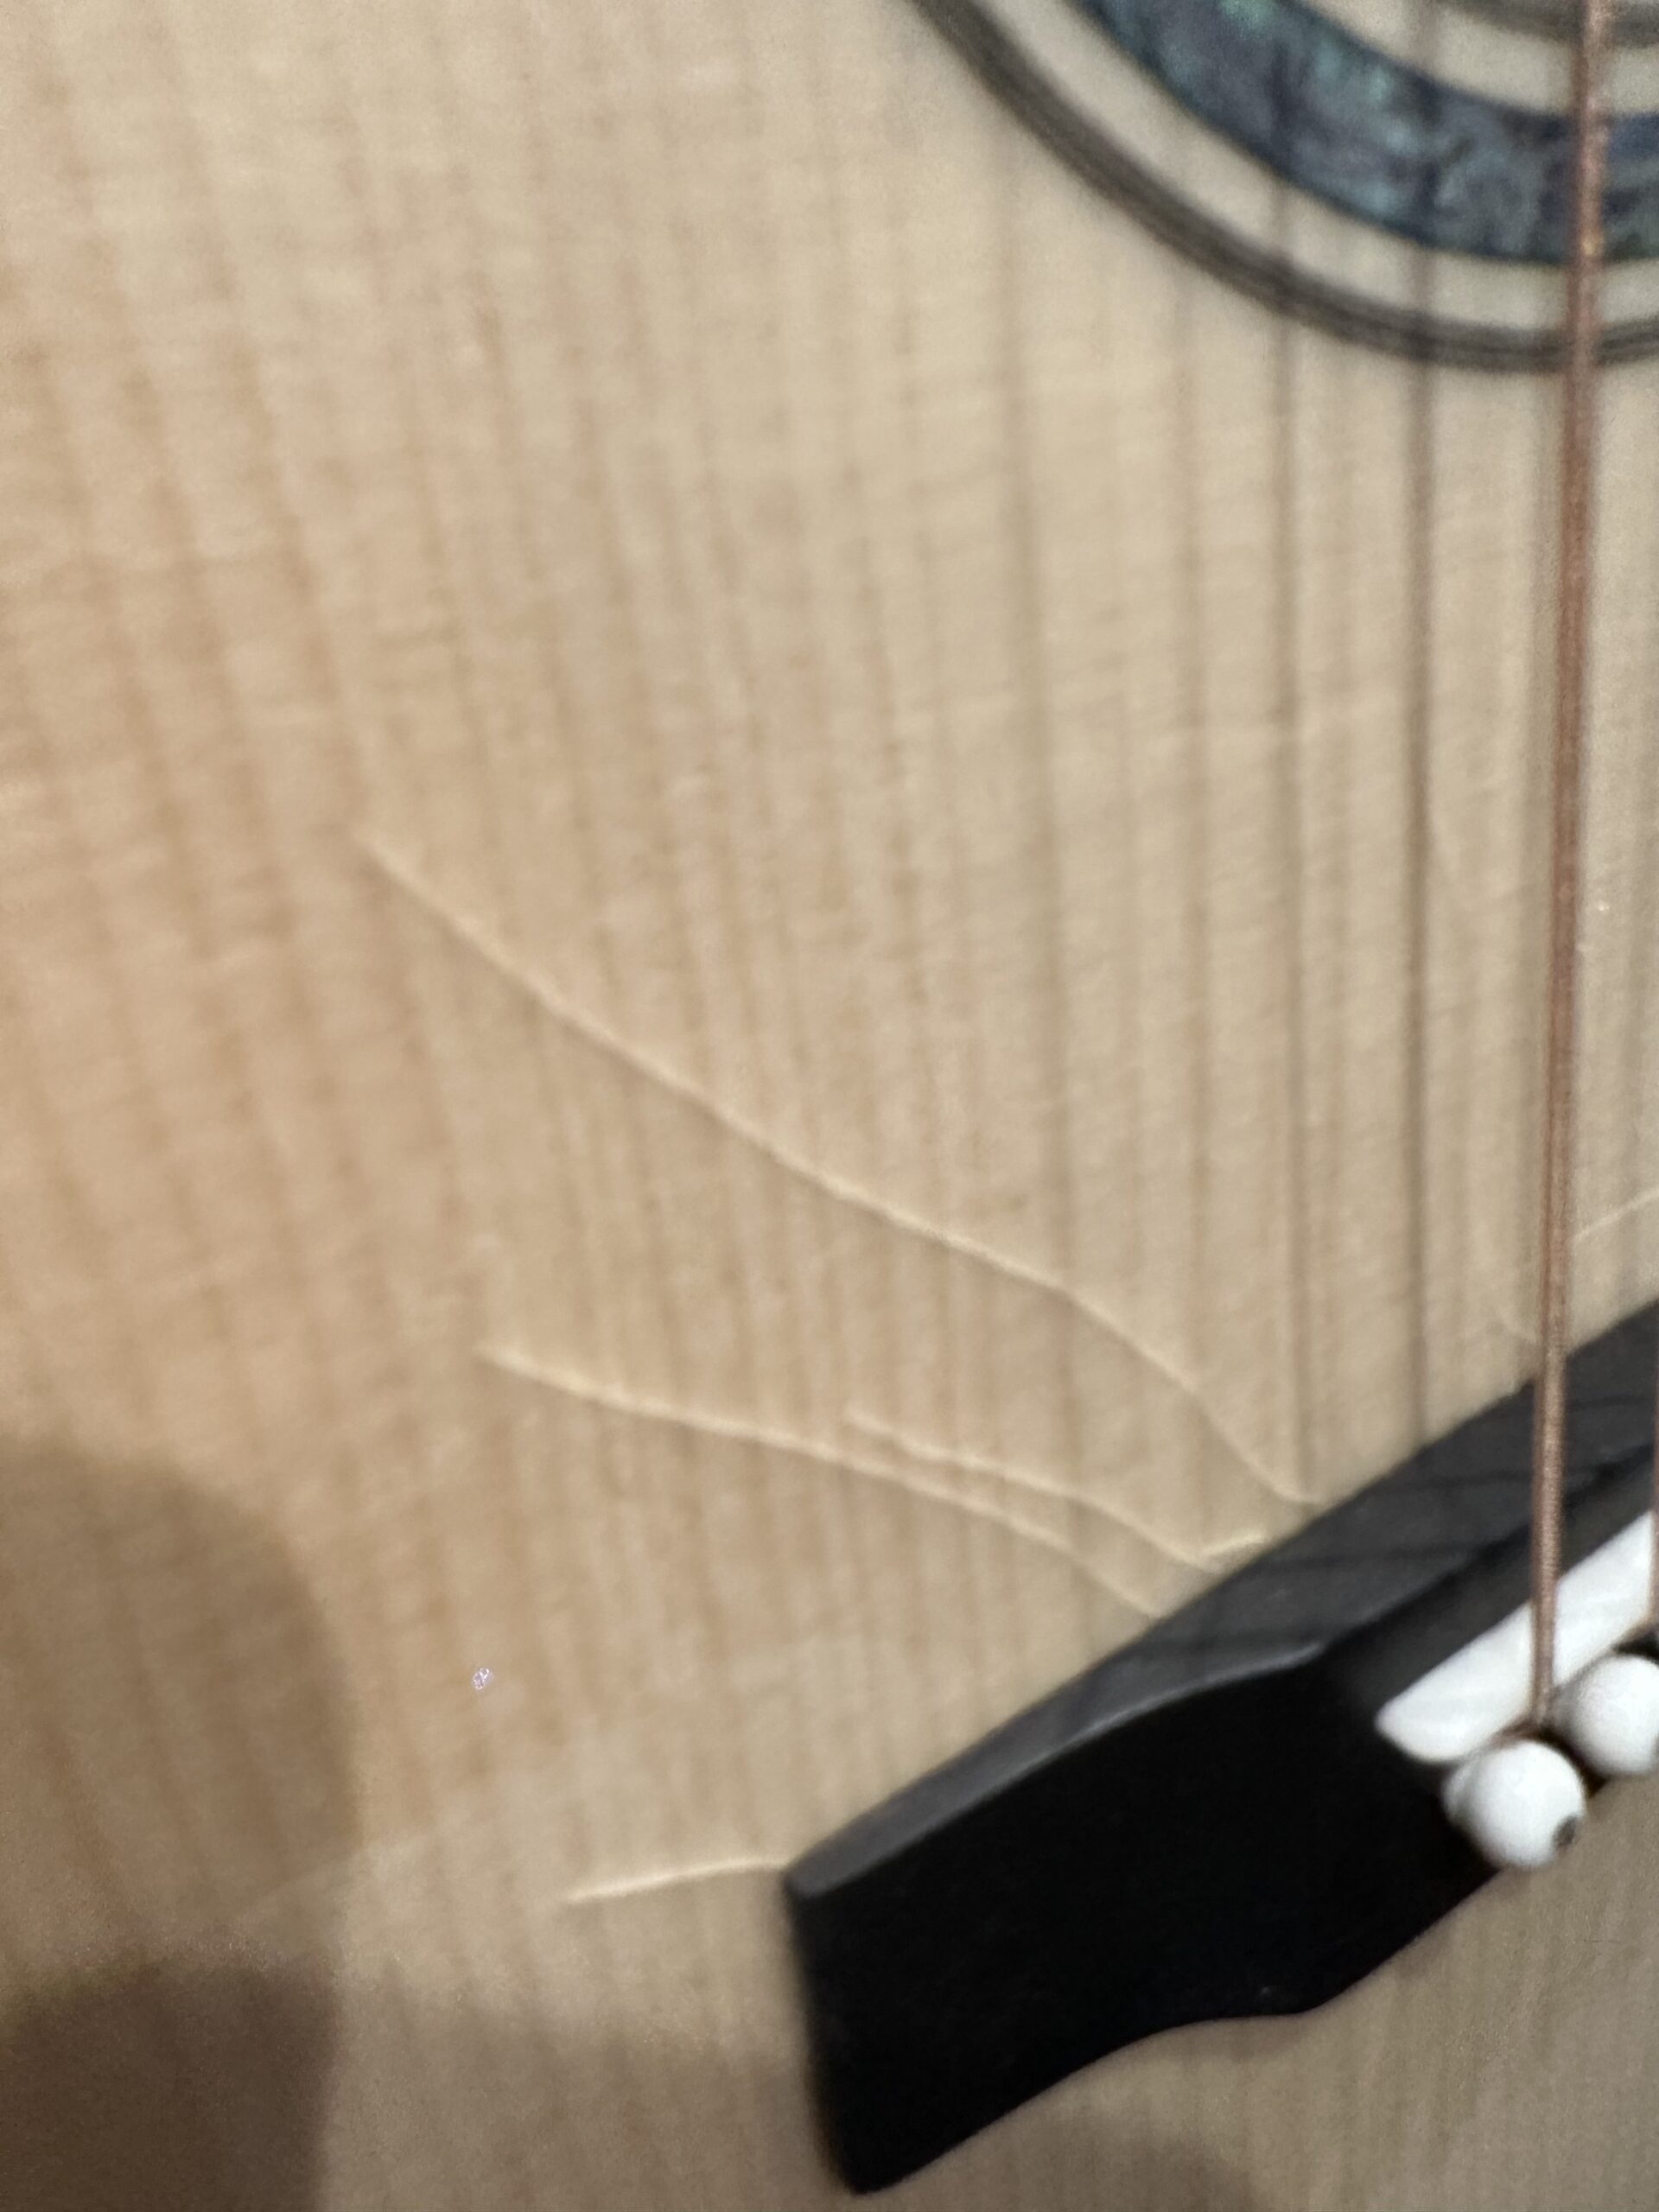 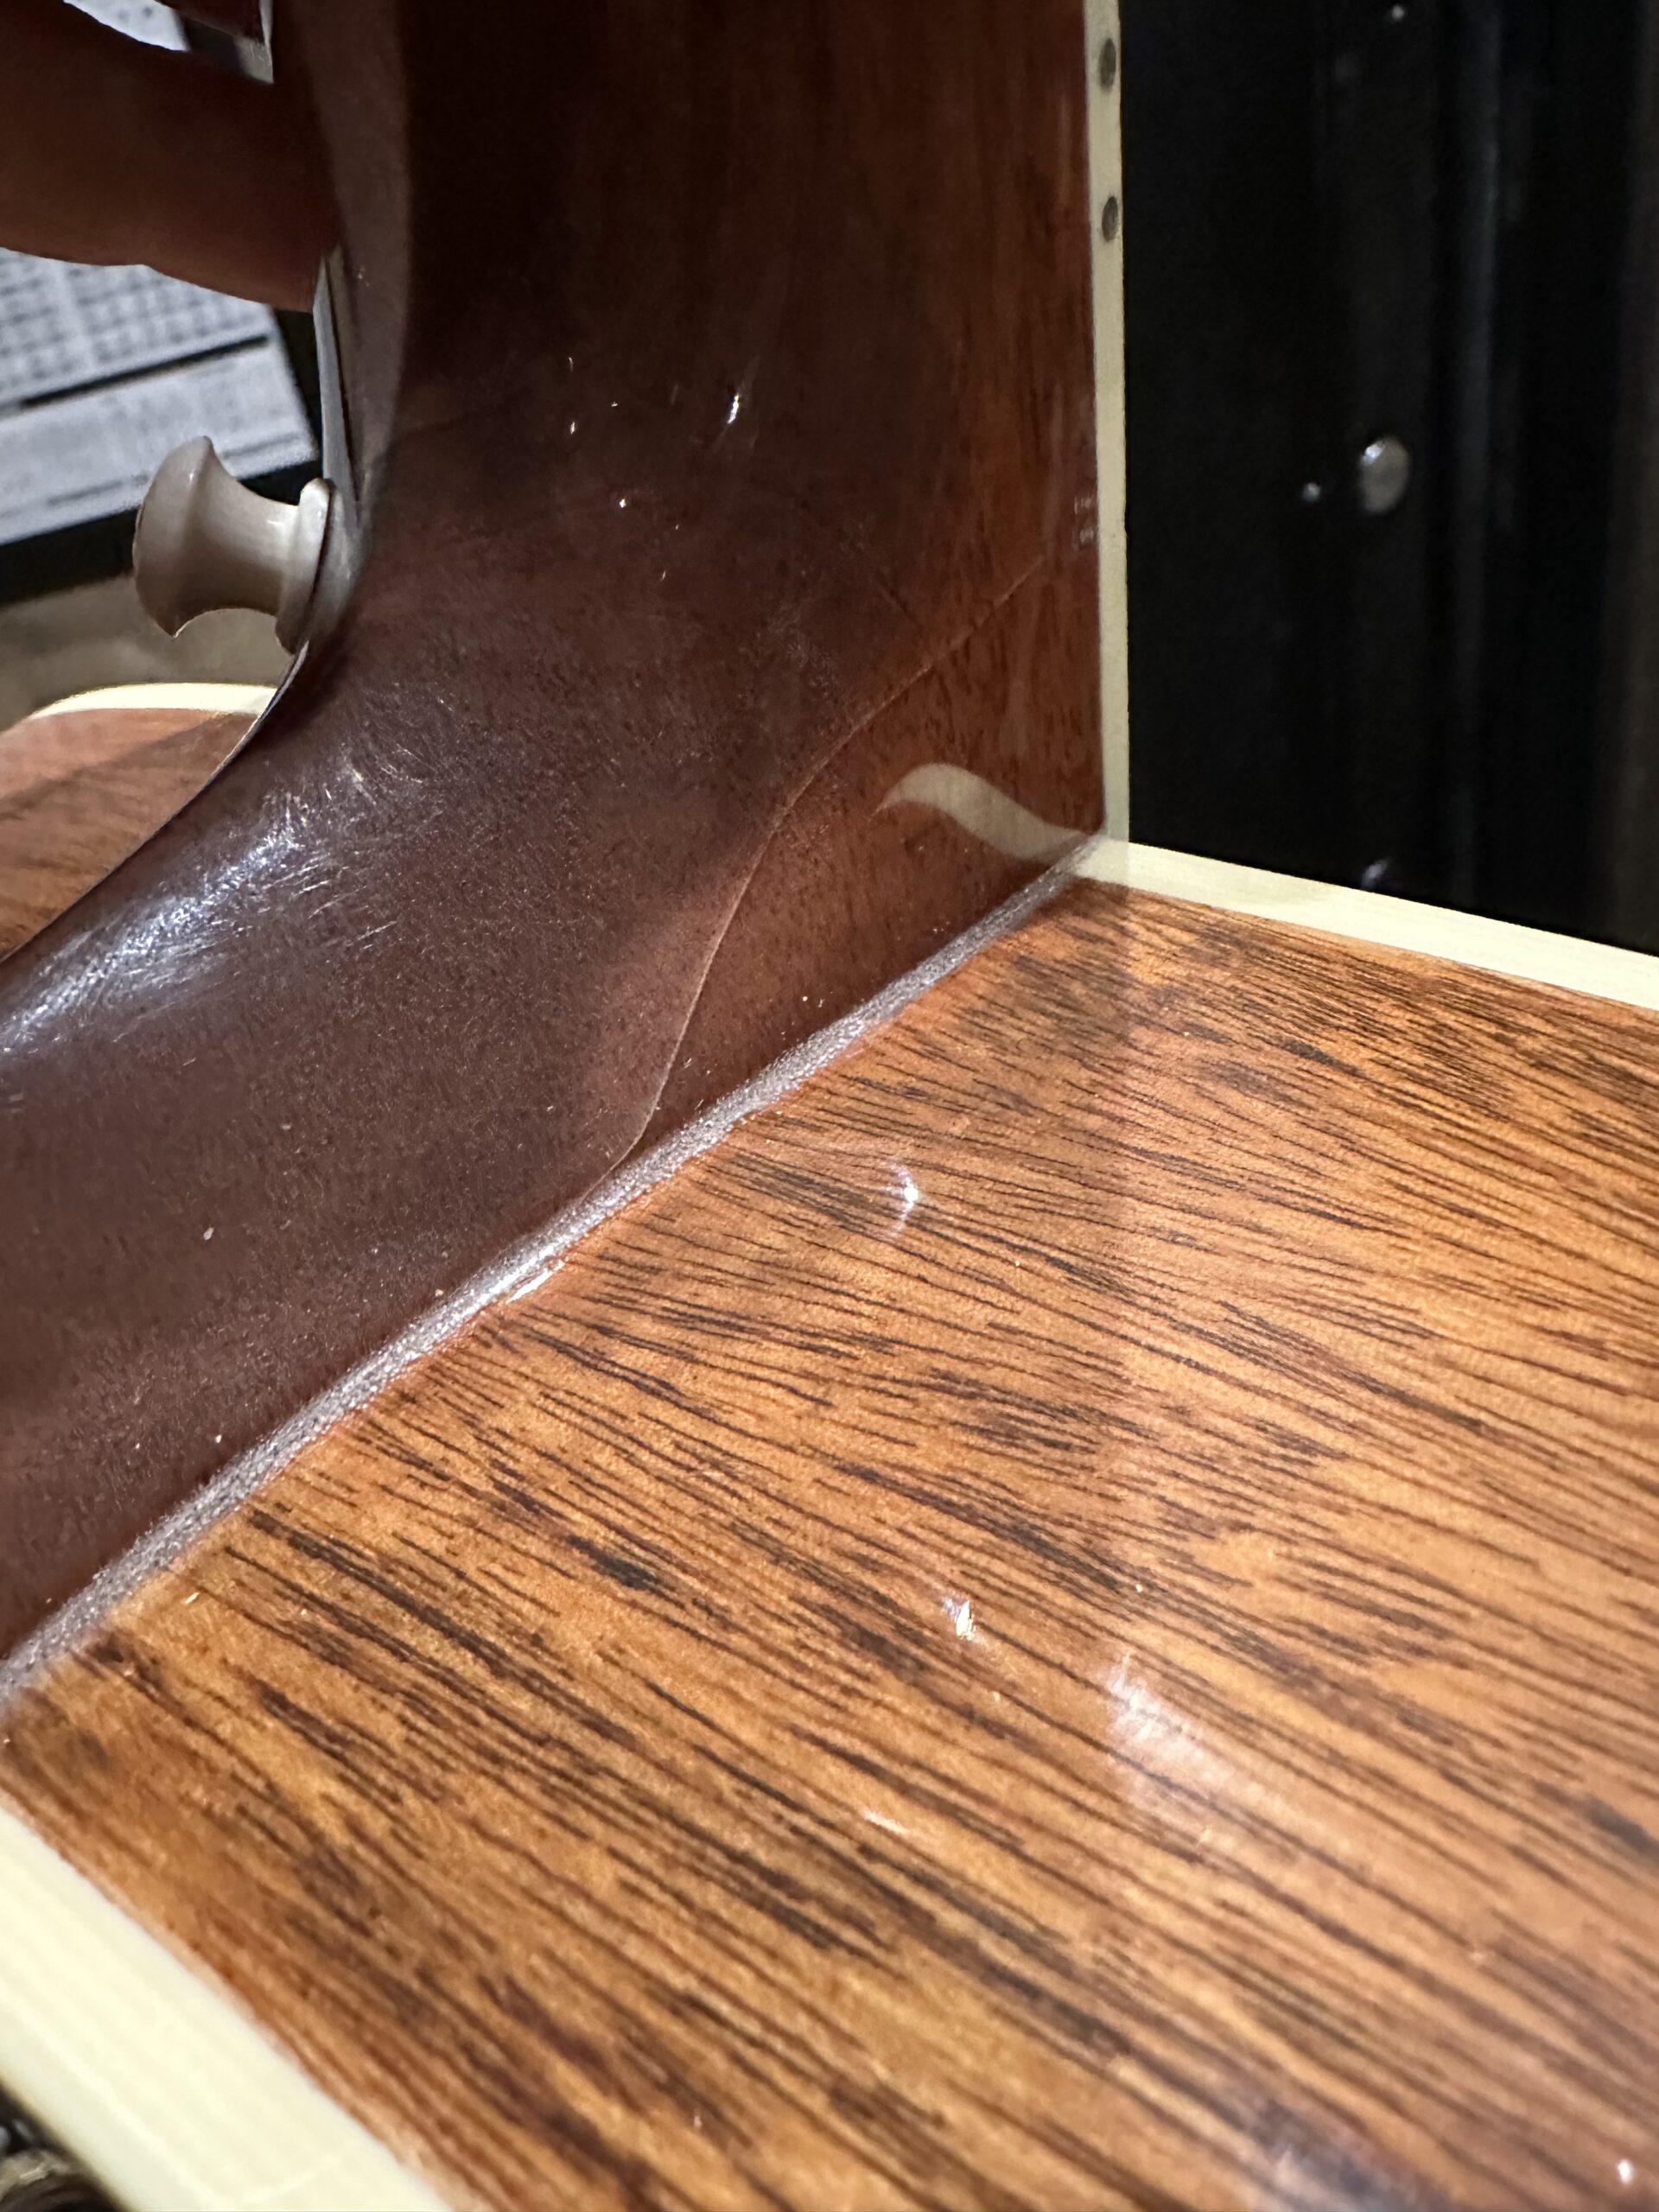
|
|
| Author: | bcombs510 [ Tue Nov 29, 2022 7:54 pm ] |
| Post subject: | Re: Devastating end to first build |
That’s unfortunate - dropped on its end? Sent from my iPhone using Tapatalk Pro |
|
| Author: | guitarmaker78 [ Tue Nov 29, 2022 8:10 pm ] |
| Post subject: | Re: Devastating end to first build |
More damage 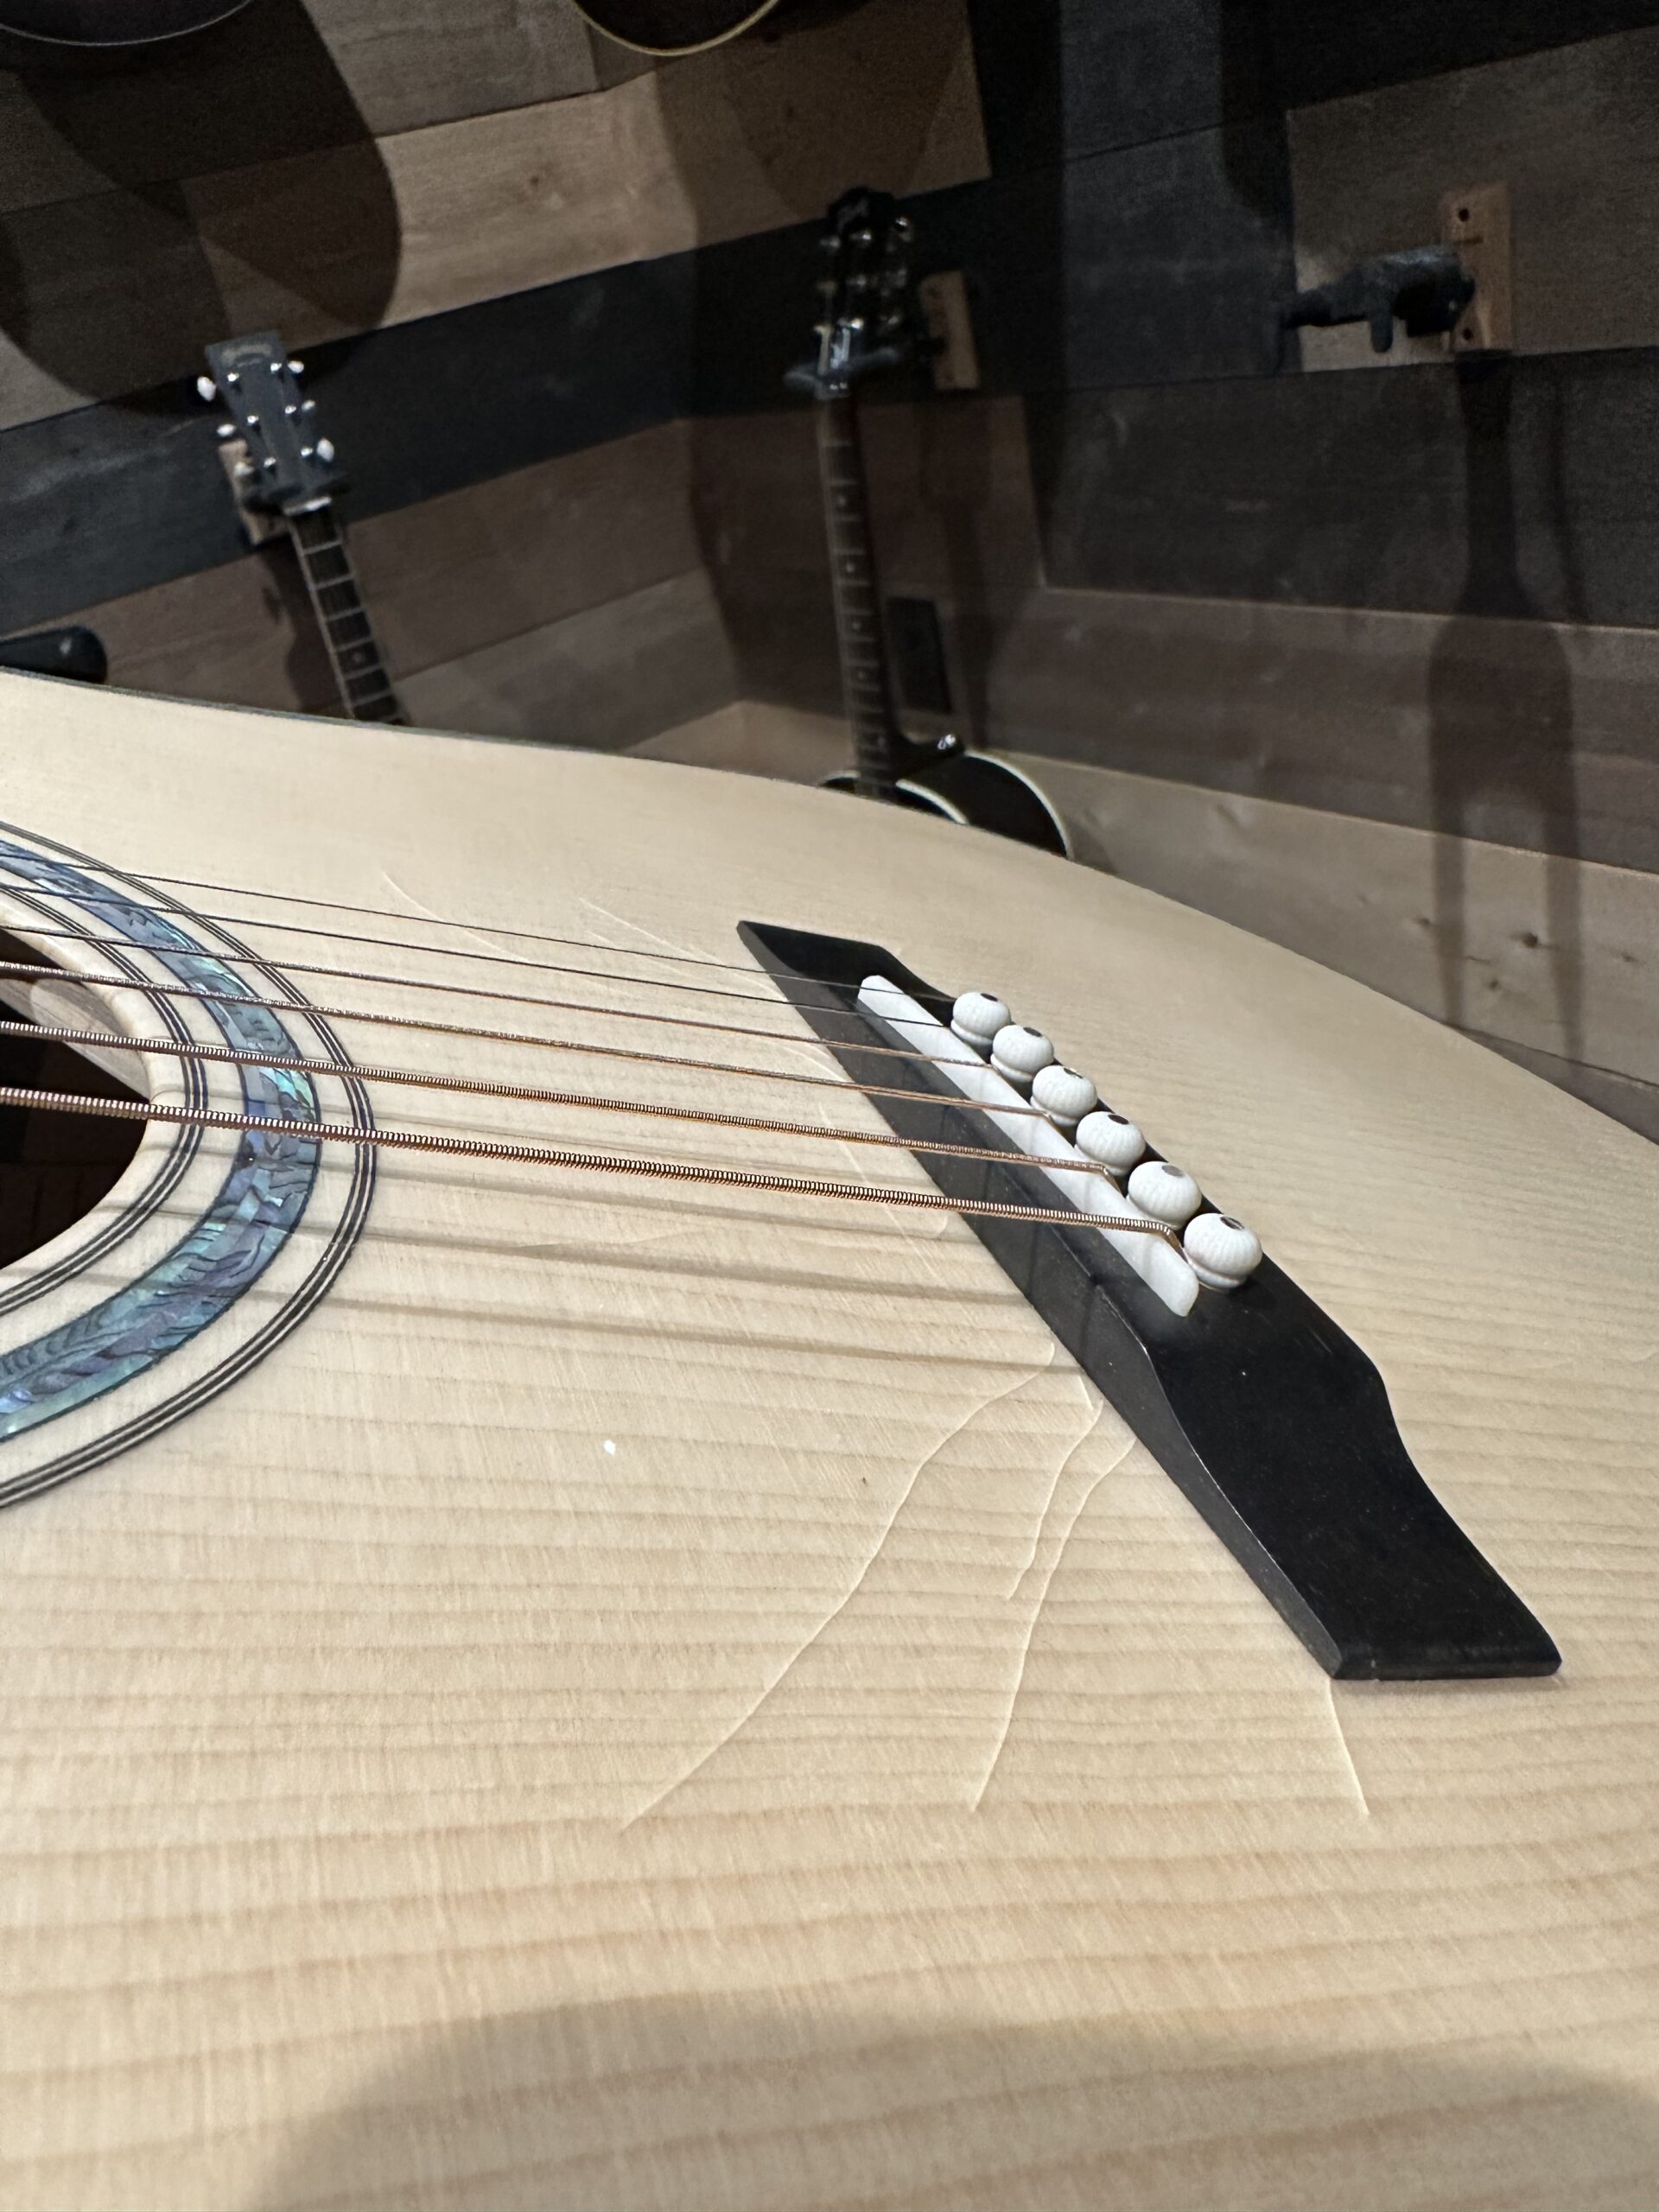 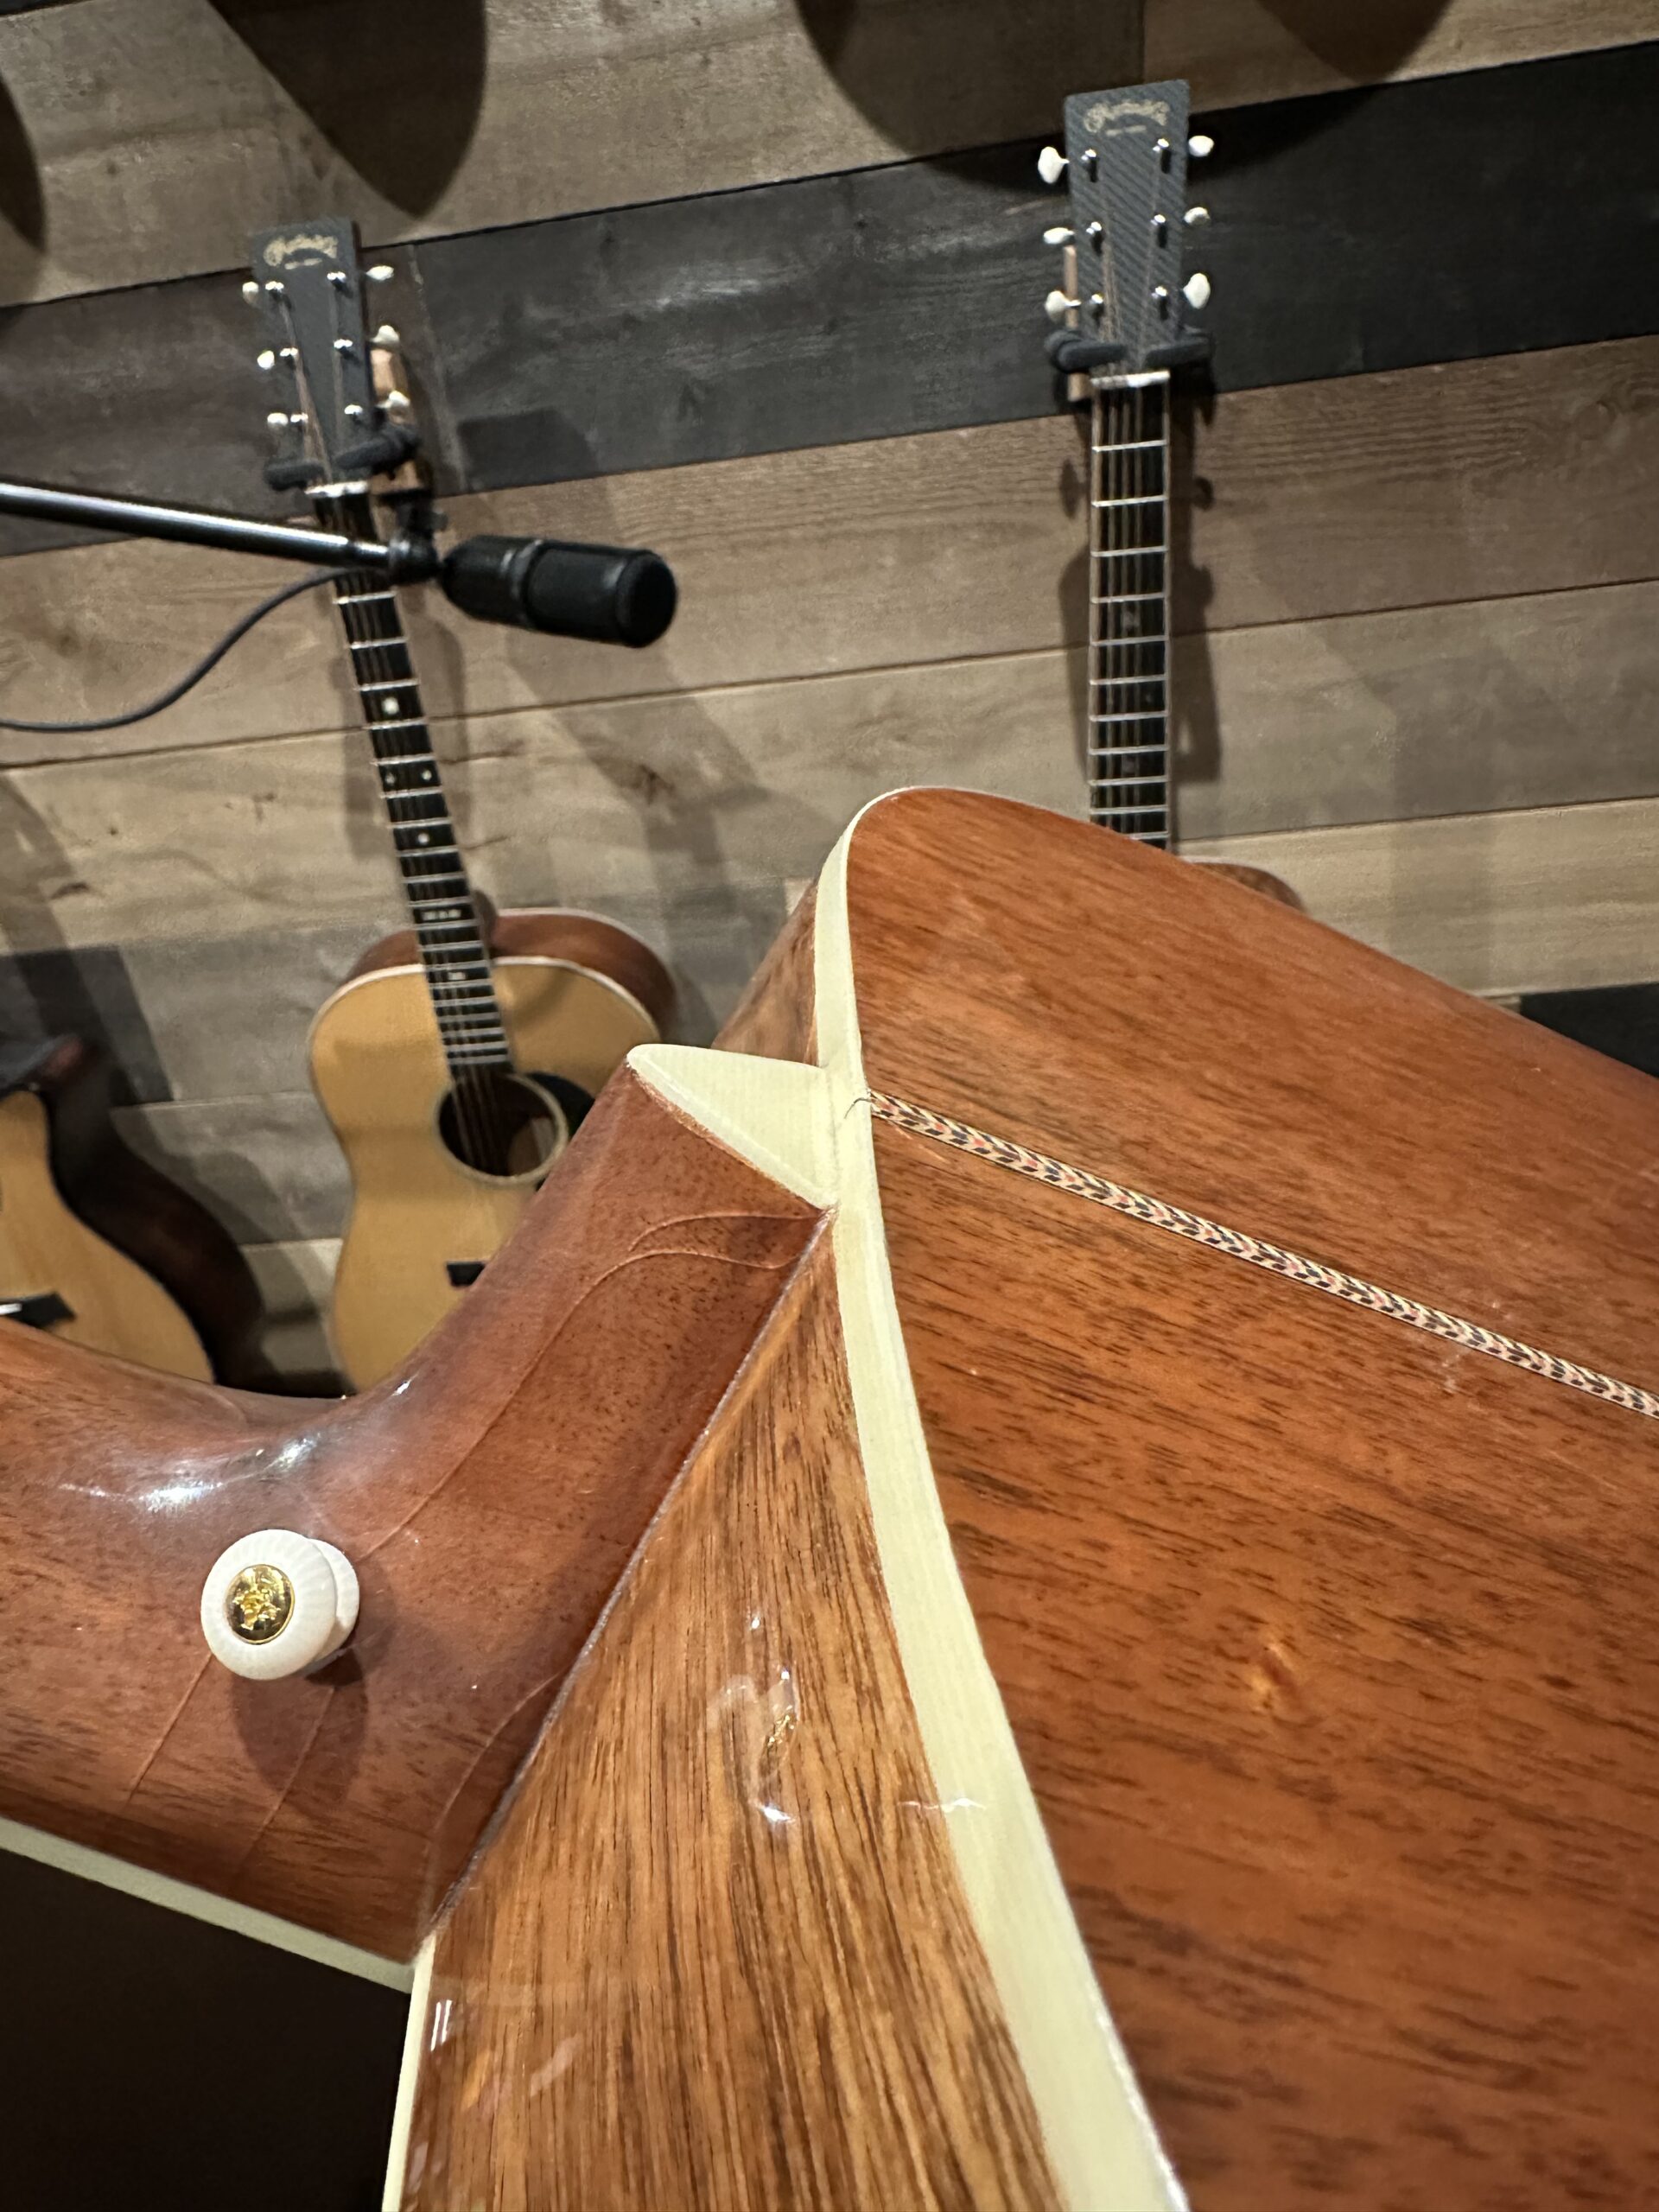 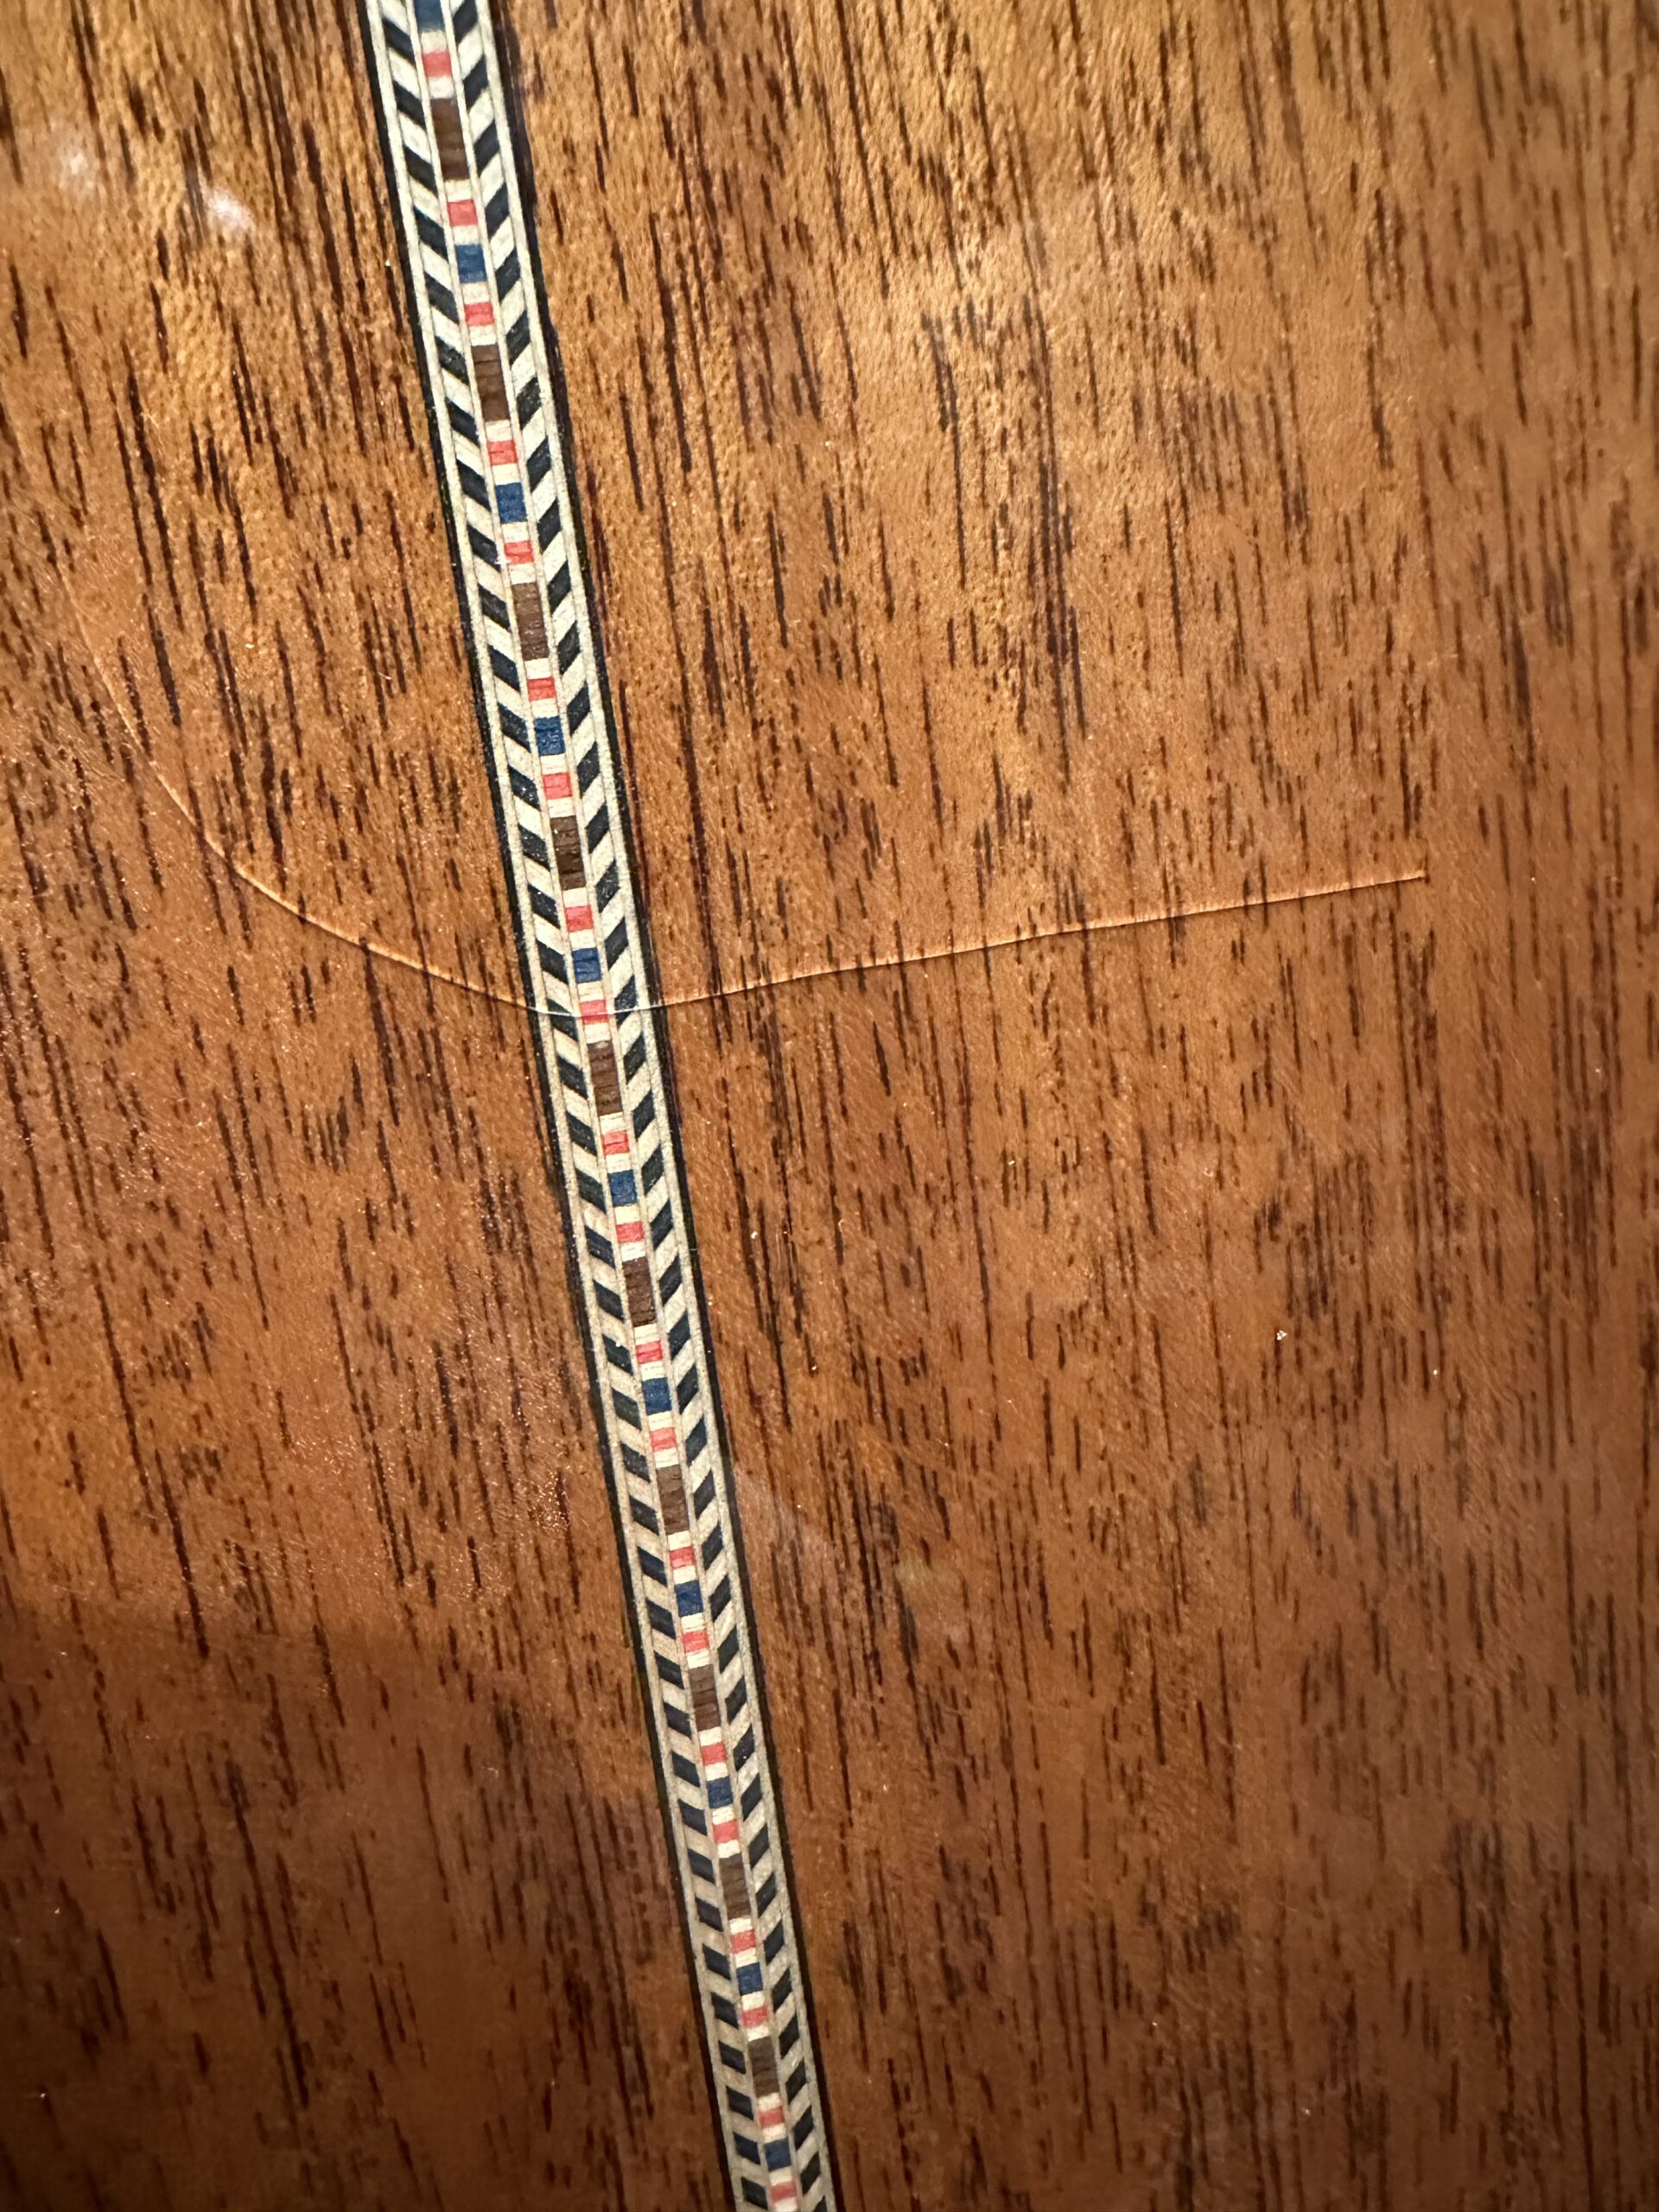
|
|
| Author: | guitarmaker78 [ Tue Nov 29, 2022 8:24 pm ] |
| Post subject: | Re: Devastating end to first build |
bcombs510 wrote: That’s unfortunate - dropped on its end? Sent from my iPhone using Tapatalk Pro Drill bit and cold weather |
|
| Author: | J De Rocher [ Tue Nov 29, 2022 9:56 pm ] |
| Post subject: | Re: Devastating end to first build |
Sorry about the crazing, but everything else about the guitar looks great. One detail I particularly like is how you used four rings of pearl to make the rosette. I've not seen that done before and it looks pretty cool. Put the problems with this guitar in the past because it looks like the future is bright for your guitar building. |
|
| Author: | guitarmaker78 [ Tue Nov 29, 2022 10:34 pm ] |
| Post subject: | Re: Devastating end to first build |
J De Rocher wrote: Sorry about the crazing, but everything else about the guitar looks great. One detail I particularly like is how you used four rings of pearl to make the rosette. I've not seen that done before and it looks pretty cool. Put the problems with this guitar in the past because it looks like the future is bright for your guitar building. Thank you. The rosette was tough. Every time I got close to getting it set, something would pop out. Usually, the purfling, which would throw some pearl out as well. I spent hours with tiny tweezers. |
|
| Author: | Clay S. [ Tue Nov 29, 2022 11:12 pm ] |
| Post subject: | Re: Devastating end to first build |
Pre- reliced.  Take it out in the cold and then bring it back into a warm room and listen to it crackle! Finish cracks don't hurt the sound, and once the guitar gets a little age on it and the top darkens the cracks will give a vintage vibe to the instrument. Finishing is an art in itself, and one many of us struggle with mastering. It is one of the least fun parts of guitar making. Oh! - that's a very nice looking guitar! |
|
| Author: | guitarmaker78 [ Wed Nov 30, 2022 2:58 am ] |
| Post subject: | Re: Devastating end to first build |
Clay S. wrote: Pre- reliced. Take it out in the cold and then bring it back into a warm room and listen to it crackle! Finish cracks don't hurt the sound, and once the guitar gets a little age on it and the top darkens the cracks will give a vintage vibe to the instrument. Finishing is an art in itself, and one many of us struggle with mastering. It is one of the least fun parts of guitar making. Oh! - that's a very nice looking guitar! The finish was actually one of my favorite parts of the build. Also, I’ll probably try to facilitate further cracking so it looks intentional now that it has cracks in some places. |
|
| Author: | joshnothing [ Wed Nov 30, 2022 5:02 am ] |
| Post subject: | Re: Devastating end to first build |
Don’t be too hard on yourself - it’s a good looking axe and many builders, repairmen and amateur tinkerers have been bought undone by the seemingly simple task of installing an endpin or endpin jack. Sounds like you appreciate tooling so go check out the various reamers - hand and machine powered - which are available to help with this task. There’s two learning curves in luthiery - one is the technical side of learning to build an instrument without (too many) repairs required along the way. The other learning curve is attitudinal and relates to how we accept, respond to and persevere in the face of the inevitable failures and mistakes that are part of building instruments. It sounds like you are well on your way rocketing up both learning curves. Soon your mind will be an ironclad fortress and you will be able to face any disaster at the workbench and utter only the mildest of profanities. |
|
| Author: | Ken Nagy [ Wed Nov 30, 2022 8:20 am ] |
| Post subject: | Re: Devastating end to first build |
Wow, your work looks very good. Inlays are very nice. I got a tuner stuck part way in, and couldn't get it out on my first one. I tried everything. I finally got it out, but first I broke the head off the neck right at the Vee join. I mean I was wailing on the thing. Not a wise thing to do. I glued it back on, but it was not exact. I doesn't look terrible, and it plays great. That is some outrageously brittle finish. |
|
| Author: | jfmckenna [ Wed Nov 30, 2022 8:43 am ] |
| Post subject: | Re: Devastating end to first build |
For a first guitar, for any guitar really, you did one hell of a fine job I can tell you that. You should see my first guitar! I had no wood working skills at all either and by looking at it you could tell. It took me about 20 before I had the fit and finish of your first. Yeah ya did a dumb thing but if as you say, "It actually sounds amazing" then that's really what it's all about. Just carry on you will do just fine making guitars by the looks of it. |
|
| Author: | WudWerkr [ Wed Nov 30, 2022 10:44 am ] |
| Post subject: | Re: Devastating end to first build |
Everyone needs a campfire guitar . have it to play around campfire and enjoy your efforts . ![[:Y:]](./images/smilies/smiley20.gif "Thumbs Up")
|
|
| Author: | guitarmaker78 [ Wed Nov 30, 2022 11:23 am ] |
| Post subject: | Re: Devastating end to first build |
Appreciate the feedback. |
|
| Author: | Clay S. [ Wed Nov 30, 2022 11:46 am ] |
| Post subject: | Re: Devastating end to first build |
Guitar finishes need to be thin and flexible, but hard to polish well. And also wear well. It's hard to find all these qualities in one finish. I have a few guitars with cracked finishes. As you mentioned I was tired of sanding through the finish and not wanting to respray which lead me to apply too thick of a coat. That is one reason I prefer to use nitrocellulose lacquer that has plasticizers added. I can apply it thinner and if I burn through I can touch up those areas without witness lines. As I've gotten better with polishing, burn throughs are less of a problem. Still that nasty old nitro is one of the easiest finishes to work with so I still use it when I can.
|
|
| Author: | RusRob [ Wed Nov 30, 2022 11:52 am ] |
| Post subject: | Re: Devastating end to first build |
@guitarmaker78 Nice looking guitar. That rosette is stunning! As for your finish issue... I spent the first 35 years of my life as a painter in auto-body shops. My "go-to" finish was lacquer and when the industry switched to 2K finishes and water-born I decided It was time to get out of the business and I went to college to become an industrial designer. Checking, as others have noted is what happens to lacquer especially if it is think. It usually happens gradually over time but can be introduced quickly with hot and cold cycles (as you found out). You actually can reduce the visibility of them pretty easily. You have to be VERY CAREFUL.... but you can spray straight lacquer thinner over the checking. Preferable to use a hot thinner or straight thinner with a splash of retarder. Very carefully spray it on the checking making sure not to let it pool up or run. What you are trying to do is get the thinner to seep into the checks. This will melt the finish and it will sort of "glue" the cracks making them much less visible. I few years ago someone brought me a guitar very similar to yours. They left the guitar out in their car for hours in below 32 degrees. When he remembered it was in the car he made the fatal error of opening up the case in the warm house. He said it sounded like crunching a bag of potato chips and watched in horror as his finish cracked. I told him I couldn't "fix" it but could make them less visible and I did exactly what I explained above. It reduced the appearance of the checking about 75% and he was very happy with the results. He actually wanted me to strip and refinish it but I talked him out of that. If you decide to do this just be very careful not to apply too much thinner because it will bite into the existing finish. Give it a week to evaporate the thinners and you can buff it out if you need to. It will not completely get rid of them but it will make them less visible. In the end all guitars that get played will have checks, cracks and dings. It is sort of a "badge of honor" for an old road worn guitar. Many people prefer that look to a perfectly preserved instrument. I hope this helps, Cheers, Bob |
|
| Author: | guitarmaker78 [ Wed Nov 30, 2022 3:08 pm ] |
| Post subject: | Re: Devastating end to first build |
RusRob wrote: @guitarmaker78 Nice looking guitar. That rosette is stunning! As for your finish issue... I spent the first 35 years of my life as a painter in auto-body shops. My "go-to" finish was lacquer and when the industry switched to 2K finishes and water-born I decided It was time to get out of the business and I went to college to become an industrial designer. Checking, as others have noted is what happens to lacquer especially if it is think. It usually happens gradually over time but can be introduced quickly with hot and cold cycles (as you found out). You actually can reduce the visibility of them pretty easily. You have to be VERY CAREFUL.... but you can spray straight lacquer thinner over the checking. Preferable to use a hot thinner or straight thinner with a splash of retarder. Very carefully spray it on the checking making sure not to let it pool up or run. What you are trying to do is get the thinner to seep into the checks. This will melt the finish and it will sort of "glue" the cracks making them much less visible. I few years ago someone brought me a guitar very similar to yours. They left the guitar out in their car for hours in below 32 degrees. When he remembered it was in the car he made the fatal error of opening up the case in the warm house. He said it sounded like crunching a bag of potato chips and watched in horror as his finish cracked. I told him I couldn't "fix" it but could make them less visible and I did exactly what I explained above. It reduced the appearance of the checking about 75% and he was very happy with the results. He actually wanted me to strip and refinish it but I talked him out of that. If you decide to do this just be very careful not to apply too much thinner because it will bite into the existing finish. Give it a week to evaporate the thinners and you can buff it out if you need to. It will not completely get rid of them but it will make them less visible. In the end all guitars that get played will have checks, cracks and dings. It is sort of a "badge of honor" for an old road worn guitar. Many people prefer that look to a perfectly preserved instrument. I hope this helps, Cheers, Bob Thanks for the lacquer tips, Bob. At this point, I’m thinking I’m going to focus on my next guitar and let this one be. |
|
| Author: | RusRob [ Wed Nov 30, 2022 4:07 pm ] |
| Post subject: | Re: Devastating end to first build |
Yea, That is what I would do if it were mine. As long as it is solid and playable the only reason to "fix" it would be cosmetic. Here's to letting the battle scars show! ![[clap]](./images/smilies/smiley32.gif "adulations") I am sure you will enjoy it just the same. Cheers, Bob |
|
| Author: | RusRob [ Wed Nov 30, 2022 4:13 pm ] |
| Post subject: | Re: Devastating end to first build |
| WOW... Just noticed I hit 1000 posts!!! Cheers, Bob |
|
| Author: | dzsmith [ Fri Dec 02, 2022 10:49 am ] |
| Post subject: | Re: Devastating end to first build |
RusRob wrote: @guitarmaker78 Nice looking guitar. That rosette is stunning! As for your finish issue... I spent the first 35 years of my life as a painter in auto-body shops. My "go-to" finish was lacquer and when the industry switched to 2K finishes and water-born I decided It was time to get out of the business and I went to college to become an industrial designer. Checking, as others have noted is what happens to lacquer especially if it is think. It usually happens gradually over time but can be introduced quickly with hot and cold cycles (as you found out). You actually can reduce the visibility of them pretty easily. You have to be VERY CAREFUL.... but you can spray straight lacquer thinner over the checking. Preferable to use a hot thinner or straight thinner with a splash of retarder. Very carefully spray it on the checking making sure not to let it pool up or run. What you are trying to do is get the thinner to seep into the checks. This will melt the finish and it will sort of "glue" the cracks making them much less visible. I few years ago someone brought me a guitar very similar to yours. They left the guitar out in their car for hours in below 32 degrees. When he remembered it was in the car he made the fatal error of opening up the case in the warm house. He said it sounded like crunching a bag of potato chips and watched in horror as his finish cracked. I told him I couldn't "fix" it but could make them less visible and I did exactly what I explained above. It reduced the appearance of the checking about 75% and he was very happy with the results. He actually wanted me to strip and refinish it but I talked him out of that. If you decide to do this just be very careful not to apply too much thinner because it will bite into the existing finish. Give it a week to evaporate the thinners and you can buff it out if you need to. It will not completely get rid of them but it will make them less visible. In the end all guitars that get played will have checks, cracks and dings. It is sort of a "badge of honor" for an old road worn guitar. Many people prefer that look to a perfectly preserved instrument. I hope this helps, Cheers, Bob Another option may be using blush eraser to melt the lacquer. I’ve used it before, but it needs to be sprayed sparingly. |
|
| Author: | RusRob [ Fri Dec 02, 2022 11:21 am ] |
| Post subject: | Re: Devastating end to first build |
dzsmith wrote: Another option may be using blush eraser to melt the lacquer. I’ve used it before, but it needs to be sprayed sparingly. Dan, If you check into it, my guess is that would be the same thing as lacquer retarder (probably re-packaged for profit). Thinners are made in different degrees of how "hot" they are. Cleaning thinners flashes off very fast (cold) and retarder is the slowest (hot). You would never use straight retarder in a finish as it wouldn't flash off very fast, just as you wouldn't want to use a cleaning thinner in your finish because it would flash off too fast and not be able to flow out. But yes, something branded to remove blush would work well for checking. As for getting rid of the blush he has on this guitar... It is probably there to stay. If the finish blushed (turned white) and he kept putting finish over it it is most likely buried in the finish and the only way to remove it would be to flood the surface with retarder (blush remover) which will probably wrinkle the finish. Cheers, Bob |
|
| Author: | Mike OMelia [ Sat Dec 03, 2022 9:26 am ] |
| Post subject: | Re: Devastating end to first build |
I use retarder in my Nitro when humidity gets over 50%. Sometimes that is not enough and blush still happens. I keep a small touchup gun with retarder in it. After coat flashes, and blush occurs, I lightly spray it with retarder. Lightly! Blush goes away. Wait till that flashes off, then next coat. I also agree with techniques mentioned above to remove cracks. The finish on this guitar appears to be quite thick. Just me? |
|
| Author: | Mike OMelia [ Sat Dec 03, 2022 9:26 am ] |
| Post subject: | Re: Devastating end to first build |
I use retarder in my Nitro when humidity gets over 50%. Sometimes that is not enough and blush still happens. I keep a small touchup gun with retarder in it. After coat flashes, and blush occurs, I lightly spray it with retarder. Lightly! Blush goes away. Wait till that flashes off, then next coat. I also agree with techniques mentioned above to remove cracks. The finish on this guitar appears to be quite thick. Just me? Some time ago, a friend asked me to restore his Gibson 200 (IIRC). Heavily crazed. He wanted it gone. Never wants to sell it. So I used this technique. I wanted to retain some of the "patina". But it almost all melted away. Has an interesting "aged" look, but no cracks easily visible. |
|
| Page 1 of 2 | All times are UTC - 5 hours |
| Powered by phpBB® Forum Software © phpBB Group http://www.phpbb.com/ |
|