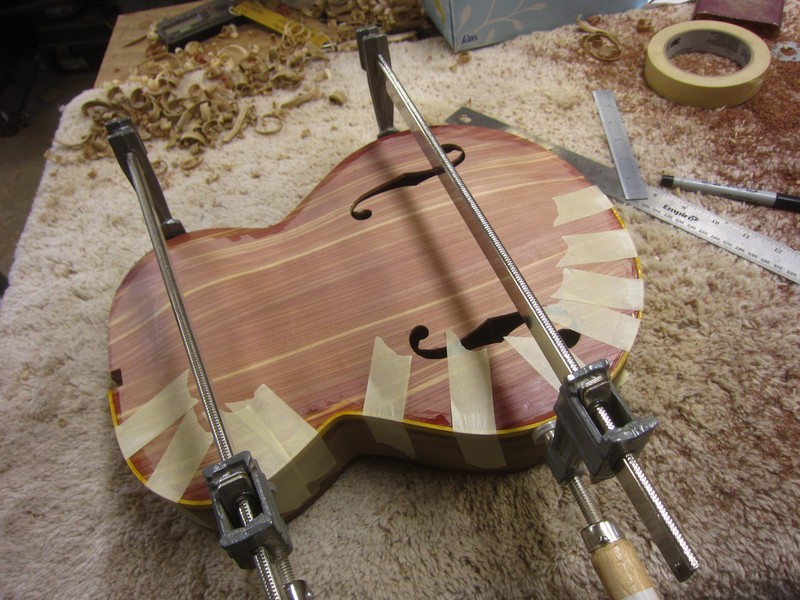
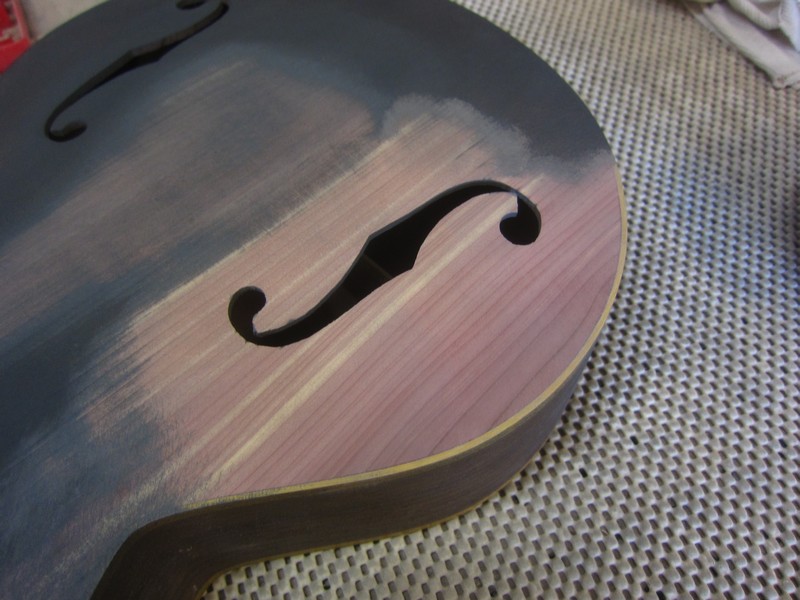
So how's this baby coming along? Waiting for finish to cure, or do you still have it strung up in the white? And what are your thoughts on eastern red cedar as a top wood? There's a guy over on delcamp asking about it, says there's a guy somewhere in Missouri with a bunch and could cut guitar tops if there's interest.
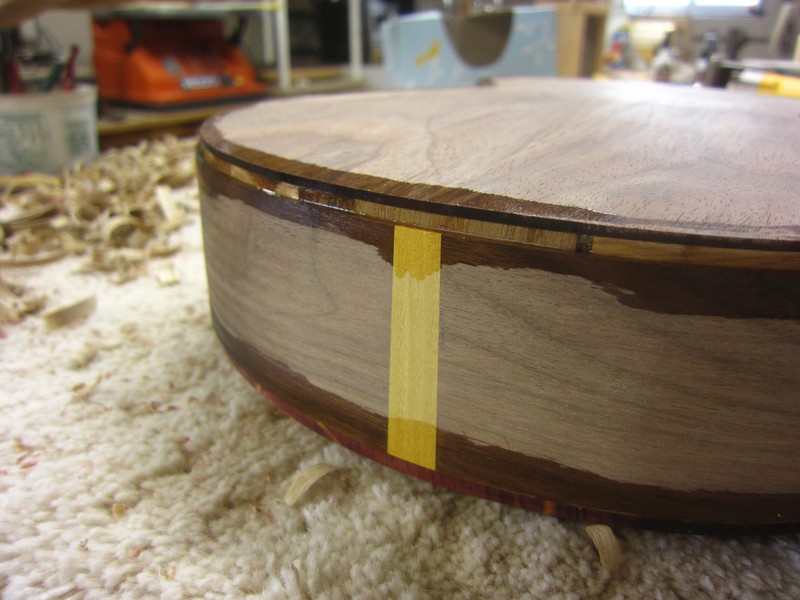
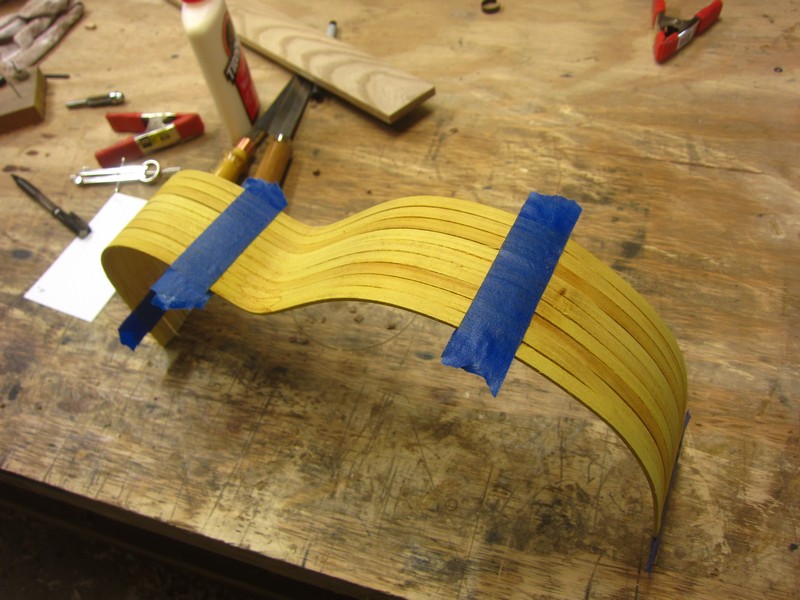
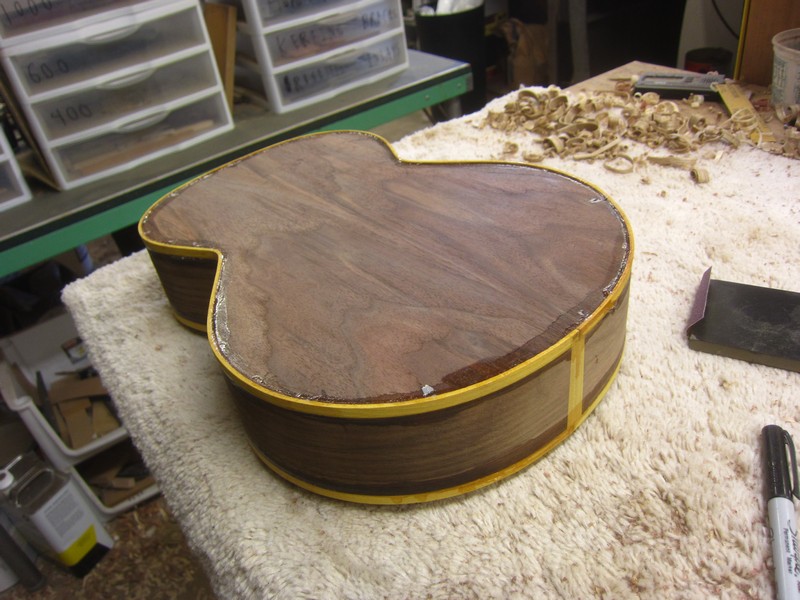
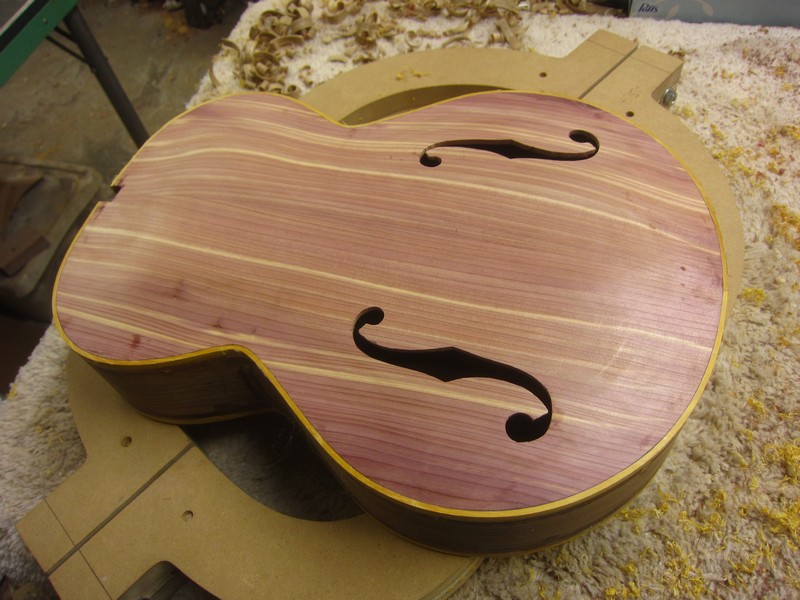
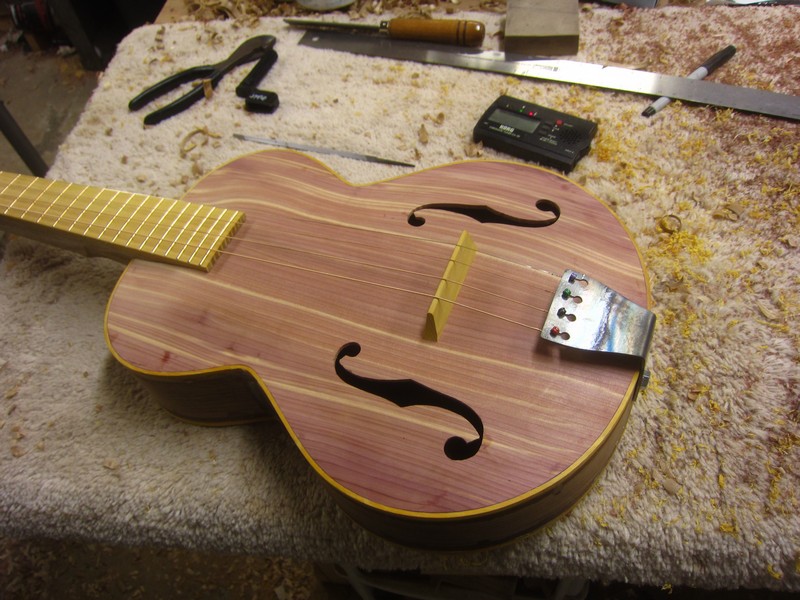
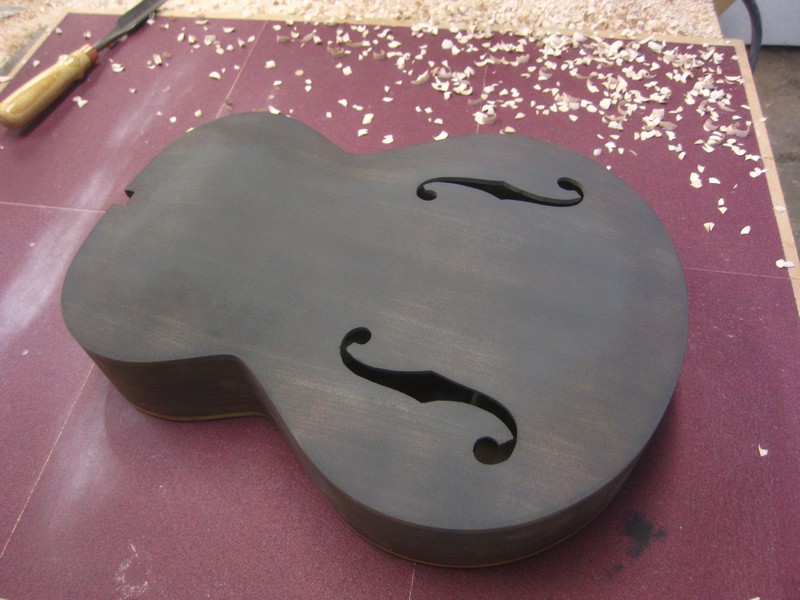
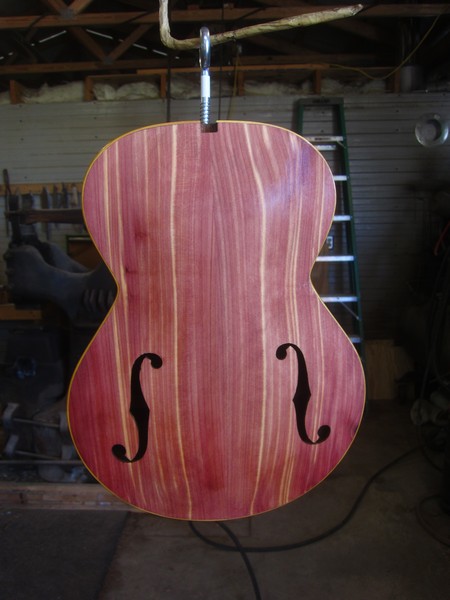
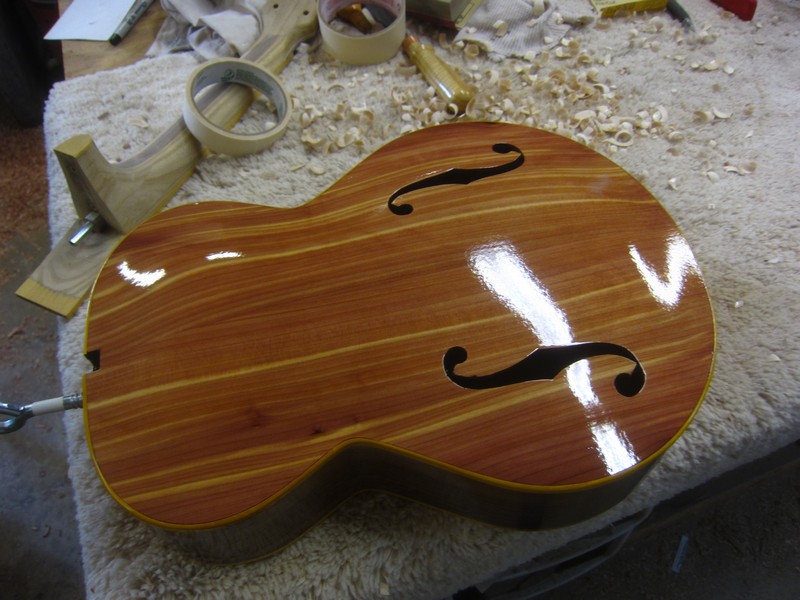
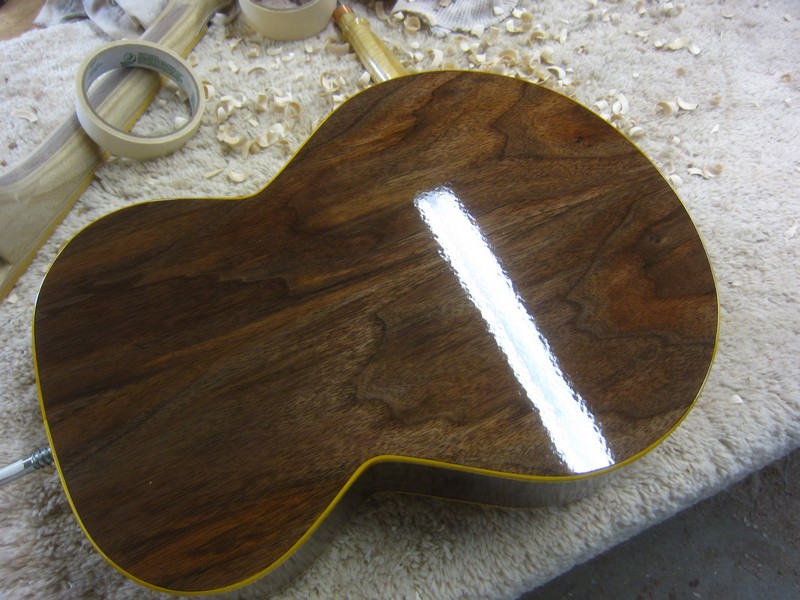
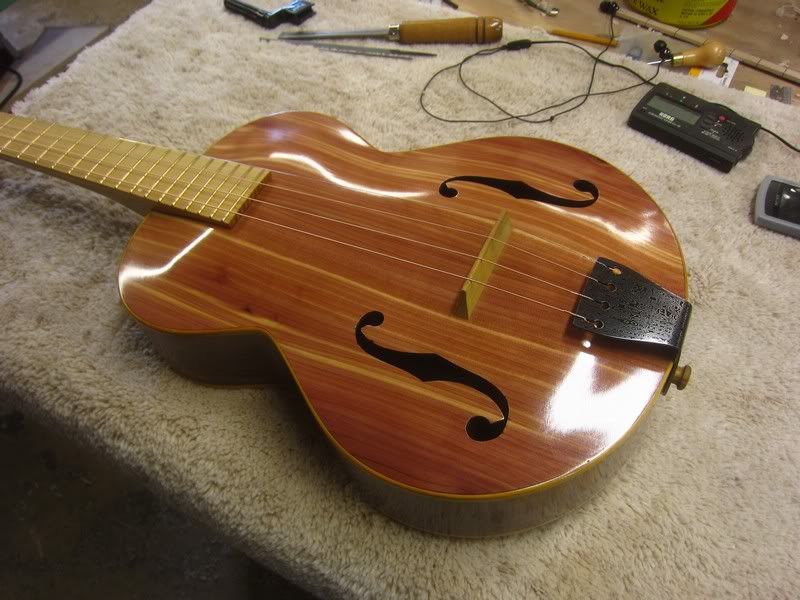
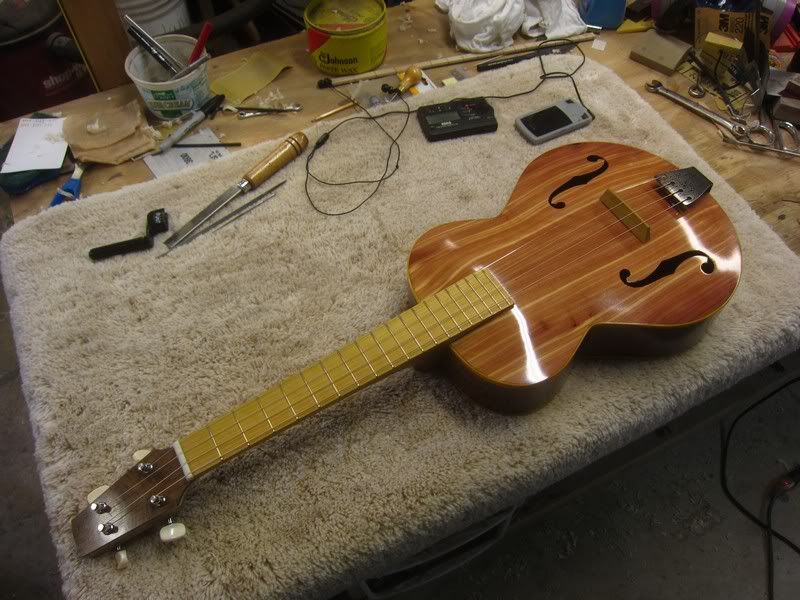
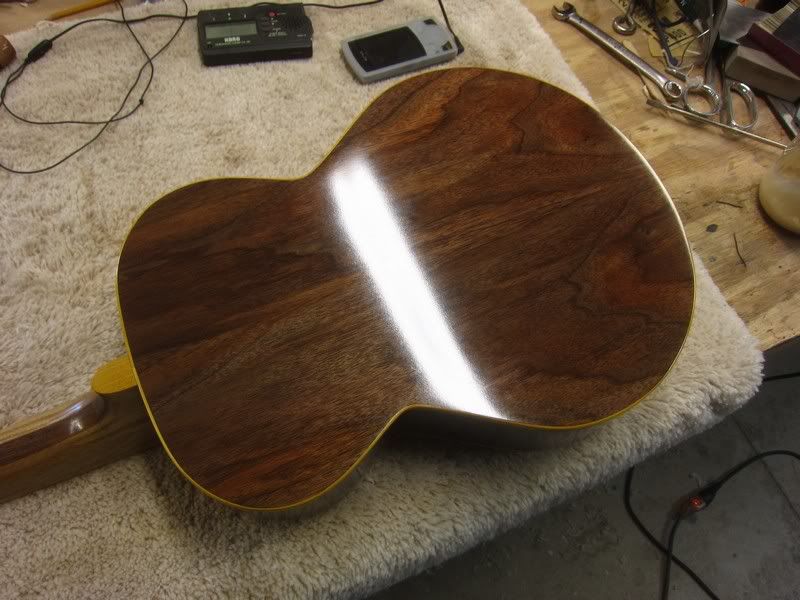
Excellent work, by the way. I think this is my favorite build in the challenge so far. Love the color scheme, shape, F holes, everything. I've been wanting to try an arched top with flat back like that, and wondered why nobody ever did it. Arched back makes sense for soundpost instruments, but flat seems like it would work better for guitar style instruments... plus it saves a bunch of wood and painful hardwood carving. Carving the top is fun though

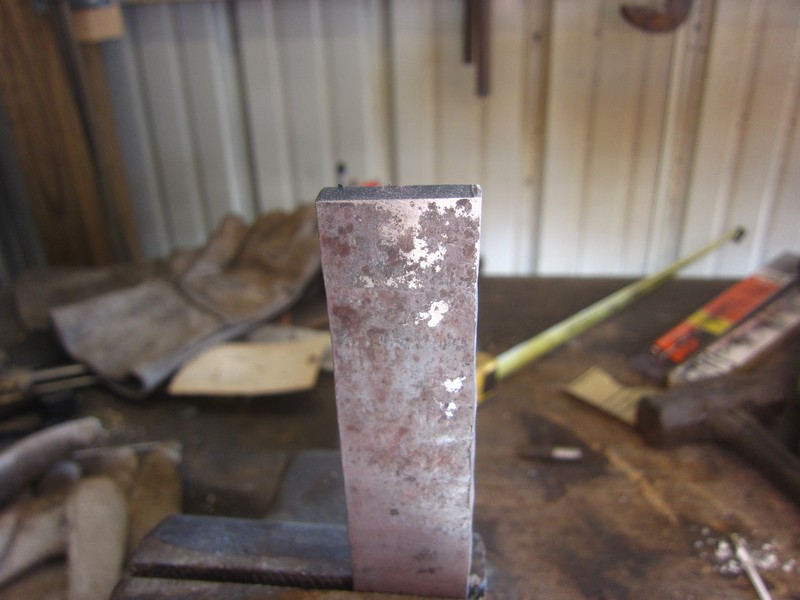
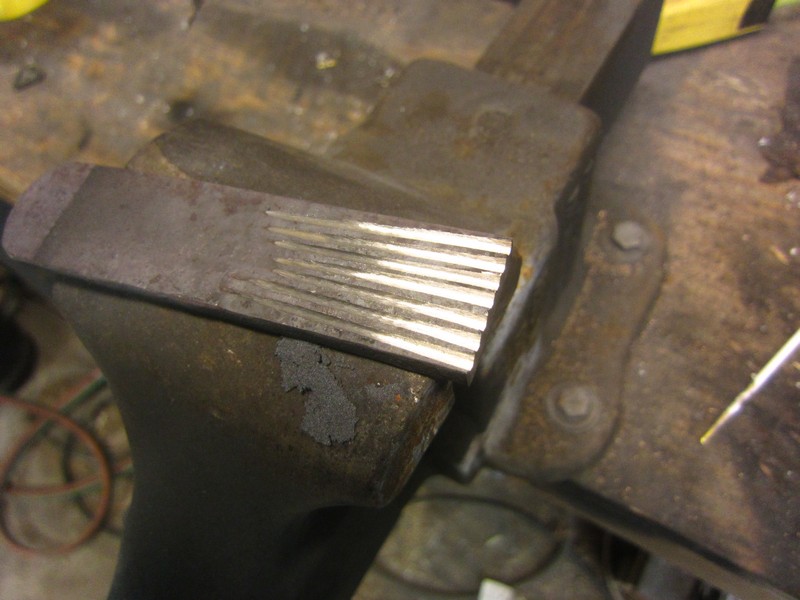
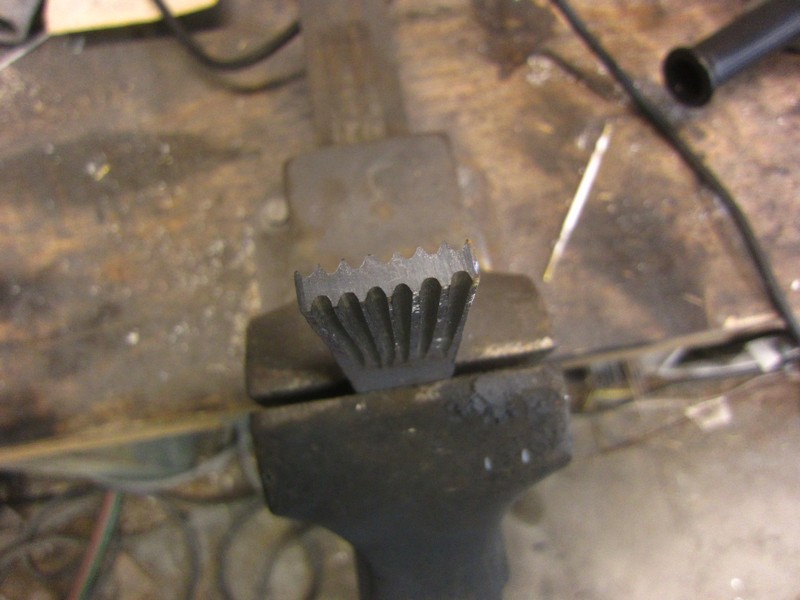
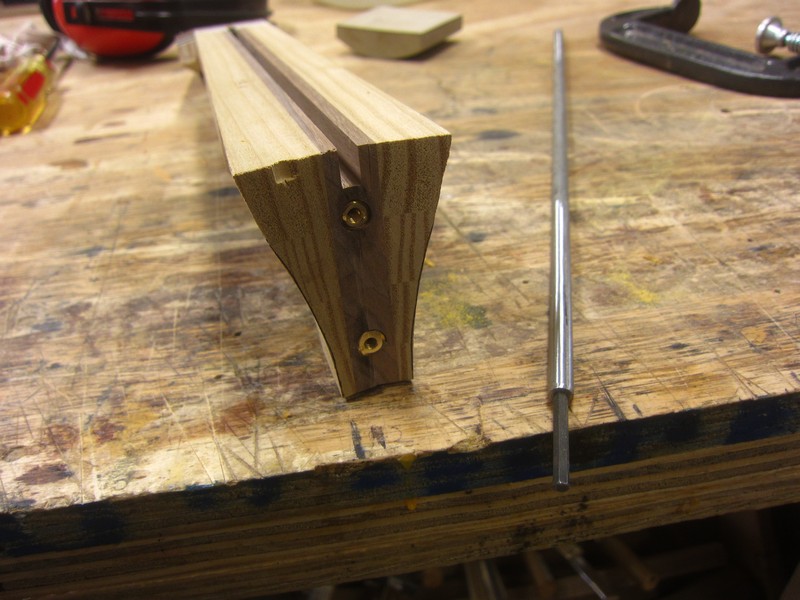
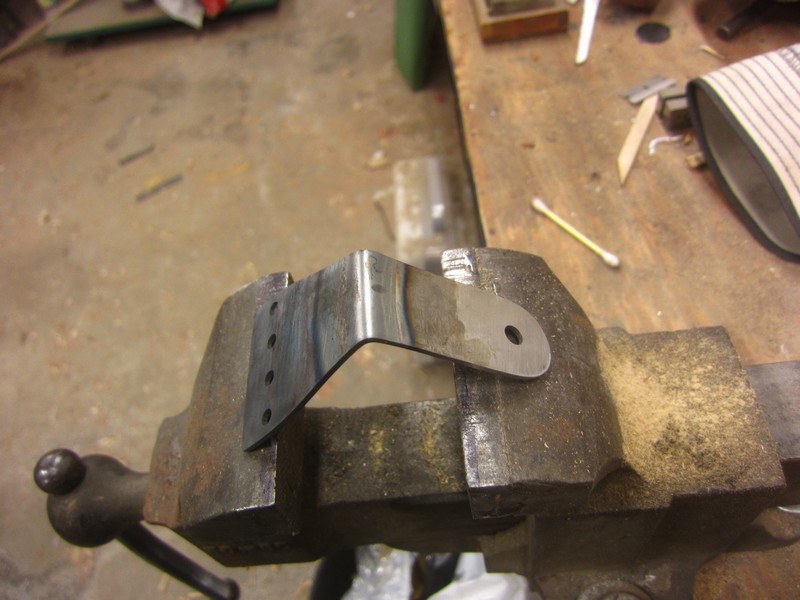
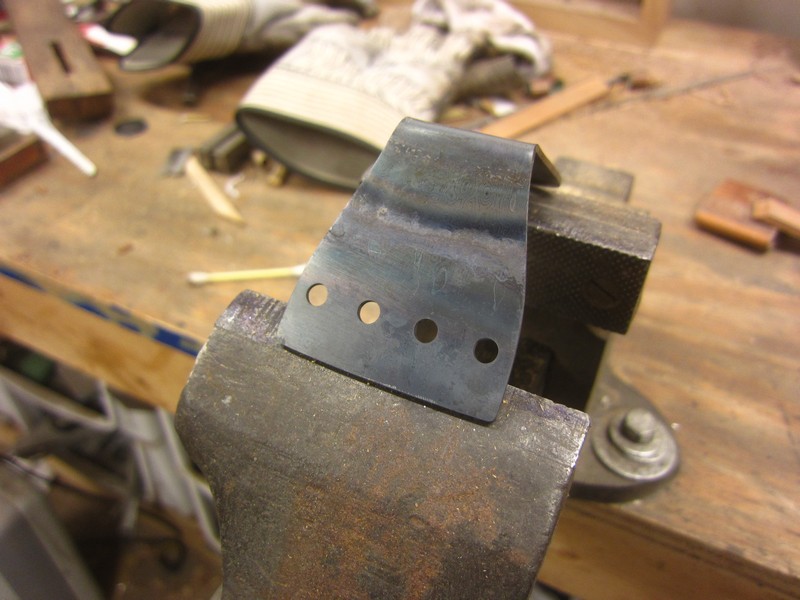
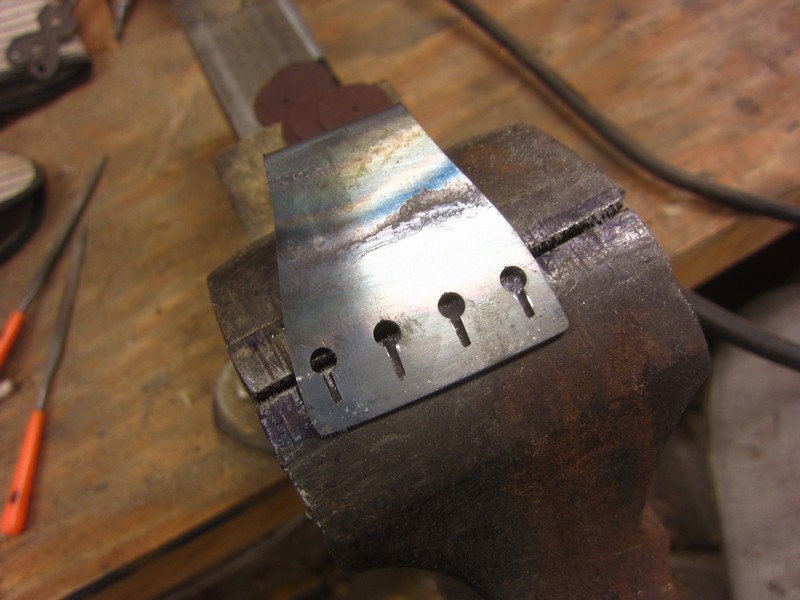
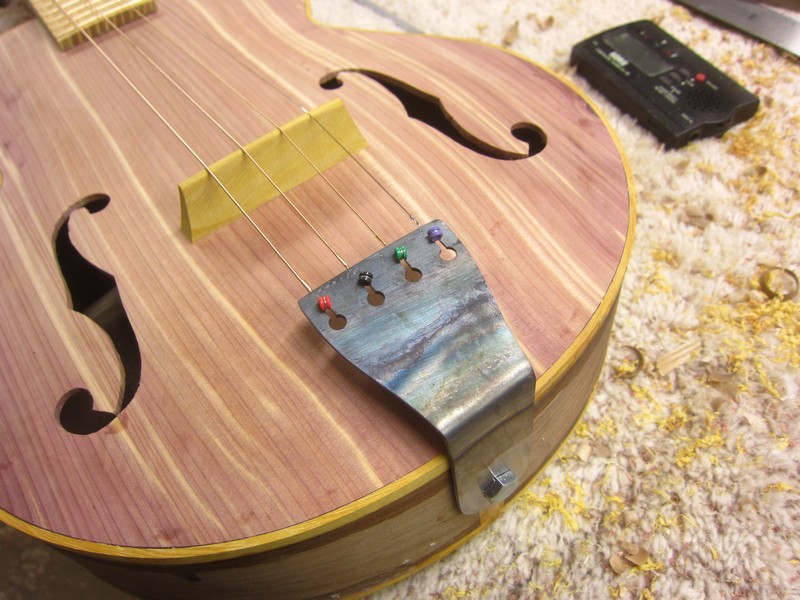
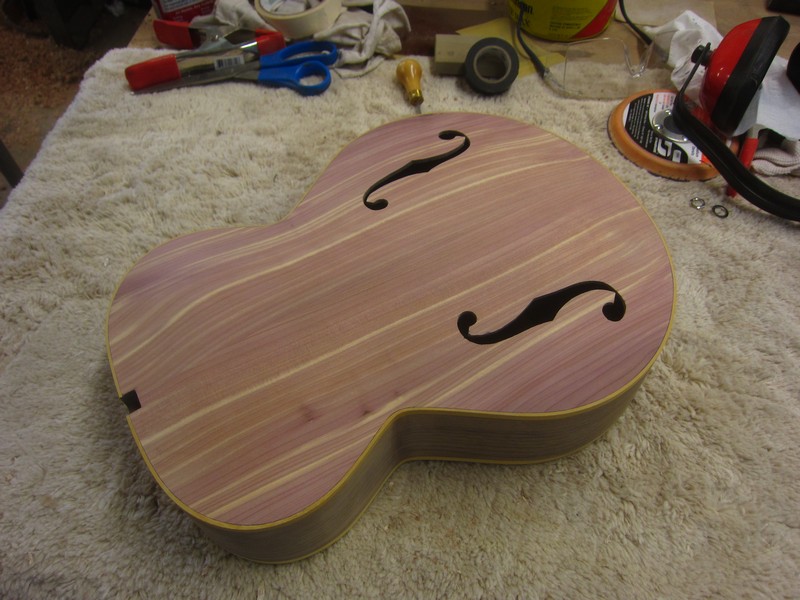
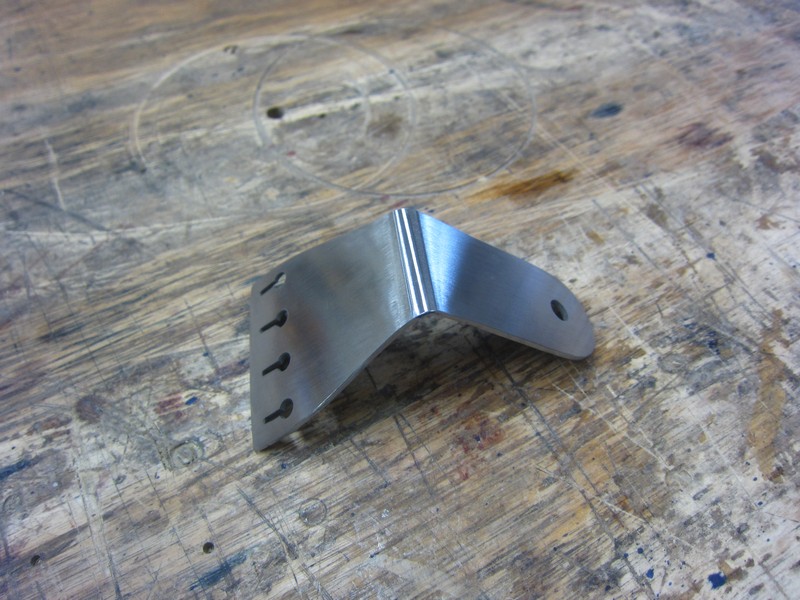
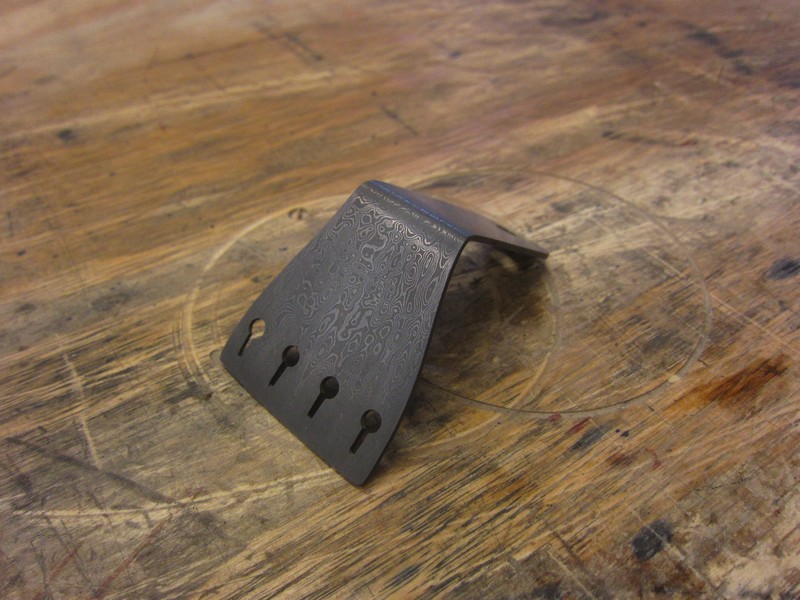
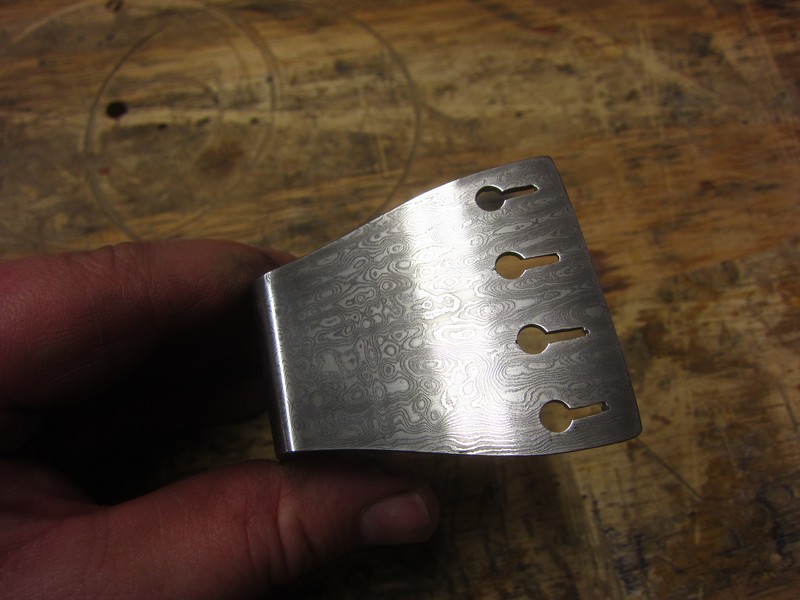
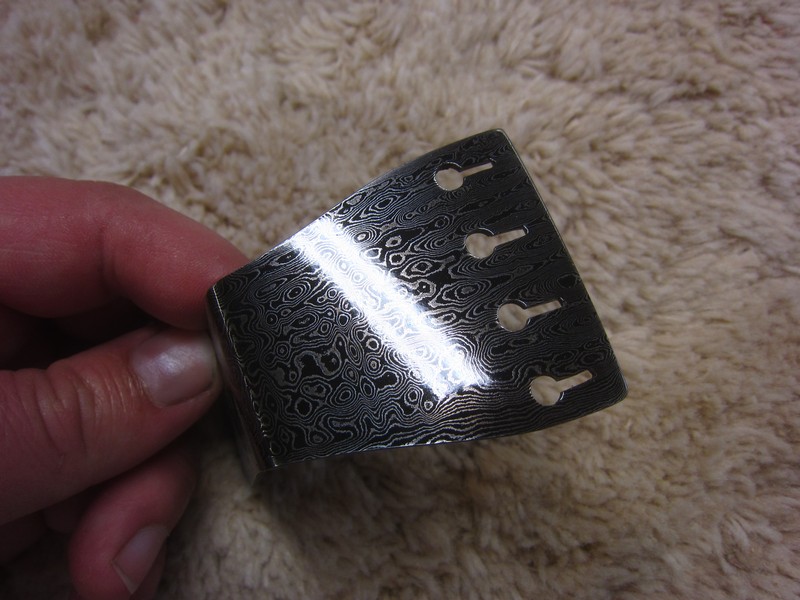
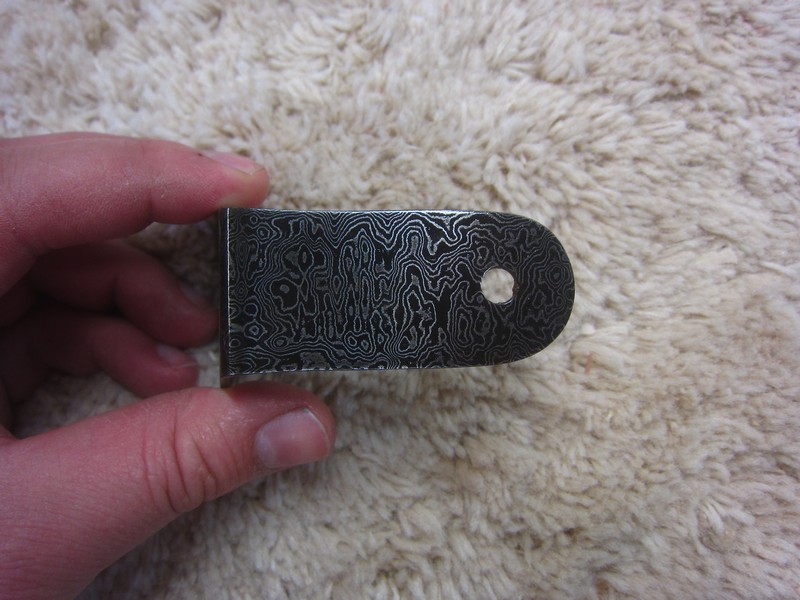
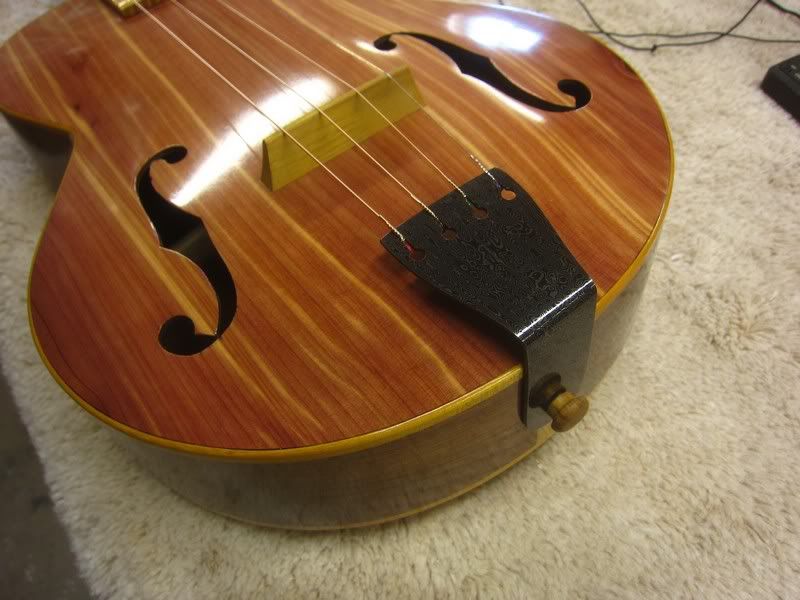
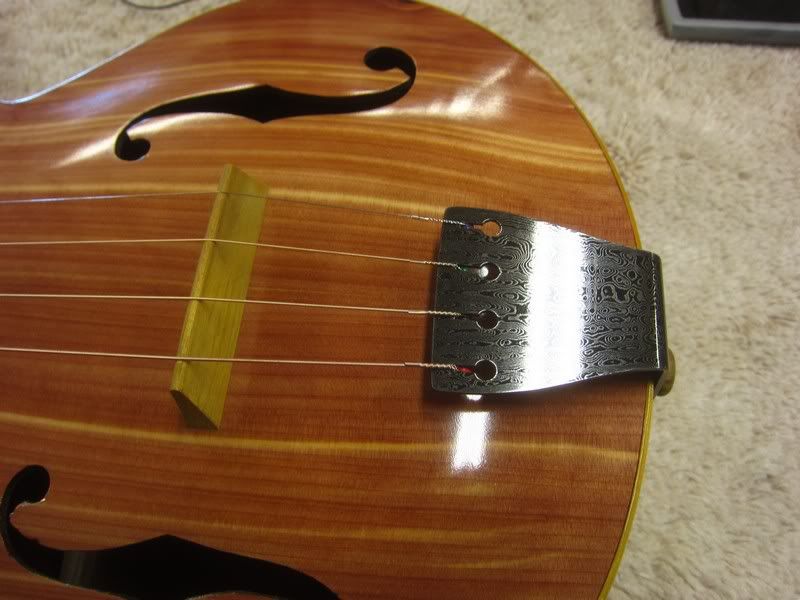
Definite points for forging your own steel tailpiece
![[:Y:]](./images/smilies/smiley20.gif "Thumbs Up")
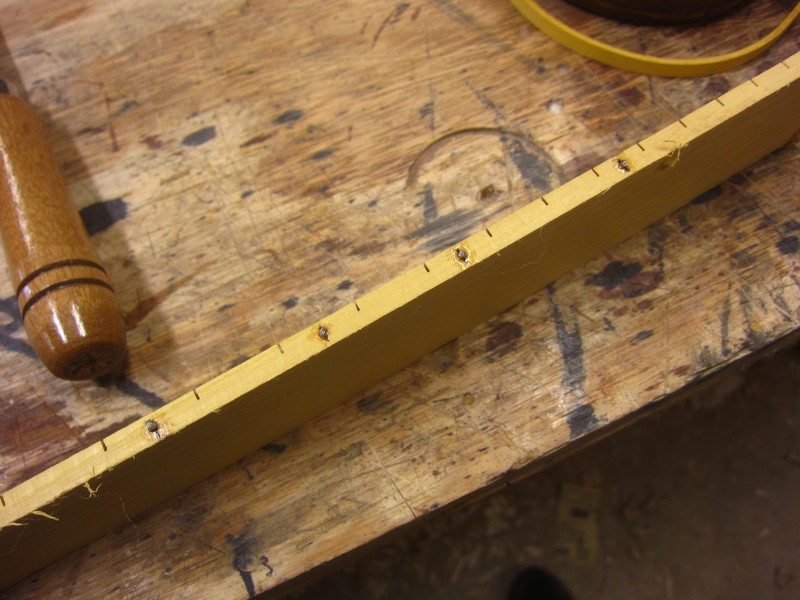
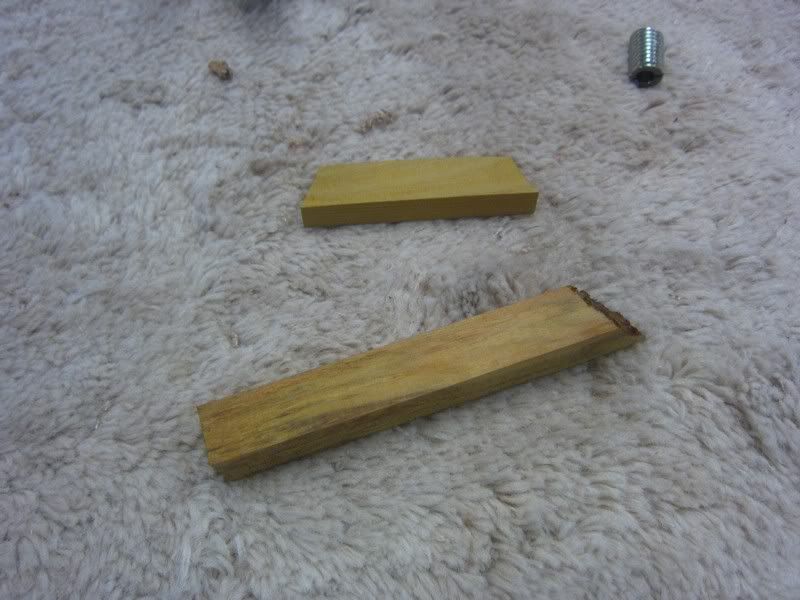
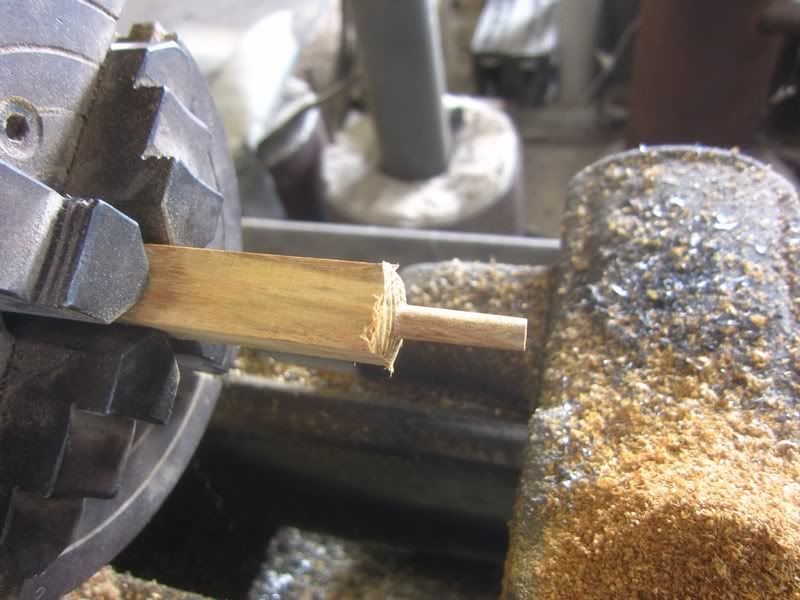
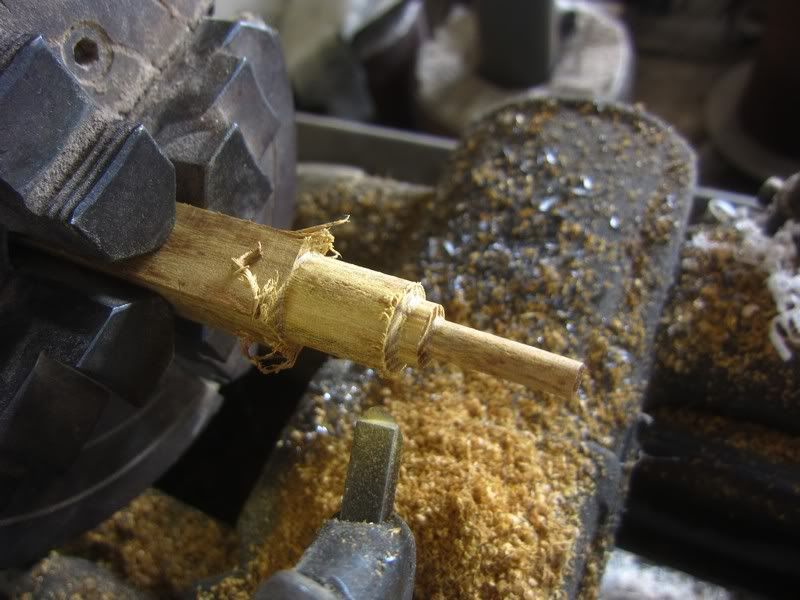
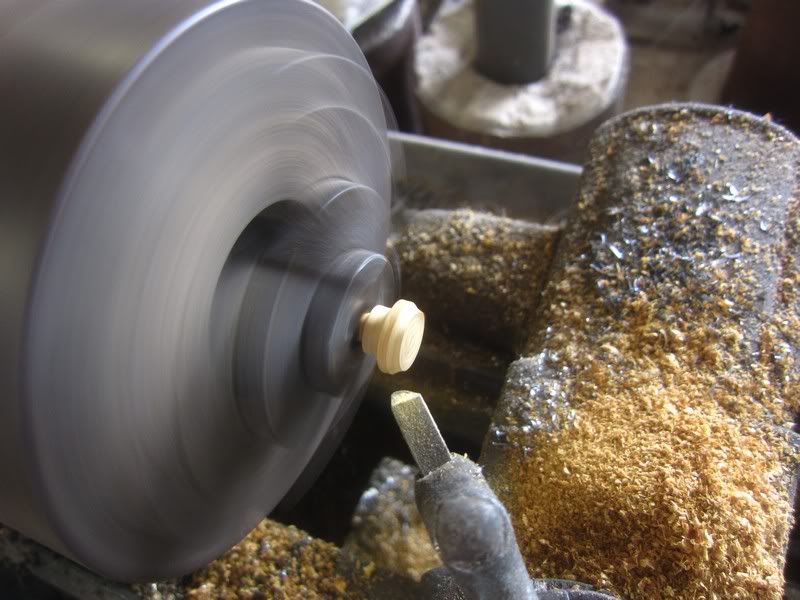
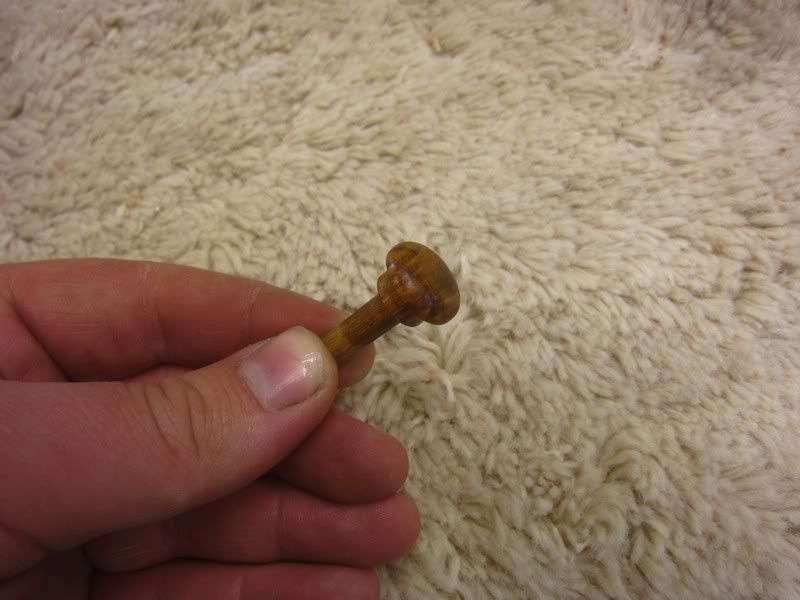
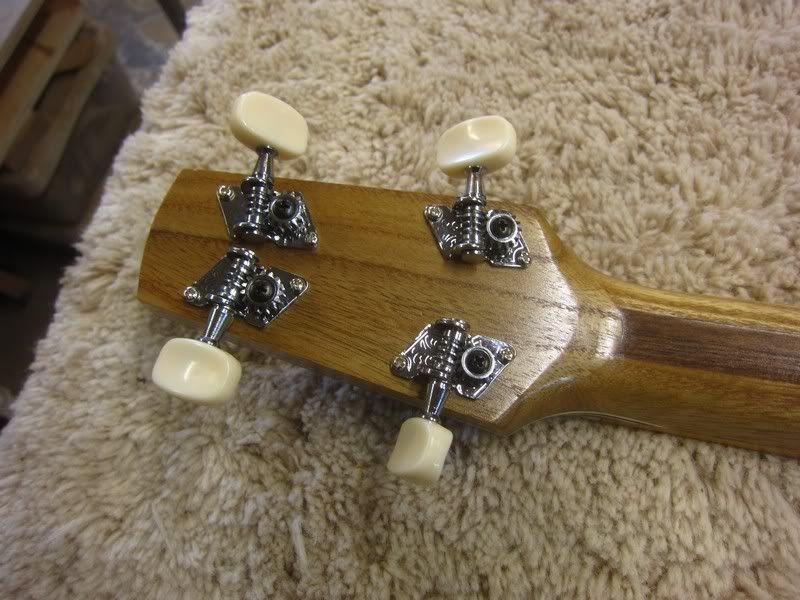
Looks great. Not a fan of the hex bolt though. Stick a wood pin in that thing!
Can't wait to hear sound clips.
Really cool build. Nice job carving the plates.
I replaced some plastic handles on some chisels with curly maple and used copper pipe for ferrels, your hand made ones look really nice.
I've been into forged knives for a long time, I have a couple of Jerry Fisk knives, should have three one got stolen.
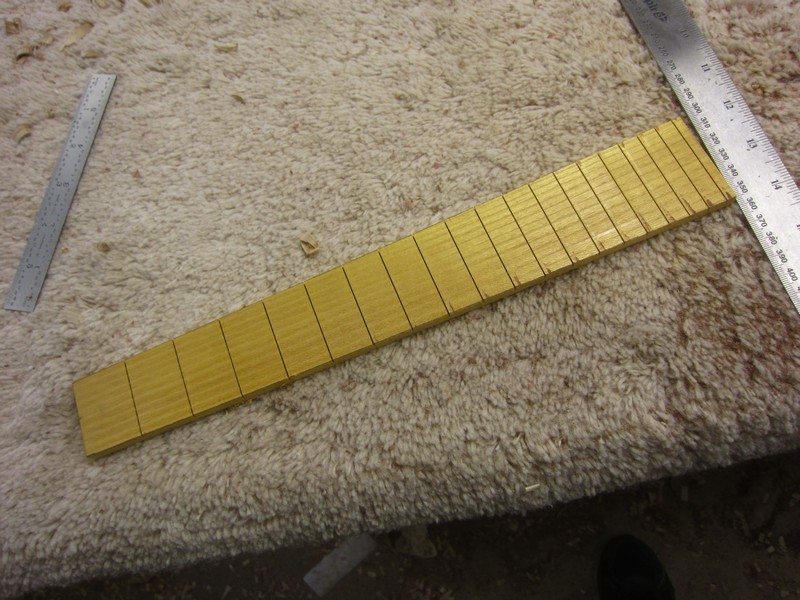

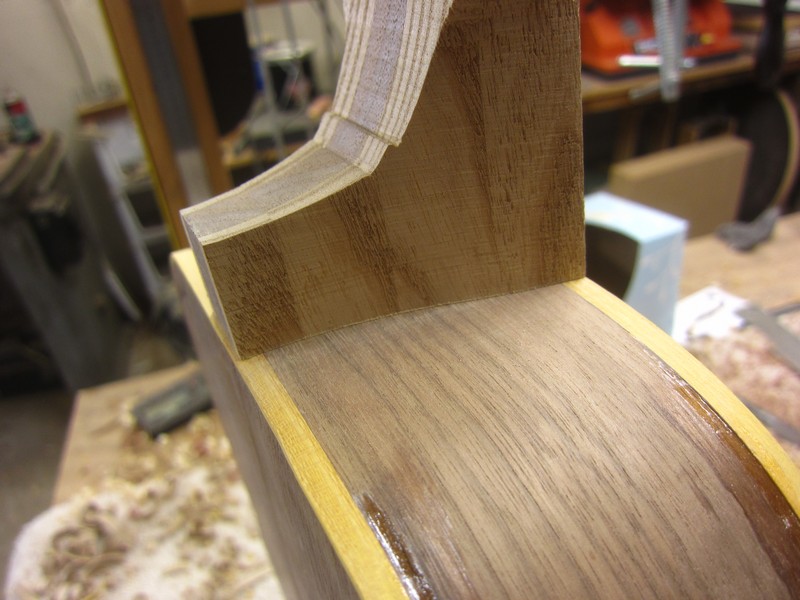

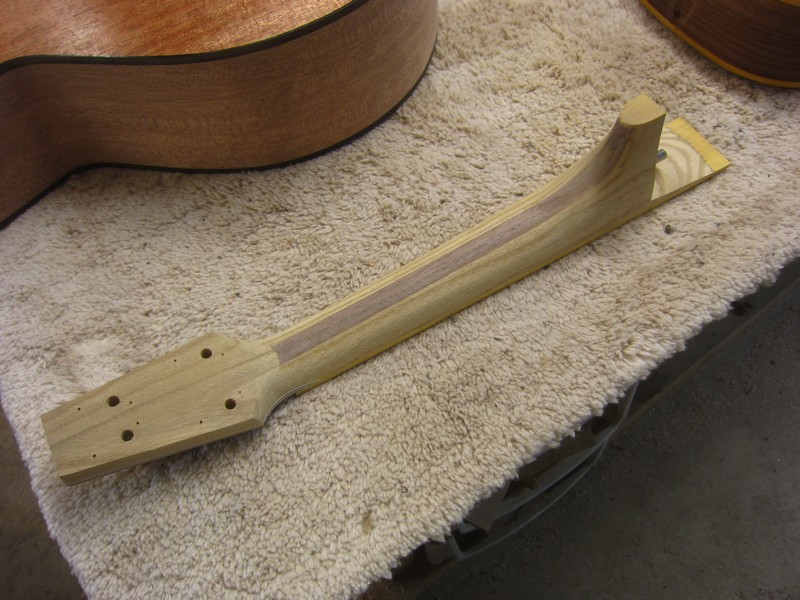
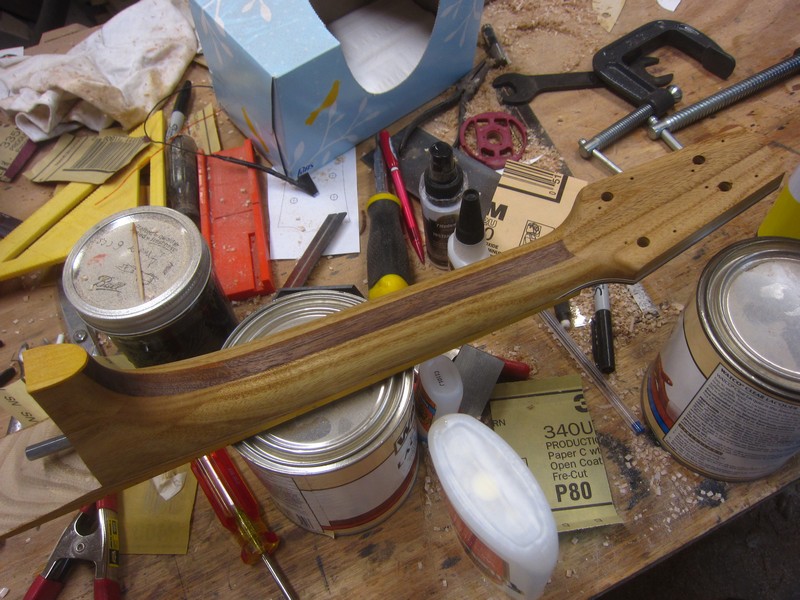
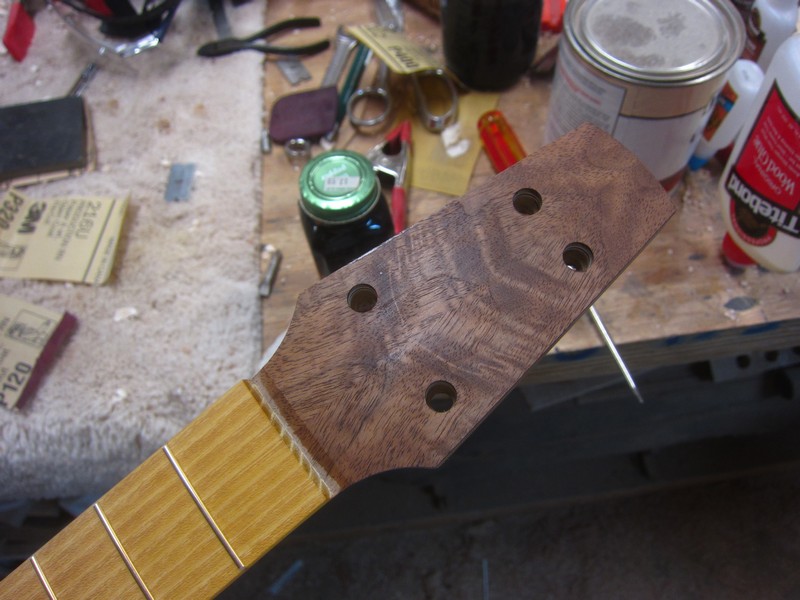
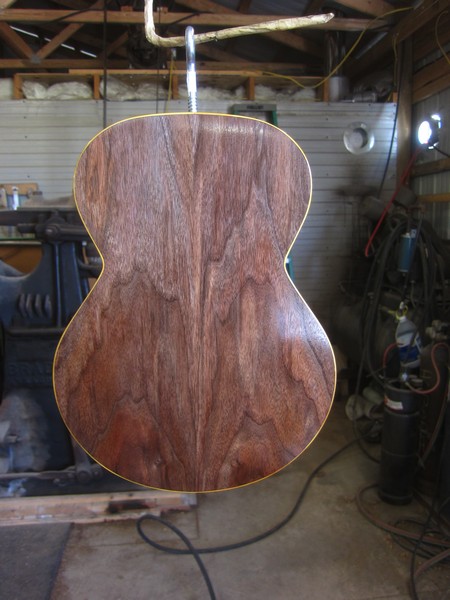
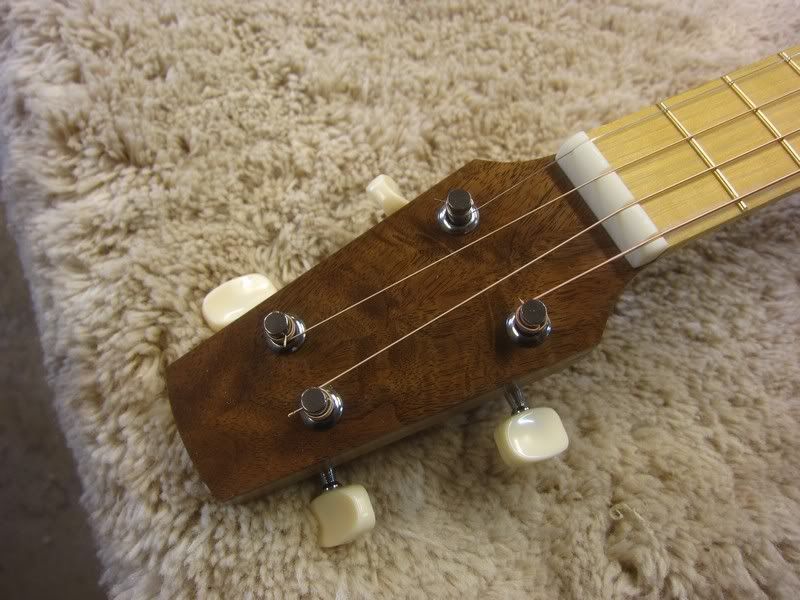
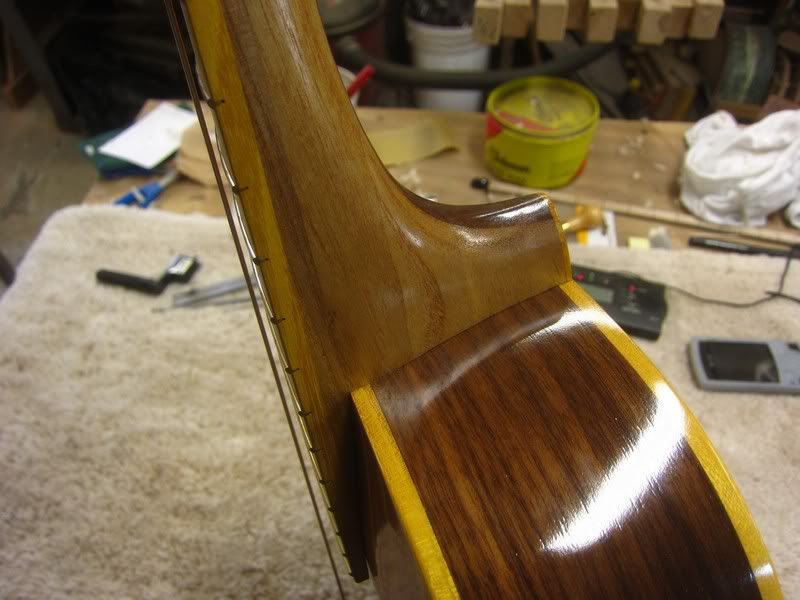
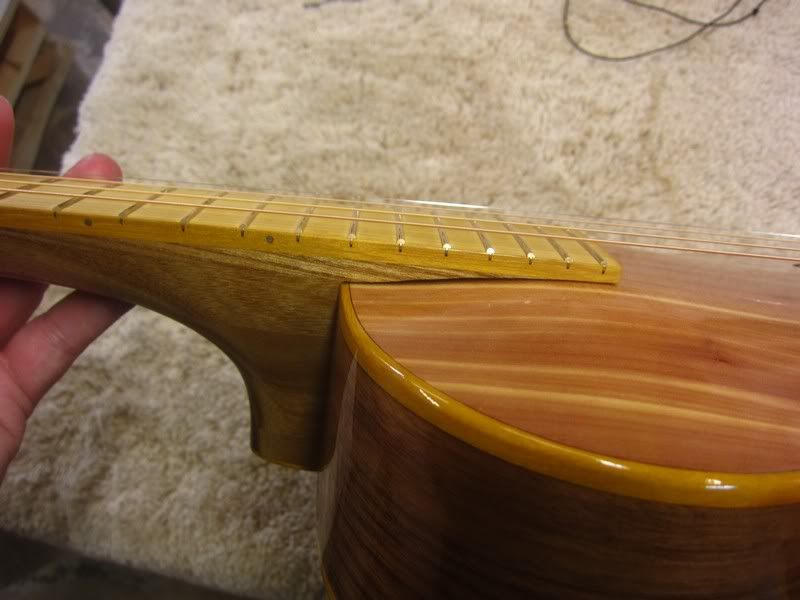
 So, a few weeks ago I shaped the neck, and this week finished sanding and started spraying.
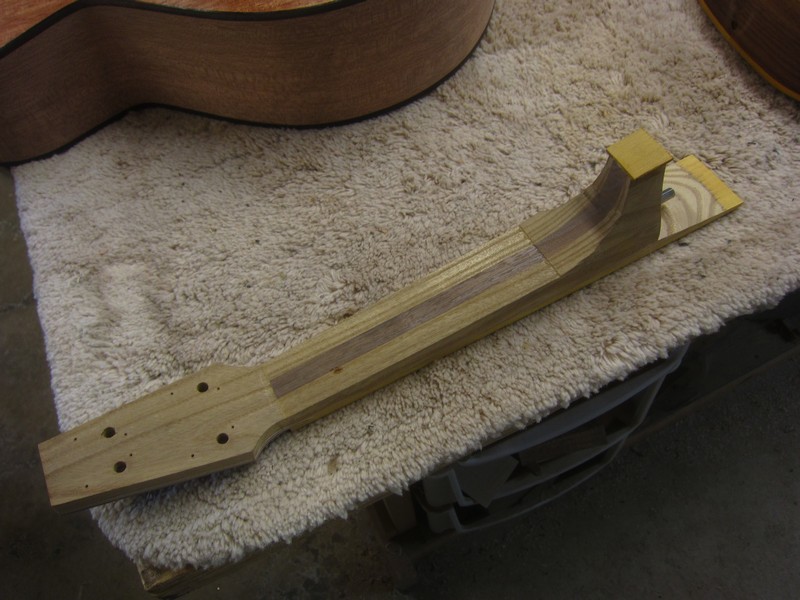


![[clap]](./images/smilies/smiley32.gif "adulations")