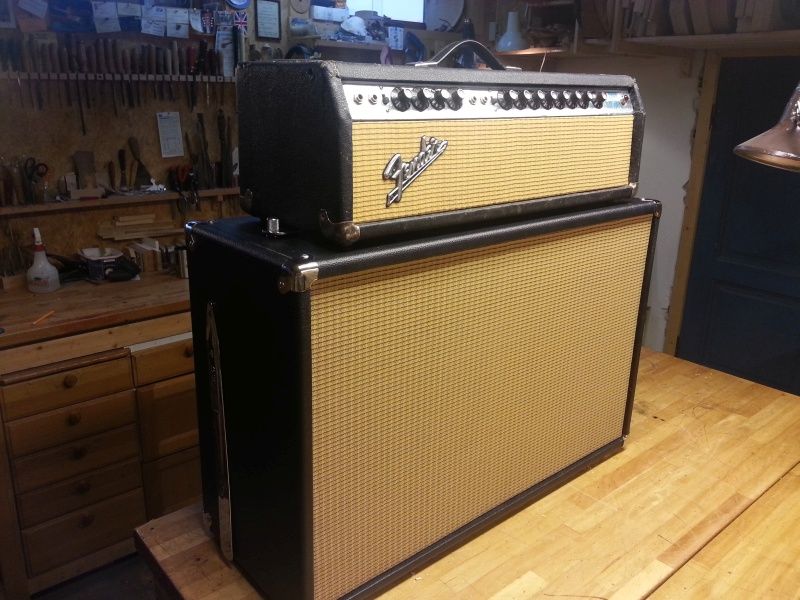
I recently had a couple of old Fender amps put back into action ('61 Tremolux, 70’s Quad Reverb). The Quad’s cabinet I'd already chopped down to "Twin" size (back around 1990...), so I cut it down to head size, the Tremolux of course was a head from the factory. So they both needed speaker cabinets, and I decided to build my own, and I took some pictures of the process.
The old Fender cabs were made of ¾” pine with a thin plywood speaker baffle, and many feel that their construction contributes greatly to the old Fender amp’s musical character. I got some pre laminated 18mm pine from the lumber yard, should be pretty much the same thing. In the early (pre CBS) days, their corners were finger jointed, glued with hide glue, and they have proved to be quite robust over time.
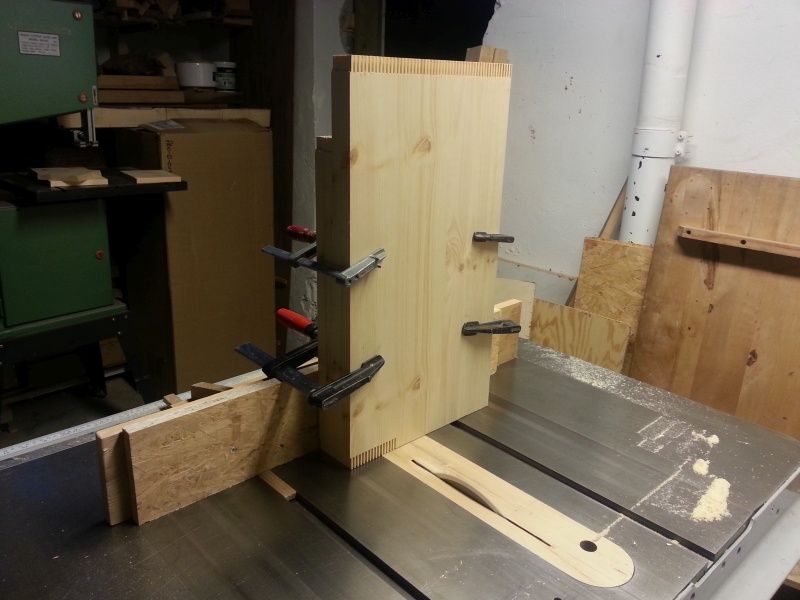
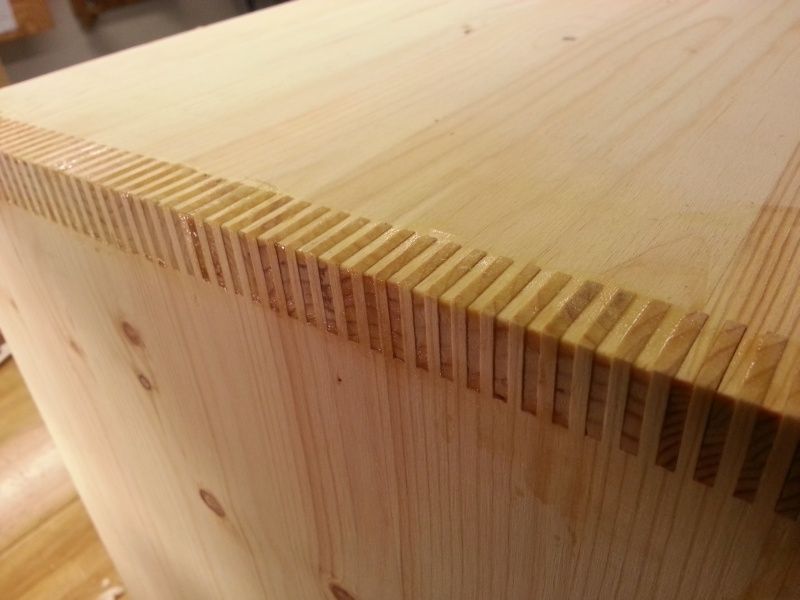
I don’t have an industrial size moulder, so I decided to use this old cabinet maker method to produce the joint. By using a simple sled on the table saw...

...with an index pin that is equally thick as the saw kerf...
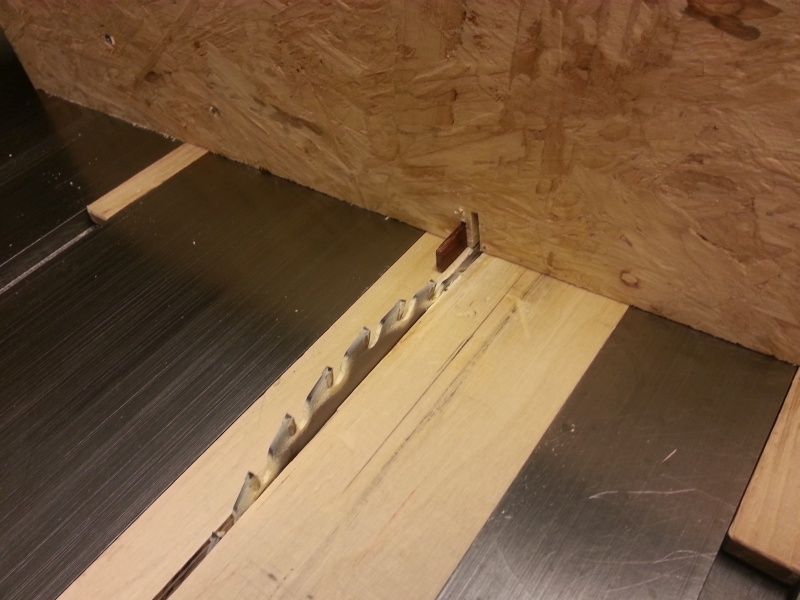
...and by cutting all the pieces that are going to fit together in one go….
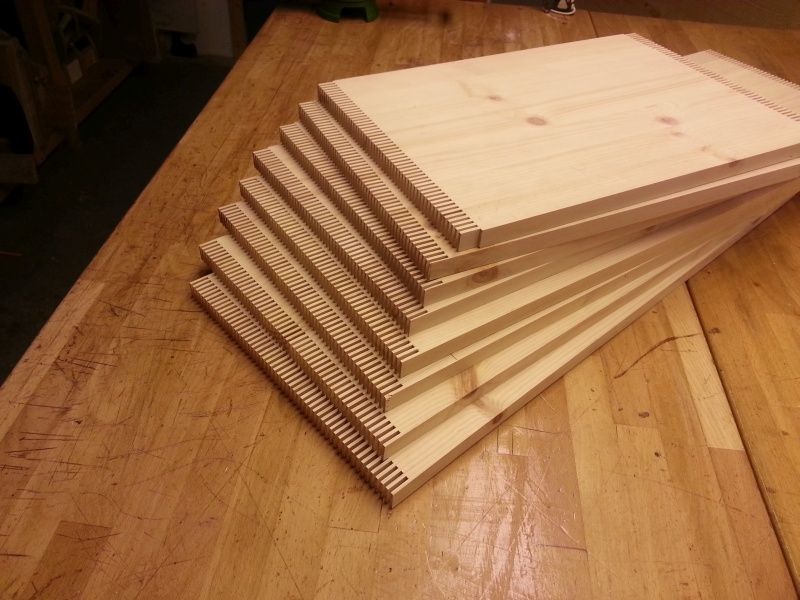
...the pieces should fit perfectly. Even if you accumulate errors along the way, and you will, they will be equal on all the pieces, so they should fit anyways. So it is a good idea to mark the pieces accordingly. A dado set would have made things go faster, I guess
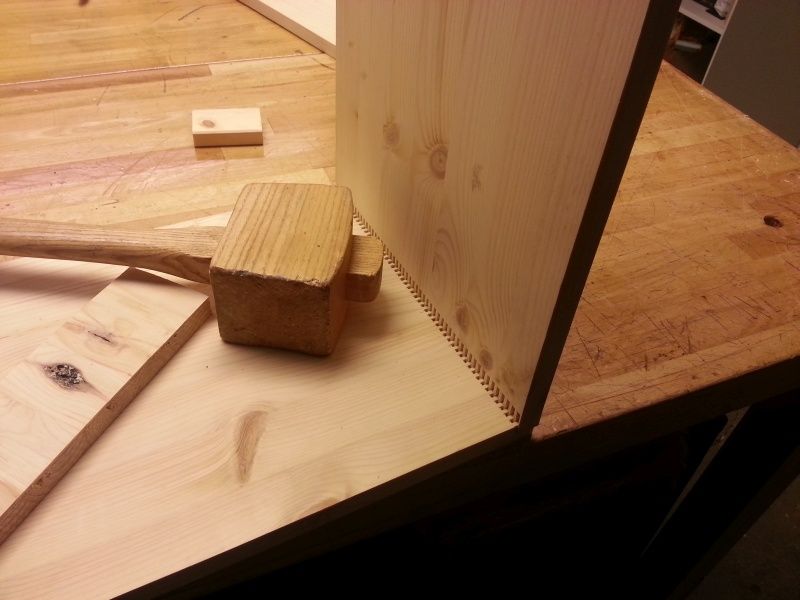
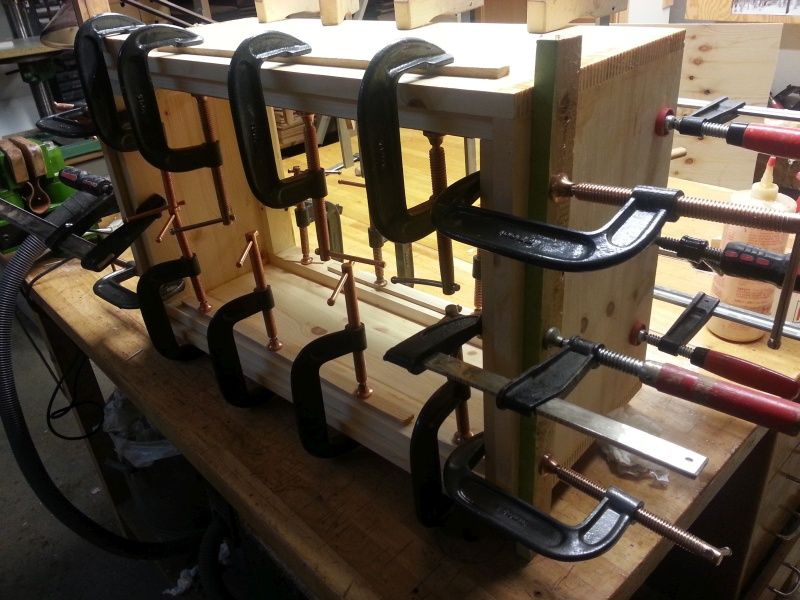
Next step is assembly, and making sure things are nice and square
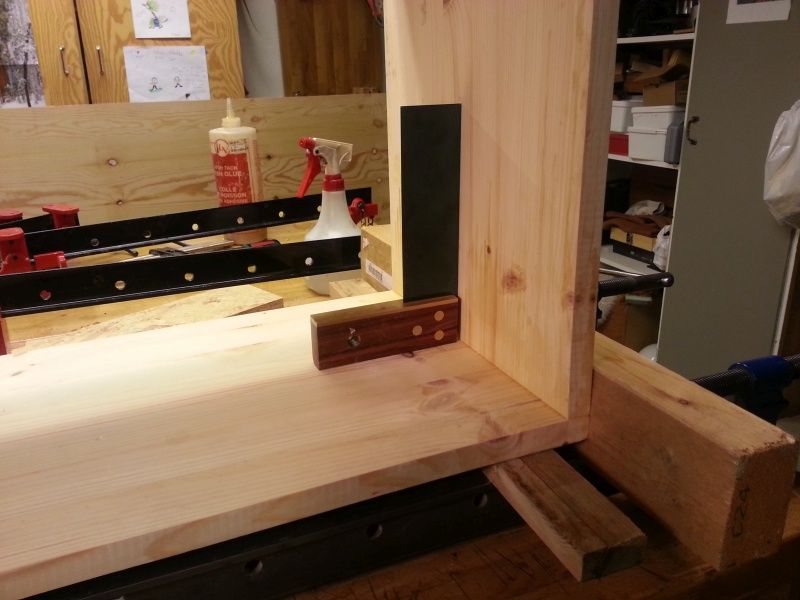
Finally, a use for my long glue clamps!
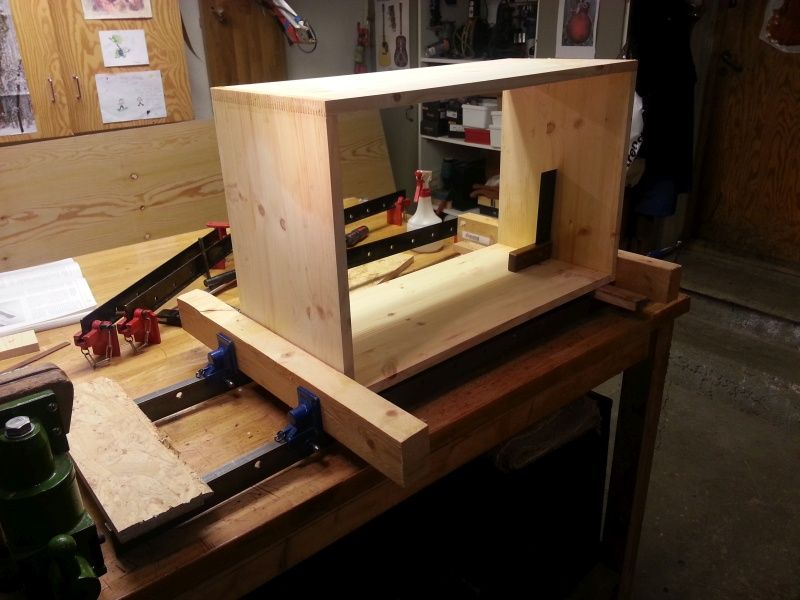
Instead of hide glue, I used fish glue, which I find more convenient in situations such as this because of the much longer open time
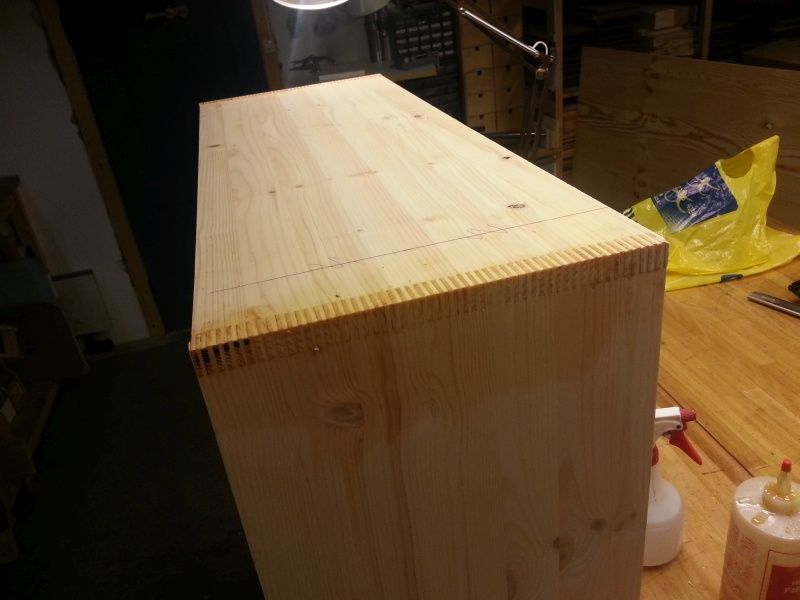
Close-up
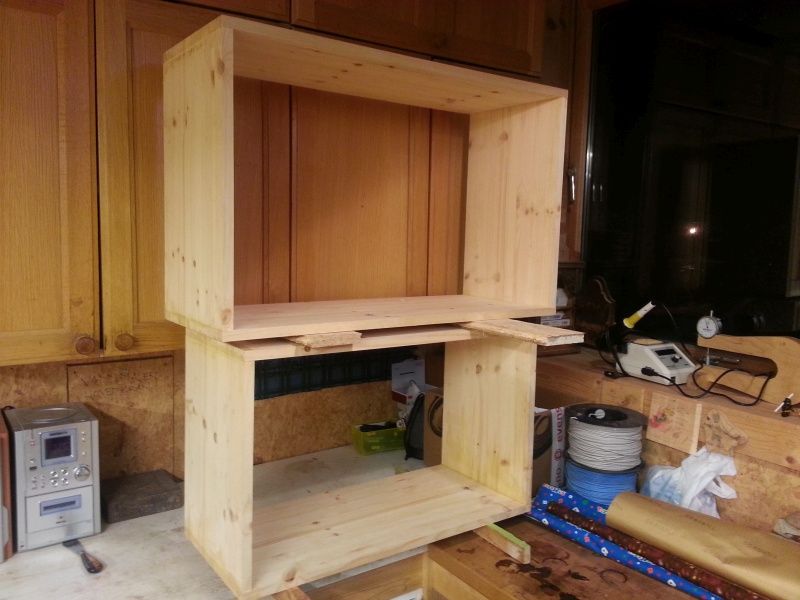
Carcasses done; the smaller one is for 2*10” speakers, the larger one for 2*12”.
Gluing on battens to attach front and back panels
Using a roundover bit in the router to shape the edges

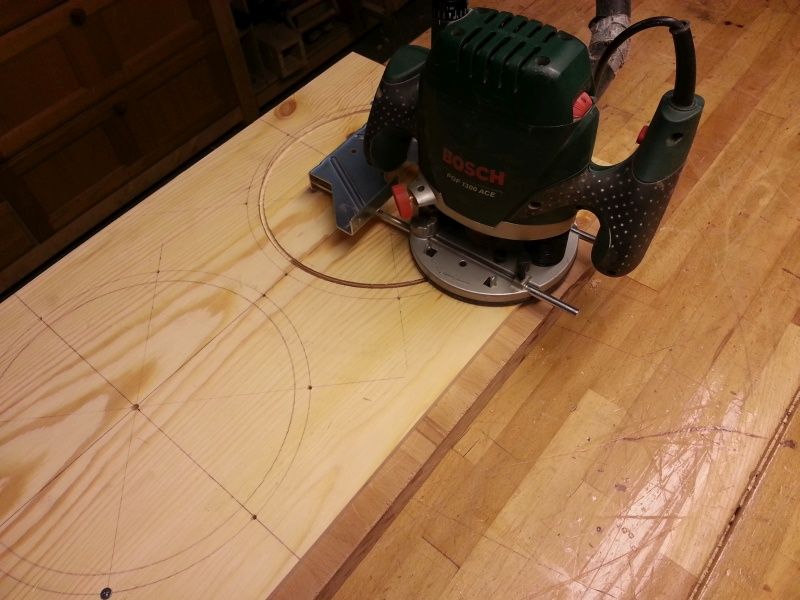
Routing the 10 mm plywood baffle speaker cut-outs with a circle jig
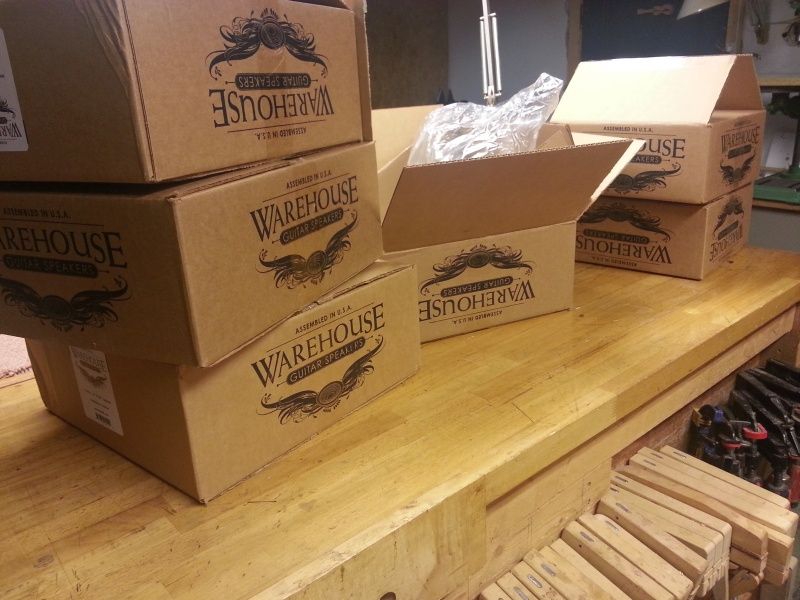
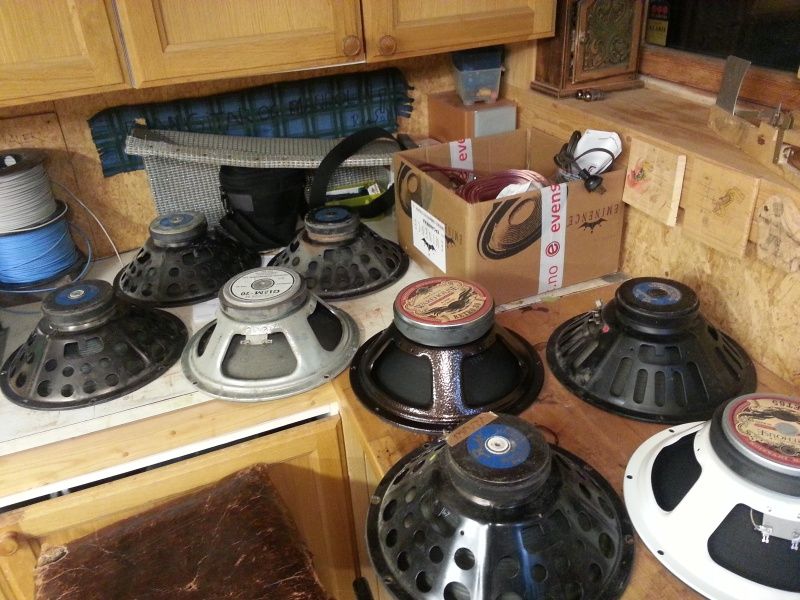
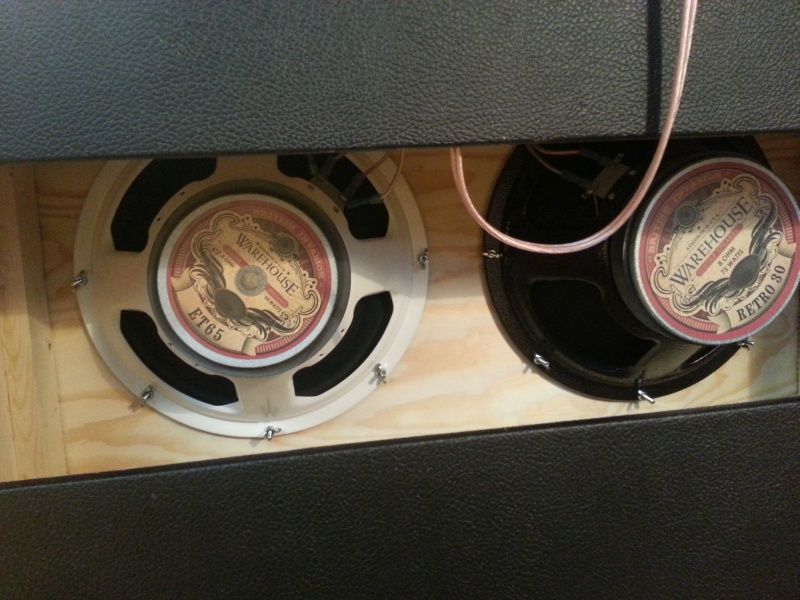
Part of the fun is testing different speakers, I got a few different ones from Warehouse that have gotten good reviews
I also have an array of oldies that I can test them against
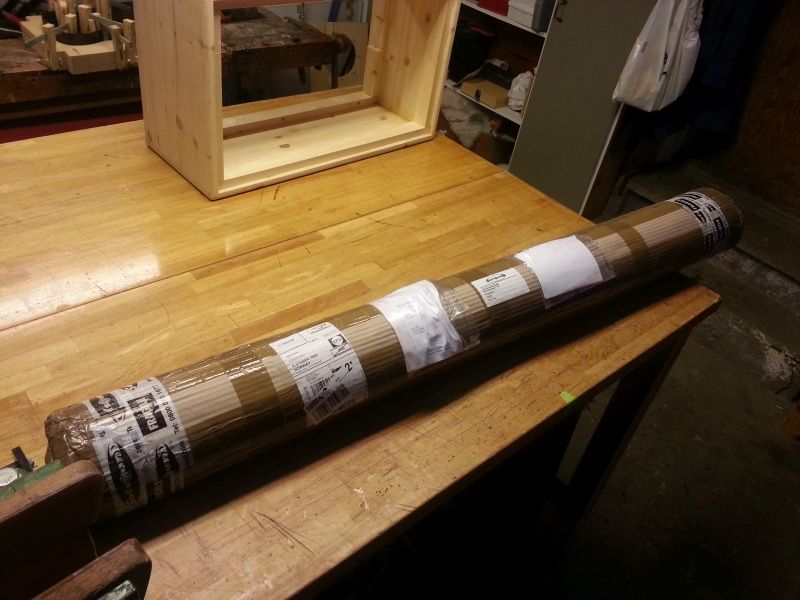
Finally! The hardware and things have arrived from a distributor in the England
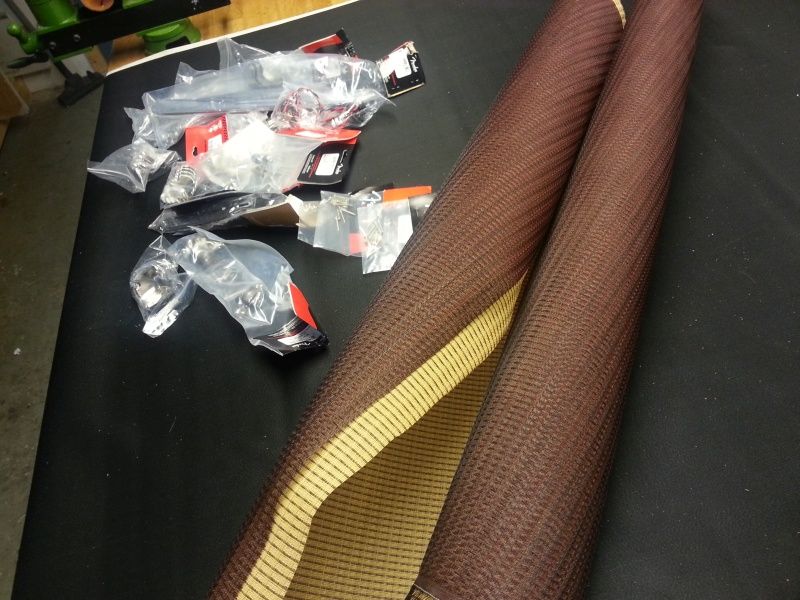
Tolex, grill cloth, corner protectors etc
Cutting the pieces to size
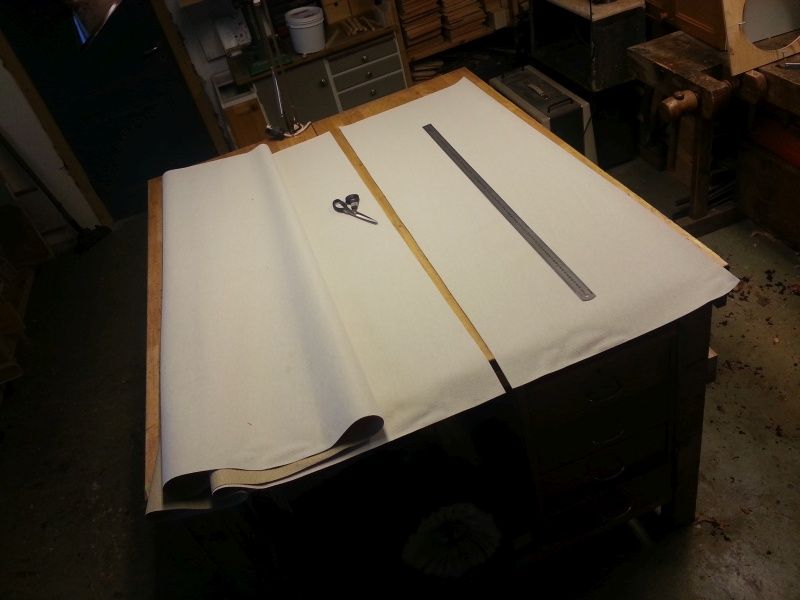
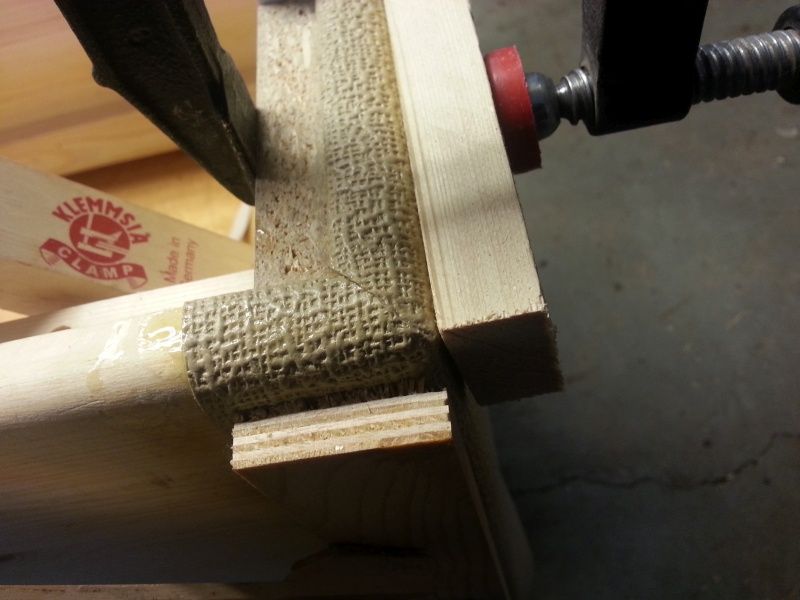
From my tests, fish glue seems to be a good choice for attaching tolex to wood, but not so good for tolex on tolex, so I ended up CA-gluing those overlaps.
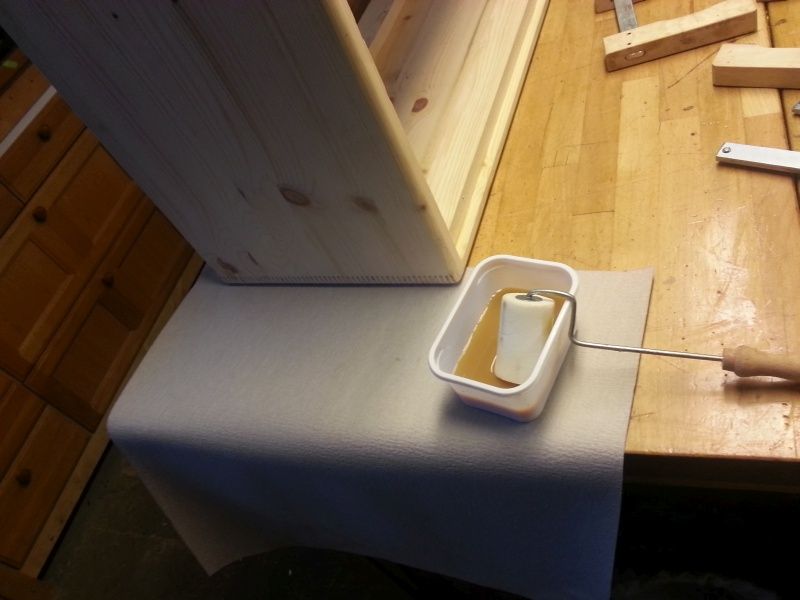
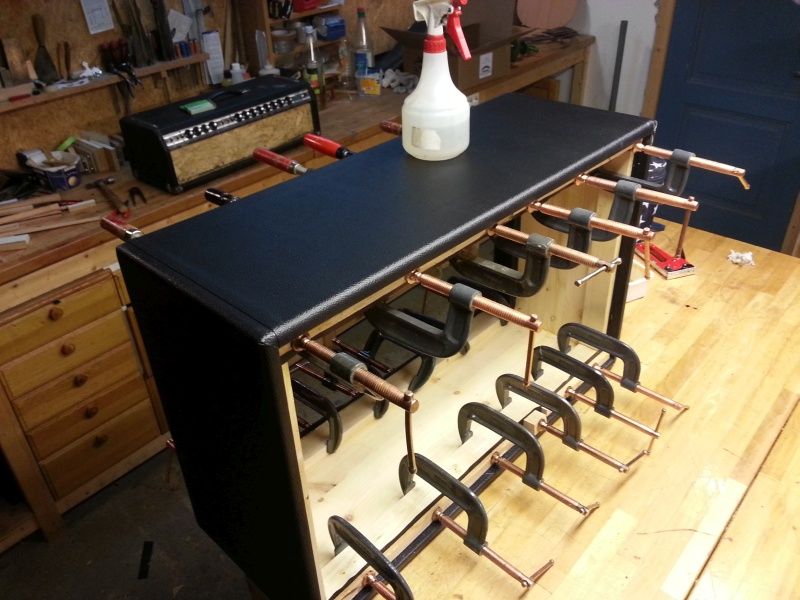
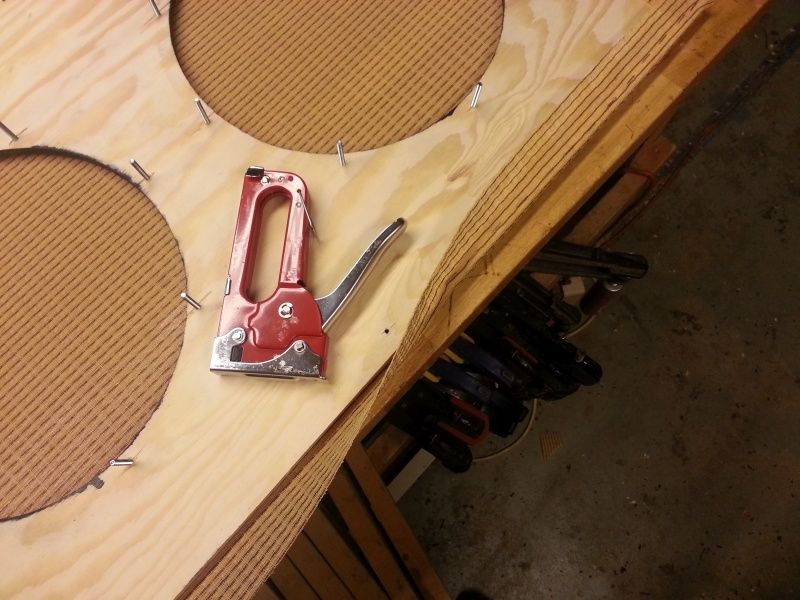
Another issue is that the tolex will slide until the glue sets, so I had to staple and clamp everything well. There are contact glues that are especially made for this that probably are easier to work with, and I’ll probably look into those more if I decide to do this again.
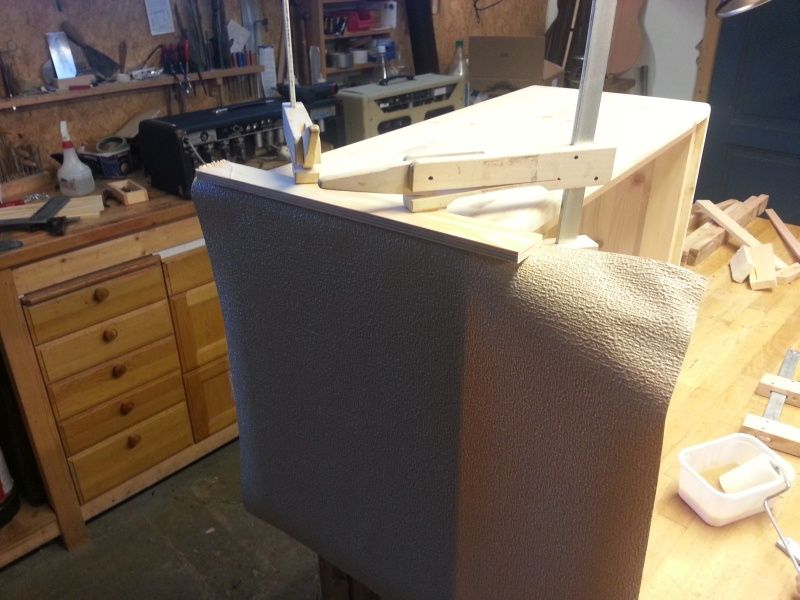
You can never have too many clamps etc...
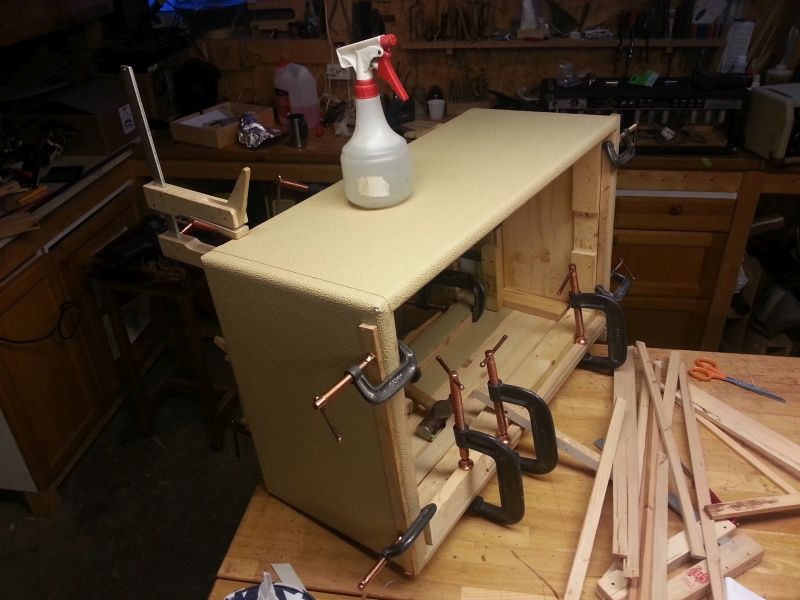
Even though the corners will be hid by the metal protectors, it is always fun to be neat
Attaching the hardware and baffle...
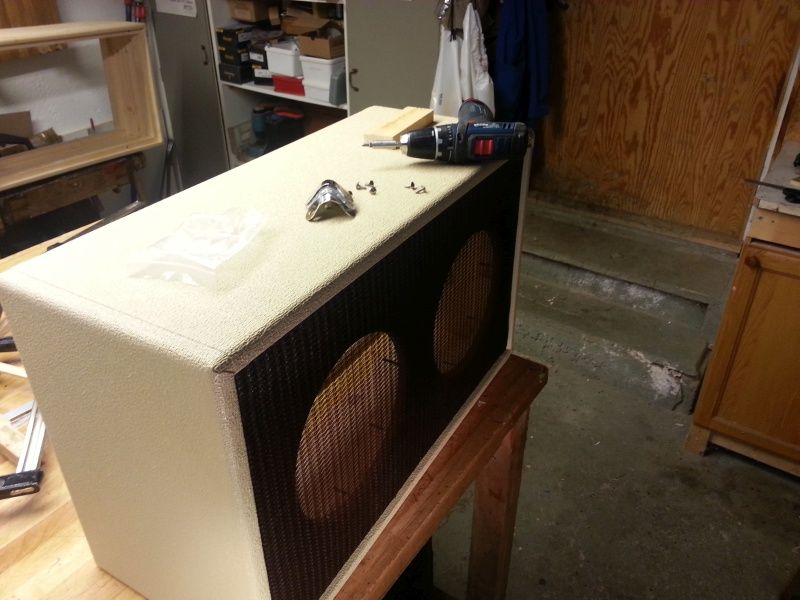
...and some more hardware
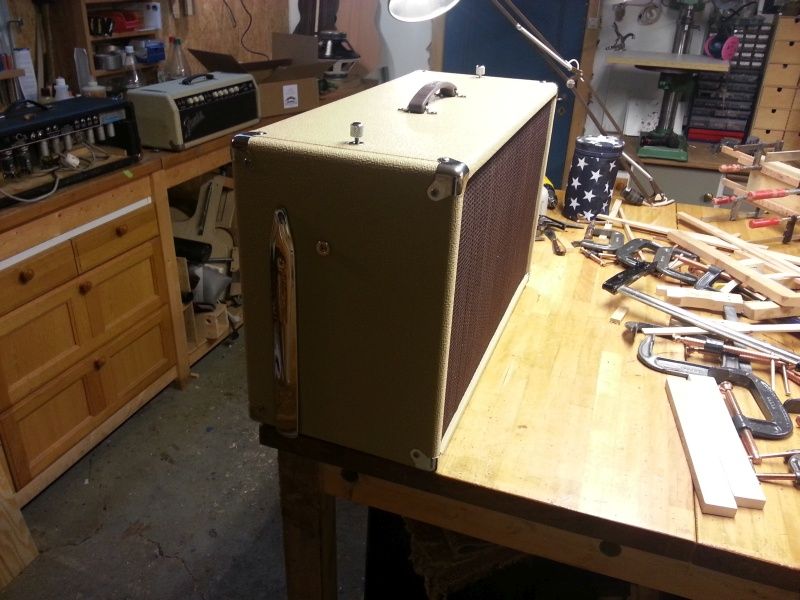
...and we’re done! The tilt back feet seem to work fine
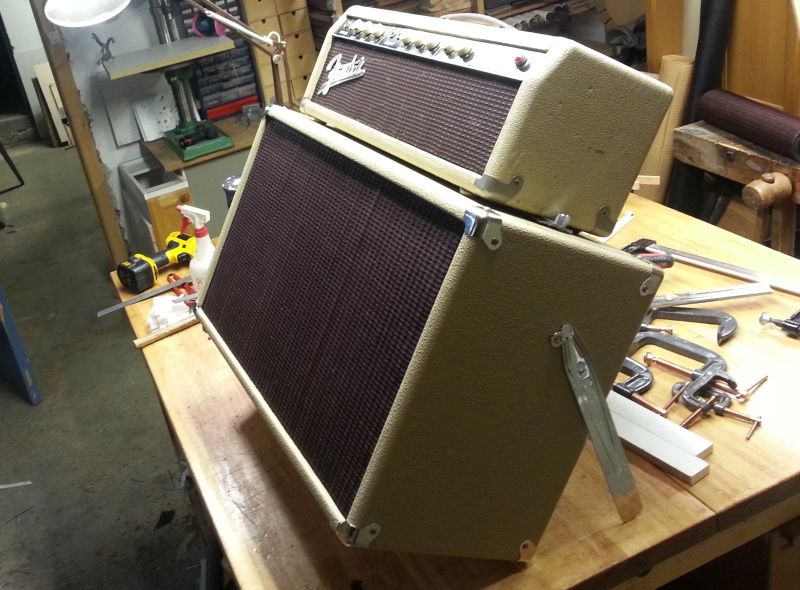
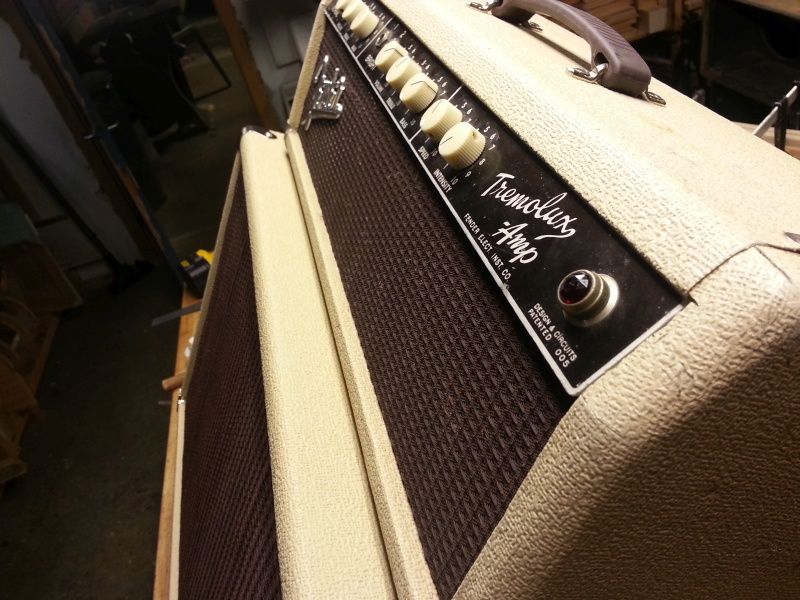
According to the tolex vendor, this fabric was made one the same old machines that made the material that Fender used back in the day. I don’t know if that’s true, but it seems like its color and texture matches that of the ‘61 Tremolux head quite well (minus some honest wear of course…)

I dig the colors!
The other cabinet was more of the same. Cutting...
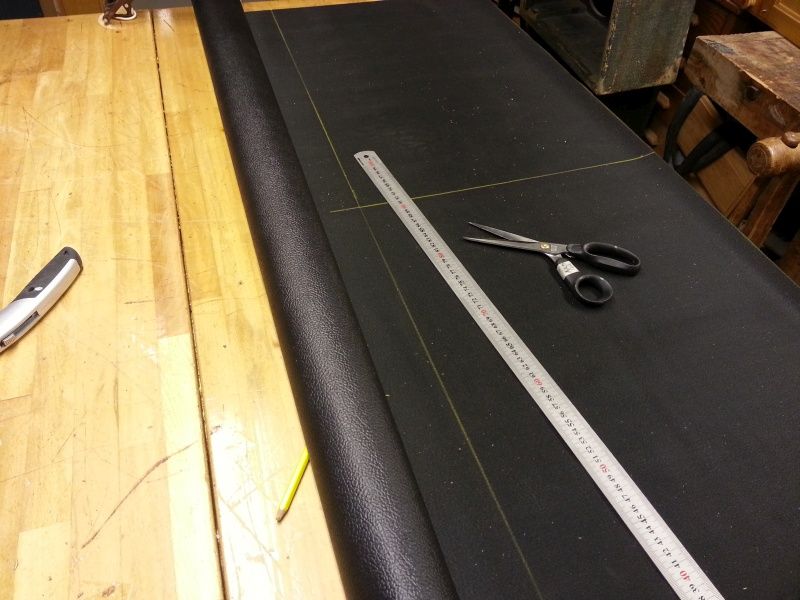
...glue, staples
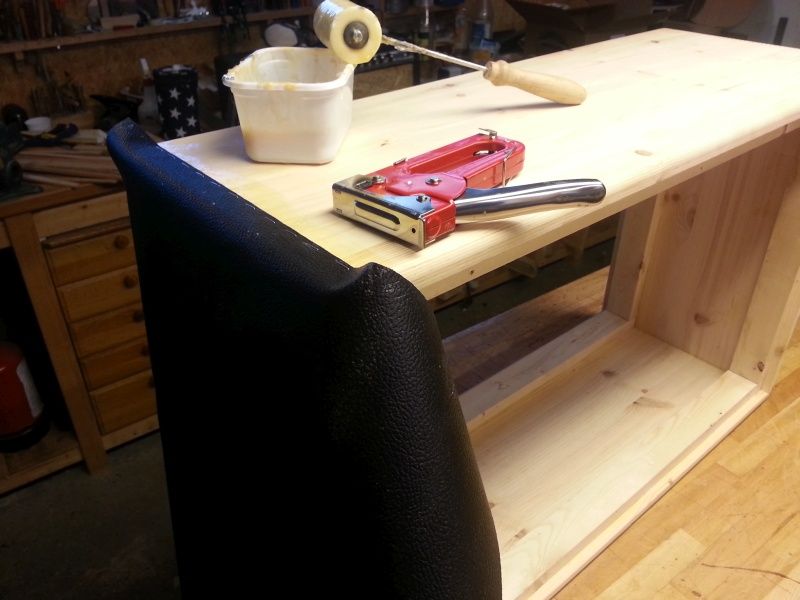
The black tolex is thinner, so it moved even more, grrrr...
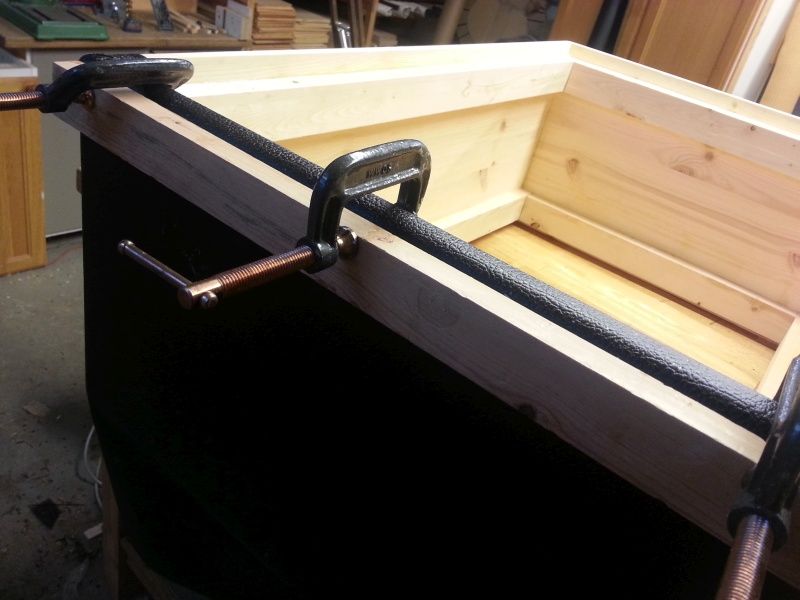
Keeping things as taut required various clamping arrangements
Fitting the baffle, checking to see how much space to leave for the grill cloth
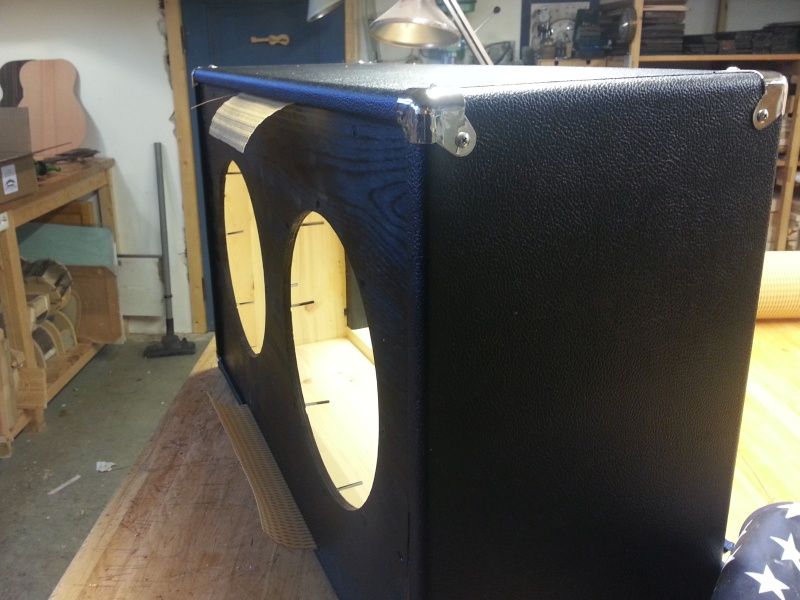
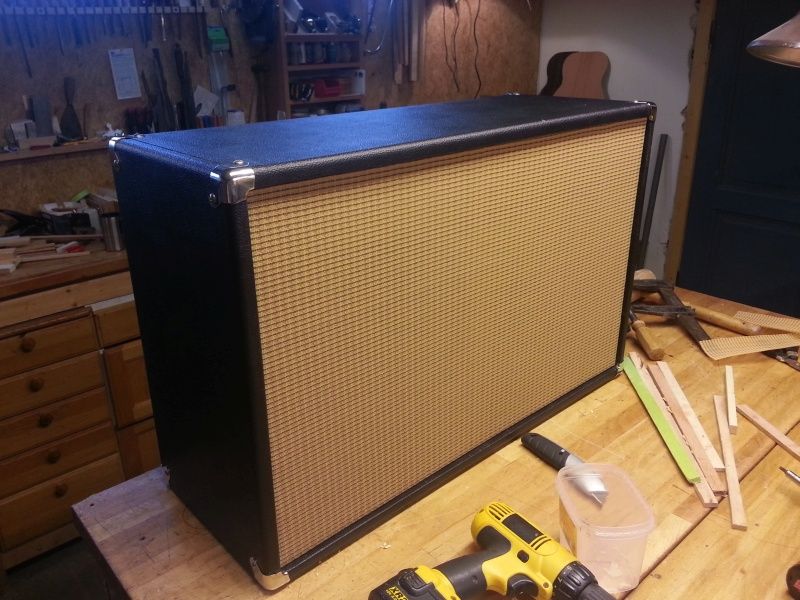
I picked some wheat colored grill material for this one, the amp ioiginally had the sparkly silver stuff, which I’m not crazy about.
Almost done
Back, with amp (I have since added a proper jack input)
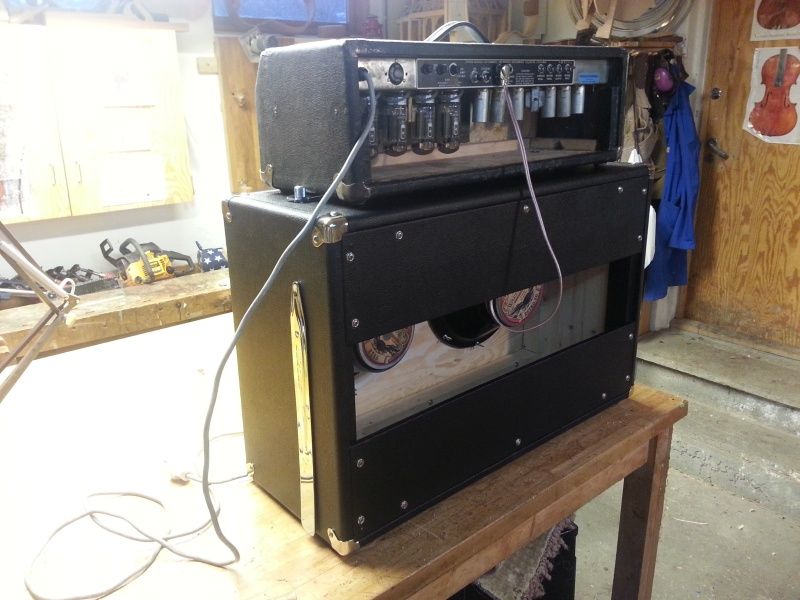
Loaded with Warehouse ET-65 and Retro 30 (I substituted the Retro for a Cannabis Rex later)
Front
